Like all the basics of an e-commerce business, picture quality determines sales. Product image is the lifeline to any sustainable ecommerce business, as the better your image quality, the better chance the online purchase is going to follow through. To help you save costs, consider using affordable product photography.

This, of course, is only logical. Customers can only be convinced by the visual appearance of a product, so presentation is crucial. The details and quality that you can highlight in your product image can be a defining point before the user makes any payment confirmation.
For that reason, there’s every reason to practice on your photography skills, especially if you are still running the business primarily on your own. This also means you want to do things as cost-effectively as possible. When that is the case, a DIY product photography can get you started with some fantastic results, if you know the way.

We have already posted a more thorough DIY product photography guide on our blog, so here are a few more budget tips to ensure your DIY product photography works out even more successfully.
How To Have a Professional and Affordable Product Photography Session?
Having affordable product photography can be the difference between a great sale and an average one. Therefore, you need to know what you are doing when taking product shots.
It might sound hard, but in reality, anyone can do it right. With the right equipment and knowledge, you will have all the product photos you need to help you increase your sales.
Whether you are hiring a professional photographer or not, here are some product photography tips to help you take high-quality product photos.
1. Invest In The Right Photography Equipment
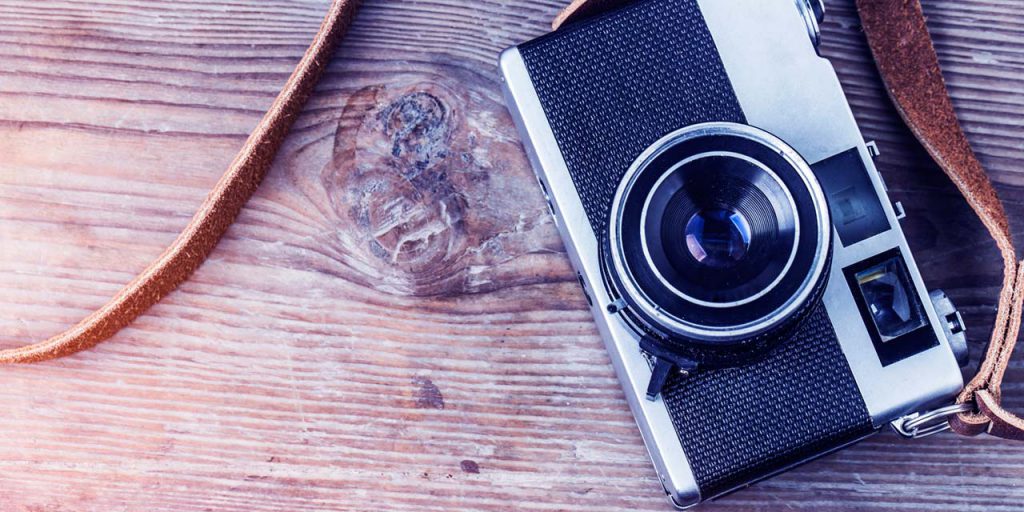
A camera is your most basic tool, so it is the first thing you’ll need to acquire. If you have some money to spend, then it’s a good idea to invest in a good DSLR camera. There are more and more affordable choices of DSLR cameras these days, so you might find one that isn’t as expensive but can work well for affordable product photography.

However, your trusty smartphone can also work as an excellent camera. Our previous post will teach you all the how-tos in easy steps. This way, you can skip the cost of buying a camera and focus on working with what you already have.
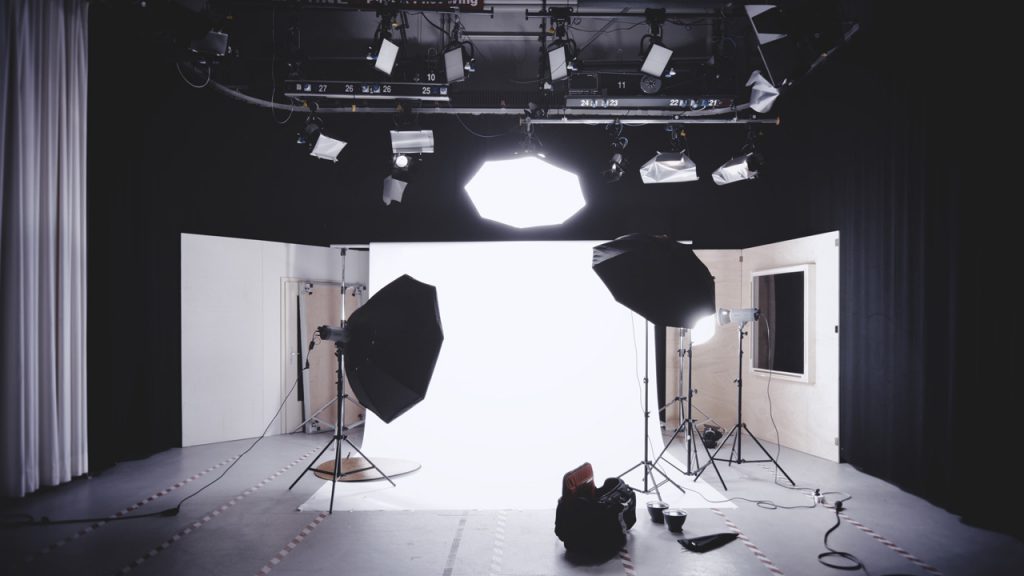
2. Know Your Lighting Setup
Like all photo shoots, lighting plays a significant part in making or breaking your results. A great lighting setup can illuminate your product even better than natural light could.
While the rule of thumb is to get a proper amount of good lighting, there is a difference in lighting settings for different products. For example, the light setting for a dark colored item, such as a wine bottle, will be different from that of a transparent product.
Get familiar with different natural light settings in photography to master the correct technique that will result in much more awesome image results. There are a lot of great articles that you can source to gain more knowledge at almost no cost at all.
Also Read: Photography Lighting Equipment List You Must Have
3. Perfect Your Photography Staging
Staging or arranging your product display is essential before you go in and take the shoot. Keep in mind that your photos should accurately describe your products. The best way to do this is to shoot from different views and angles.
You can also play with different photography techniques when it comes to product sizes. For example, smaller items, such as accessories, may benefit from the floating technique. Bringing in a human model to present jewelry products is also a good idea to give an expectation in terms of sizes and looks when worn.
On the other hand, when taking a picture of a large item, such as furniture. It’s a good idea to stage the photo shoot in an actual environment, allowing customers to get an idea of the size and look in reality.
Read also: Product Image Editing Best Practices
4. Great Creative With Your Post Production
Photo editing has become an integral part of almost any photography session nowadays. Many people focus solely on the process of product photography, neglecting the importance of what comes afterward: post-production. This means all kinds of image editing or digital alteration that will create flawless photo results.
After you’ve finished shooting, it’s time to consider how you want to approach your editing. If you have the editing skills, then it’s a good idea to do it yourself, especially when you don’t have many images to process.
However, you have too many RAW files to process within a limited period. In that case, it is a better idea to hand the post-production work to the people who know it, such as professional photo editing services like Dropicts.

We know what you are probably thinking right now: “I just spent hours photographing my products to cut budget. Why should I waste it on hiring image editors?” It is precisely because you’ve wasted so many hours on results that still need touch-ups that you don’t want to spend equally long hours perfecting your shots.
In fact, by allocating only a small portion of your overall budget, working together with a trusted image editing service provider will ultimately cost you less. Edited products sell, that’s the fact. The sooner you post a product picture, the faster it sells.
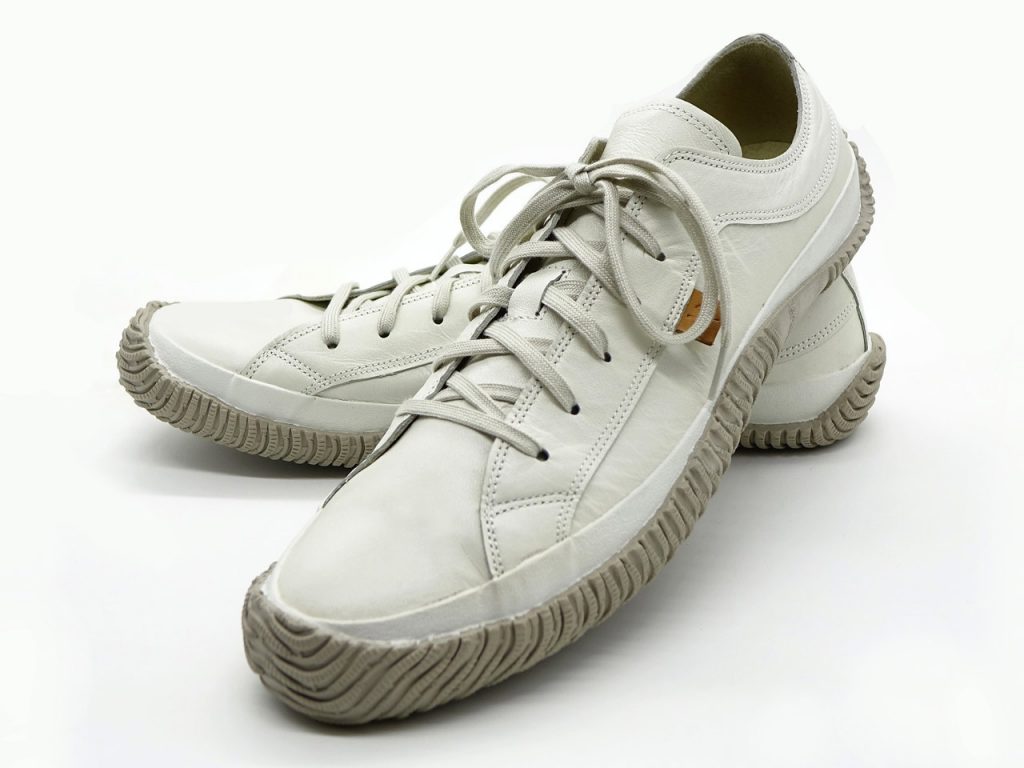
5. Use a Clean White Background Image
White background has been the staple of product photography. After all, having a clean and transparent background is great when taking product photos.
Also Read: 5 Guide to Awesome DIY Product Photography Table
Having a white background can make it easier for you in the photo editing process. A white background also allows your product to appear better. With simple lighting equipment, you can even set up your own photo studio and start taking product images.
6. Last But Not Least, Keep Practicing to Get Affordable Product Photography
You cannot expect to have good product images in just one single try. The only way to get better with your photography skills is to keep on practicing. Discover which camera settings are most effective in various situations. Work hard, and it will always pay off in the long run.
Those are some affordable product photography tips that you can use as a guide. Product photography might seem complicated. However, with the correct lighting equipment and the proper technique, anyone can do it right. Just start small and keep practicing so that you can take great photos with ease.
Once you have your product image, do not forget the post-production process! Leave the editing and beautification process to the professional. Dropicts is your go-to product image editing service to fulfill all your product image needs.

Image Source:
Images.app.goo.gl