Capturing faces with sharp images is a crucial criterion that photographers must meet. But what if it turns out that there is a red dot in the eye that can be caught on camera? You can use the Red Eye Correction tool, which is available in Lightroom. Here’s a full explanation!
How to Remove the Red Eye Effect with the Photos App?
Red eyes usually appear when you are taking a picture in a low-light environment. This effect can make you look bad.
Thankfully, there are many red-eye removers available for use. You can even find red eye removal online and easily remove red eyes with just a few clicks.
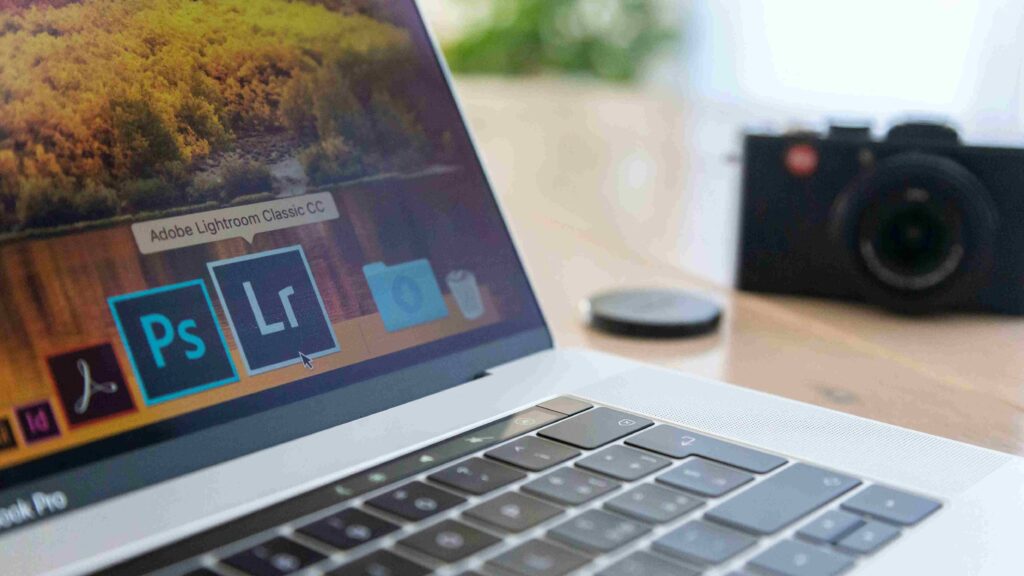
However, to get a better result, you need to have a proper photo editor to fix red eye. One software you can use is Adobe Photoshop Lightroom.
Adobe Photoshop Lightroom is one of Adobe’s products that is very helpful for photographers who want to achieve the maximum quality in their photos. If you want to remove the red dot in the eye, try following the steps below.
Also Read: How to Retouch an Image in Photoshop
1. Select Photo in Lightroom
The first step is to select the photo you want to edit. To make the editing process easier, navigate to the Develop module.
Then click the 1:1 or 2:1 option in the Navigator panel to zoom in. If you need a larger zoom, select the 2:1 option.
Focus the zoom on the model’s red eye in the photo. Now it’s time to move on to the next step.
2. Select the Red Eye Correction Tool
As explained, Lightroom already has the Red Eye Correction tool in the Develop panel. Its position is on the right side of your screen.
Click ‘Red Eye’ or ‘Pet Eye’ according to your needs. Red Eye is used to remove the red color that appears in the eyes of the model in the photo because the camera flash is off. At the same time, Pet Eye is useful for removing the yellow or green color that usually appears in animal photos.
3. Drag Over the Eye Area
After selecting Red Eye, position the cursor in the center of one of the eyes. Click and drag out until the circle on the screen encompasses the entire eye. If so, release the cursor immediately.
4. Adjust Edited Area
Then it’s time for you to click and drag the four edges from each end of the circle to position the correction area properly. Of course, this step is not necessary if step 3 has covered the entire eye area perfectly.
You fine-tune the pupil size or the darkness of the eye by using the sliders in the Red Eye Correction panel on the right. Arrange in a way that allows for the most effective editing.
5. Do the Same Thing in the Other Eye
You have finished editing in one eyeball. Now you can do the same with the other eye. The steps can be followed from numbers 3 and 4. Make the necessary corrections so that both the left and right eyes receive the same results.
6. Do a Review
Now you can review the editing using the Red Eye Correction tool in Lightroom. To see the photo as a whole without any zoom effect, click Fit or Fill in the Navigator section. If it’s okay, click “Done” at the bottom of the screen.
Those are the steps to do red eye correction using Adobe Lightroom. The red-eye effect occurs when taking pictures in low-light environments. This one effect can make your picture, especially a portrait photo, look bad. To eliminate it, you can follow the steps above with ease.
Do you need professional photo retouching services support? Dropicts is here for you with services for professional products and businesses. Call us right now!
Image Source: