Product photography lighting setups are a crucial component in capturing professional and visually appealing product images. Without the proper lighting, even the best products can look dull or fail to attract attention. Every business that relies on product photos, whether for e-commerce, catalogs, or advertisements, needs to understand how to use proper lighting effectively.
Product photography is not just about taking pictures; it’s about creating the right atmosphere that highlights a product’s shape, texture, and color. The product photography lighting setup you choose can make a significant difference in how appealing your photos appear. Below, we’ve gathered seven powerful setups that every photographer should try.
Product Photography Lighting Setup
There are a total of seven lighting setups to choose from for product photos. What is the set of setups for maximum product photo lighting?
1. Ring Light
The ring light provides overall, even lighting to the product. Place it parallel to the product from the front. Just be careful not to place it too close, as it can make bright-colored products look overexposed. A ring light is handy for beauty products, jewelry, or small items that need balanced illumination.
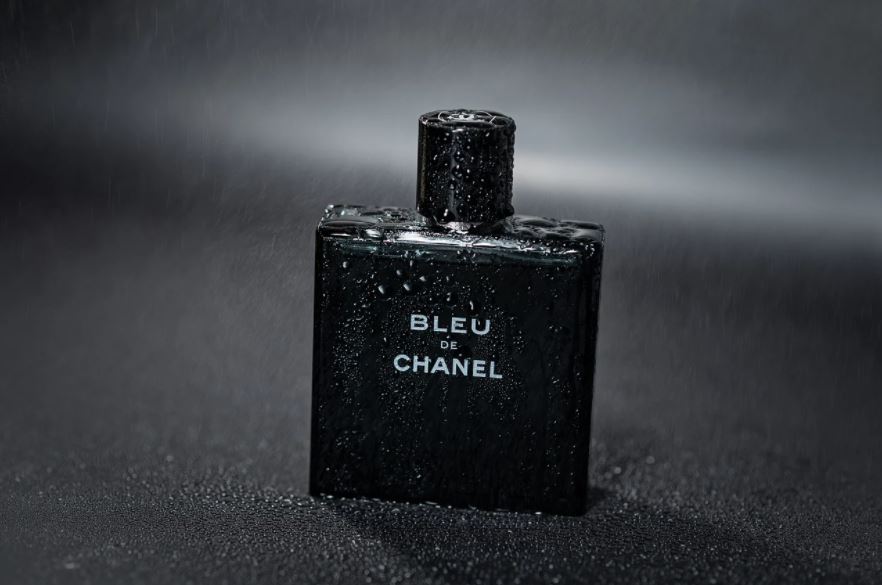
2. Overhead Light
An overhead light is ideal for creating an edgy, dramatic effect. By placing the light above the product, you highlight textures and give a moody atmosphere. This product photography lighting setup is often used for wine bottles, cosmetics, or any product with darker tones.
3. Direct Front Light
The direct front light is the easiest to do. However, be sure that the distance between the lighting and the product is not too close and at eye level. Then, please don’t worry about getting too excited about the background. If there are too many ornaments in the background, consider using a very low aperture number, such as 1.8.
Read also: Photography Lighting Equipment List You Must Have
4. Two Lights
Using two lights positioned at a 45-degree angle from the left and right ensures balanced exposure. This setup eliminates harsh shadows while maintaining clear visibility of the product. It’s a versatile choice for almost any kind of product photography.
5. Three Lights
Adding a third light from the front creates more complete coverage. The three-light product photography lighting setup eliminates most shadows, resulting in a product that appears evenly lit. However, the downside is that the photo can sometimes look too flat, losing its dramatic edge.
6. Triangle Setup with Three Lights
This version of the three-light setup arranges one light in front and two behind (at a 45-degree angle). It helps avoid flat-looking results while keeping the product as the primary focus. This setup is excellent when you want both clarity and depth in your photos.
Read also: 11 Best Product Photography Ideas To Sell More
7. Separation Setup with Three Lights
If your product looks “blended” with the background, this setup is the solution. Two lights are placed behind, on the left and right, pointing at the background instead of the product. This separation light ensures the product stands out, creating more depth and focus in the final image.
Final Thoughts
So, which product photography lighting setup is the best? The answer depends on your product, creative vision, and the level of experimentation. Every setup has its strengths, and trying them will help you discover what works best for your style.
Remember, great photos don’t stop at the camera. Retouching is just as essential for polishing details, adjusting colors, and removing imperfections. If you want flawless results, Dropicts is here to provide professional photo retouching services for both individuals and businesses. Contact us today and let your product photos shine brighter than ever!

Image Source: