Beauty product photography might look intimidating at first, but honestly? It’s way more doable than most people think. Whether you’re trying to build a brand, grow your Instagram, or create clean product shots, you don’t need a fancy studio to get started.
In this guide, you’ll discover 6 easy beauty product photography tips that actually work, especially for beginners. Whether you’re building a brand, selling products, or just leveling up your content, these tips will help you shoot cleaner, sharper, and more aesthetic images, without overcomplicating the process.
What is Beauty Photography?
Beauty photography is all about capturing products or subjects to highlight their aesthetic appeal, such as clean skin, smooth textures, vibrant colors, and overall visual appeal.
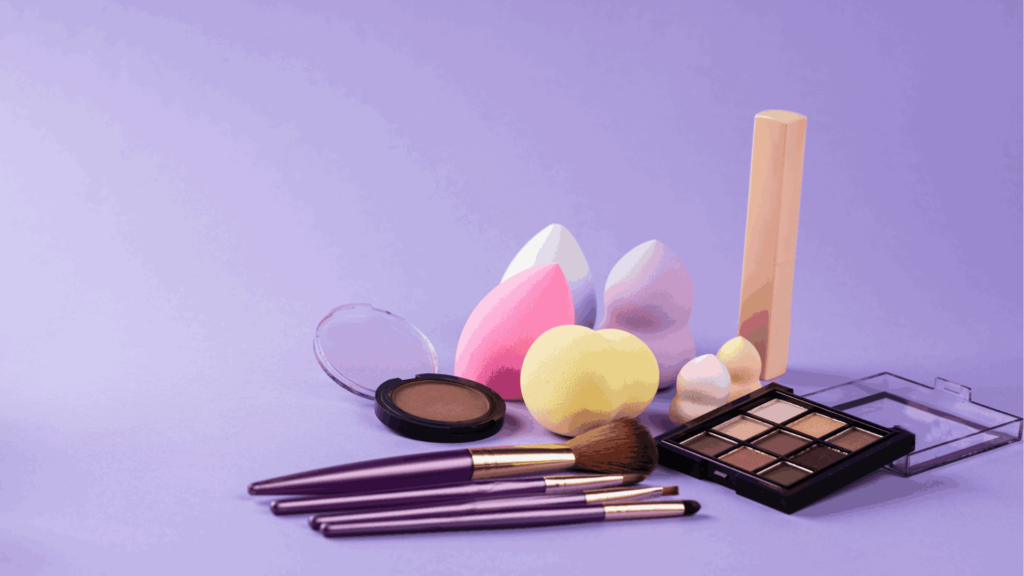
When it comes to beauty product photography, the focus shifts to cosmetics like:
- Skincare (serums, moisturizers)
- Makeup (lipsticks, foundations)
- Haircare products
The goal? Make the product look so good that people can almost feel the texture and imagine using it.
Think glossy finishes, soft lighting, and minimal distractions.
Can I Do My Own Beauty Product Photography?
Short answer: yes, absolutely.
Long answer: You don’t need expensive gear or a professional studio to start. Many creators shoot amazing beauty product photography using:
- A smartphone
- Natural light from a window
- Simple backgrounds (like paper or fabric)
What matters more than equipment is:
- Lighting
- Composition
- Attention to detail
If you’re consistent and willing to experiment, your results can look just as good as professional shoots.
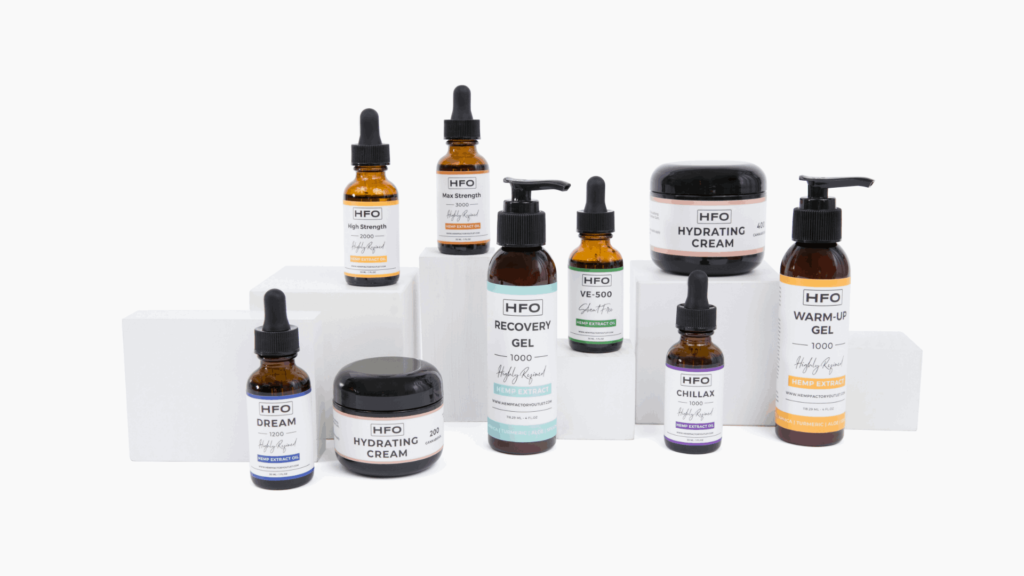
How to Make Skincare Products Look Premium
Let’s get practical. Here’s a beginner-friendly step-by-step approach to beauty product photography:
1. Start with Good Lighting
Lighting is everything.
- Use natural light near a window.
- Avoid harsh direct sunlight (creates hard shadows)
- Use sheer curtains or paper to diffuse light
Soft lighting makes products look smoother and more premium.
2. Choose a Clean Background
Keep it simple.
Popular choices:
- White or neutral tones
- Pastel colors
- Marble or textured surfaces
The goal is to make your product stand out, not compete with the background.
3. Focus on Composition
Don’t just place the product randomly.
Try:
- Centered composition for a clean look
- Rule of thirds for a more dynamic feel
- Adding props like flowers, mirrors, or water droplets
Less is more; avoid clutter.
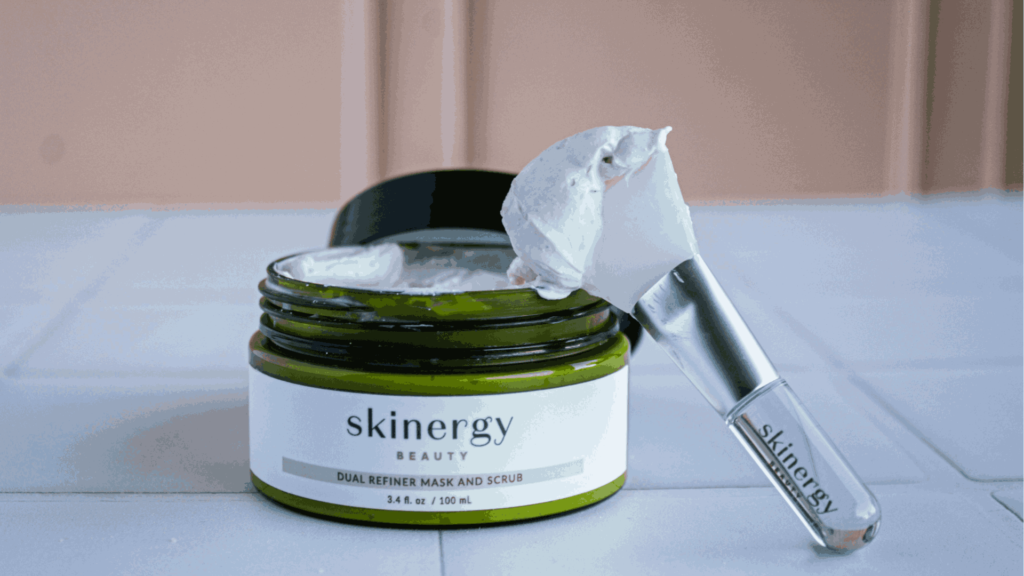
4. Highlight Texture and Details
Beauty products are all about texture.
Capture:
- Glossy lipstick shine
- Creamy foundation swatches
- Water droplets on skincare bottles
Use close-up shots to make your photos feel more “real.”
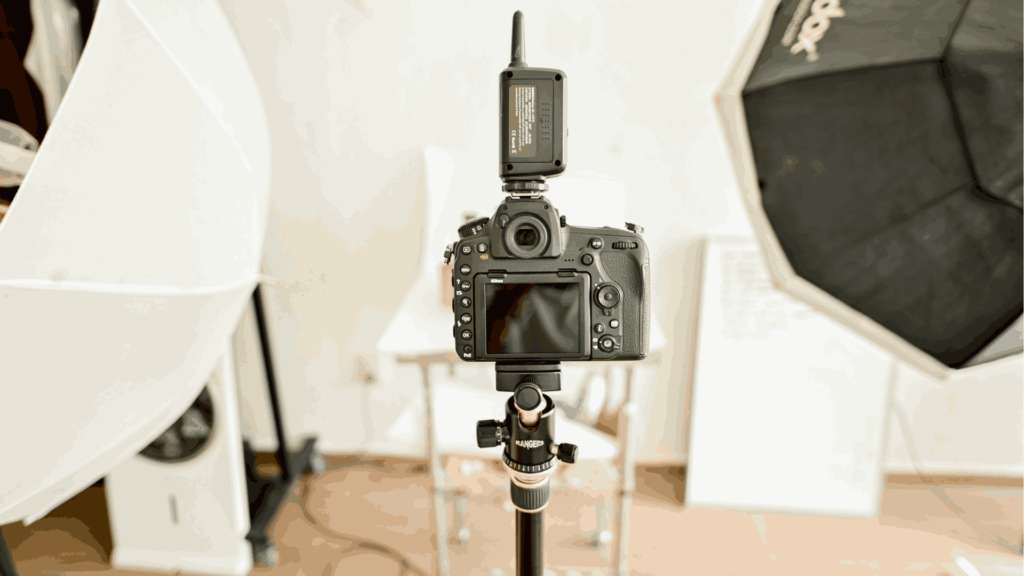
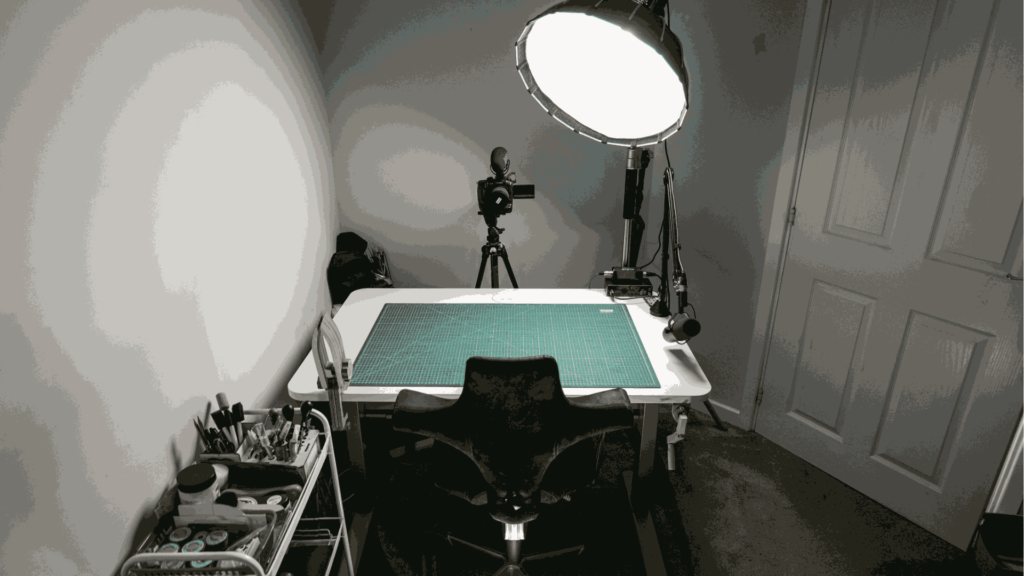
5. Keep Your Camera Steady
Blurry photos instantly look unprofessional.
Use:
- A tripod (even a cheap one)
- Or stabilize your hands on a surface
Sharpness = credibility.
6. Edit, But Don’t Overdo It
Editing enhances your photo, not saves it.
Basic adjustments:
- Brightness
- Contrast
- Color balance
Apps like Lightroom or Snapseed are more than enough.
Read also: Commercial Product Photography
Creating Standout Beauty and Cosmetic Imagery Involves Several Key Elements
If you want your beauty product photography to actually stand out (not just look “okay”), focus on these core elements:
1. Lighting Quality
Soft, diffused lighting creates a premium feel.
Bad lighting = cheap-looking product
Good lighting = high-end aesthetic
2. Color Harmony
Your colors should match the product vibe.
Examples:
- Pastel tones for skincare
- Bold colors for makeup
- Earth tones for organic products
Consistency builds brand identity.
Read also: Change Product Colors
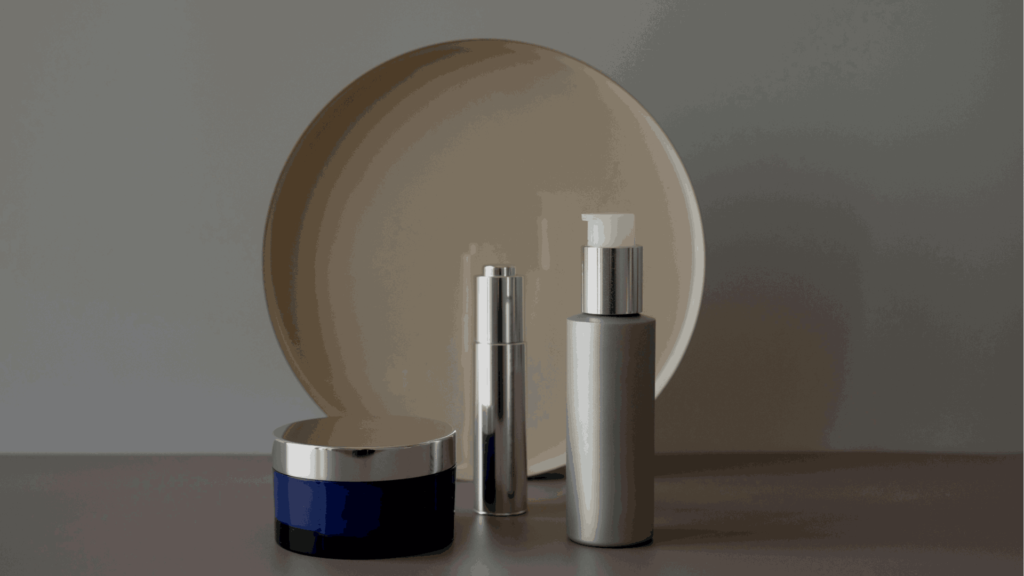
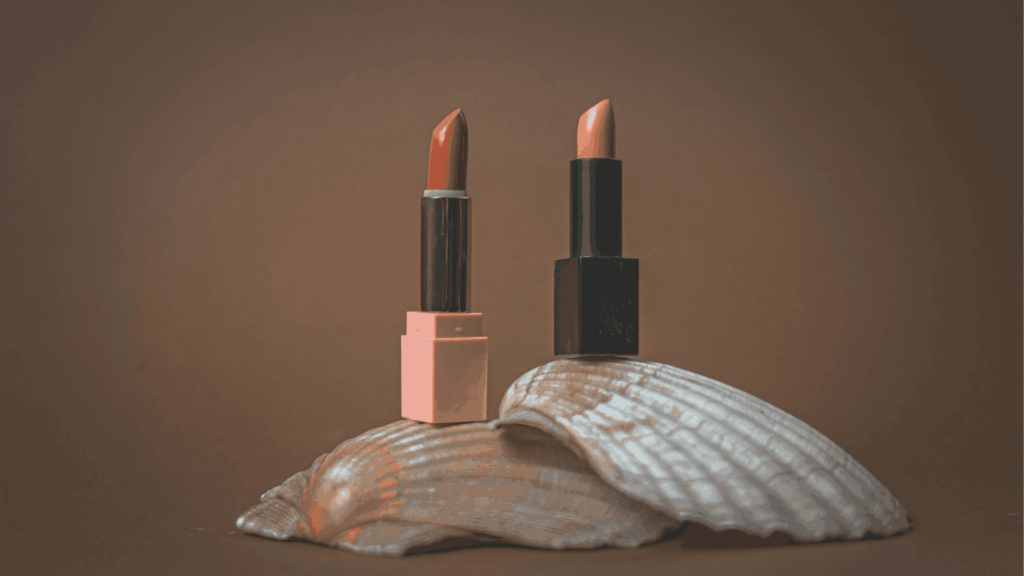
3. Styling and Props
Props should support the story, not steal attention.
Good props:
- Glass containers
- Fabric textures
- Natural elements (leaves, flowers)
Avoid random objects that don’t connect with the product.
4. Cleanliness and Detail
This one is often overlooked.
Before shooting:
- Clean the product surface
- Remove fingerprints or dust
- Align labels perfectly
Small details make a huge difference.
5. Mood and Storytelling
Great beauty product photography tells a story.
Ask yourself:
- Is this product refreshing?
- Luxurious?
- Natural and organic?
Then match your lighting, colors, and props to that mood.
Read also: High Volume Image Editing
Best Editing Tips for Beauty Product Photos
Once you’ve got the basics down, try these to push your results further:
Use Reflectors
A simple white paper can bounce light and reduce shadows.
Experiment with Angles
Don’t stick to eye-level shots.
Try:
- Top-down (flat lay)
- Low angle for dramatic effect
- Close macro shots
Add Motion
Introduce small movement:
- Pouring liquid
- Droplets falling
- Slight blur for realism
It adds life to your images.
Shoot in Batches
Take multiple shots with small changes.
Why?
Because tiny differences can completely change the final result.
Build a Consistent Style
Consistency is key, especially for branding.
Stick to:
- Similar lighting style
- Color palette
- Composition
It makes your work instantly recognizable.
Final Thoughts
Beauty product photography doesn’t have to be complicated or expensive. With the right approach, even beginners can create clean, professional-looking images.
Start simple:
- Use natural light
- Keep backgrounds minimal
- Focus on details
Then slowly experiment and develop your own style.
The more you practice, the more you’ll notice what works.
If you’re short on time to fix your photos, no worries! Contact us now to get free image editing services. Click here to contact our sales representative!
Image Source: