
What Is Macro Photography?
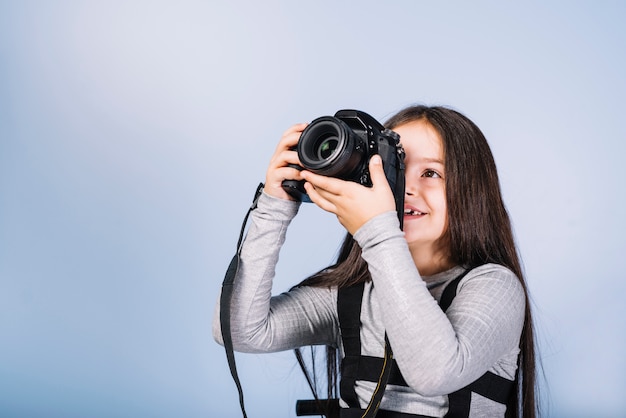
What is macro photography? At its core, macro photography is the art of capturing extreme close-up images of small subjects—think insects, flowers, water droplets, jewelry, or textured objects—where the subject appears life-size or even larger in the final image. This photography style is all about revealing intricate details that are invisible to the naked eye, giving viewers a fresh and fascinating perspective on the world.
Unlike regular close-up shots, authentic macro photography requires a magnification ratio of 1:1, meaning the subject is projected onto the camera’s sensor at its actual size. To achieve this, photographers often use specialized macro lenses that allow them to focus extremely close to the subject while maintaining incredible sharpness and clarity.
In this guide, we’ll not only answer the question “what is macro photography?” but also share five expert tips to help you capture jaw-dropping macro images—whether you’re a beginner experimenting at home or a seasoned hobbyist looking to refine your skills.
1. Understand What Is Macro Photography
Many people confuse close-up photography with macro photography. While close-ups get you near the subject, macro photography goes a step further by achieving that critical 1:1 magnification. For example, if you photograph a 1 cm insect, it will take up 1 cm on your camera’s sensor.
Macro photography is popular for shooting:
-
Tiny insects, like ants, bees, or butterflies
-
Plant details, such as flower petals, moss, or seed pods
-
Everyday objects like coins, jewelry, and watches
-
Unique textures, from fabrics to food
This genre requires patience, precision, and often additional tools to help stabilize and illuminate your subject.
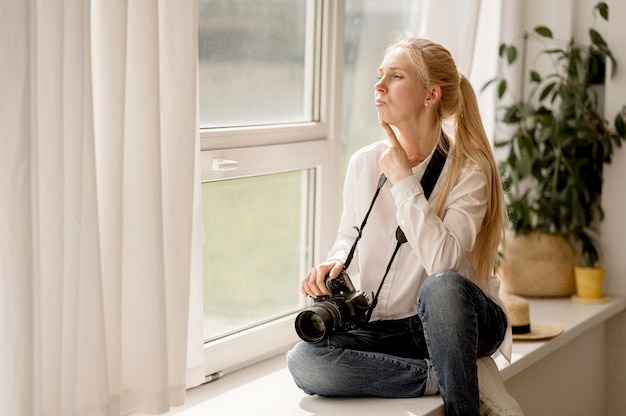
2. Use Natural Window Light for Softer Results
Lighting is one of the most essential elements in macro photography. Without proper lighting, even the most interesting subject can look flat and uninspiring. If you’re shooting indoors, natural window light is a fantastic choice—it’s free, easy to control, and produces a soft, flattering effect on small subjects.
For the best results:
-
Shoot during golden hours (two hours after sunrise or two hours before sunset)
-
Could you place your subject near a large window?
-
Diffuse harsh sunlight with a sheer white curtain or thin paper.
-
Use a white reflector or foam board to bounce light and reduce shadows
The gentle, even glow will enhance your subject’s details without creating harsh, distracting contrasts.
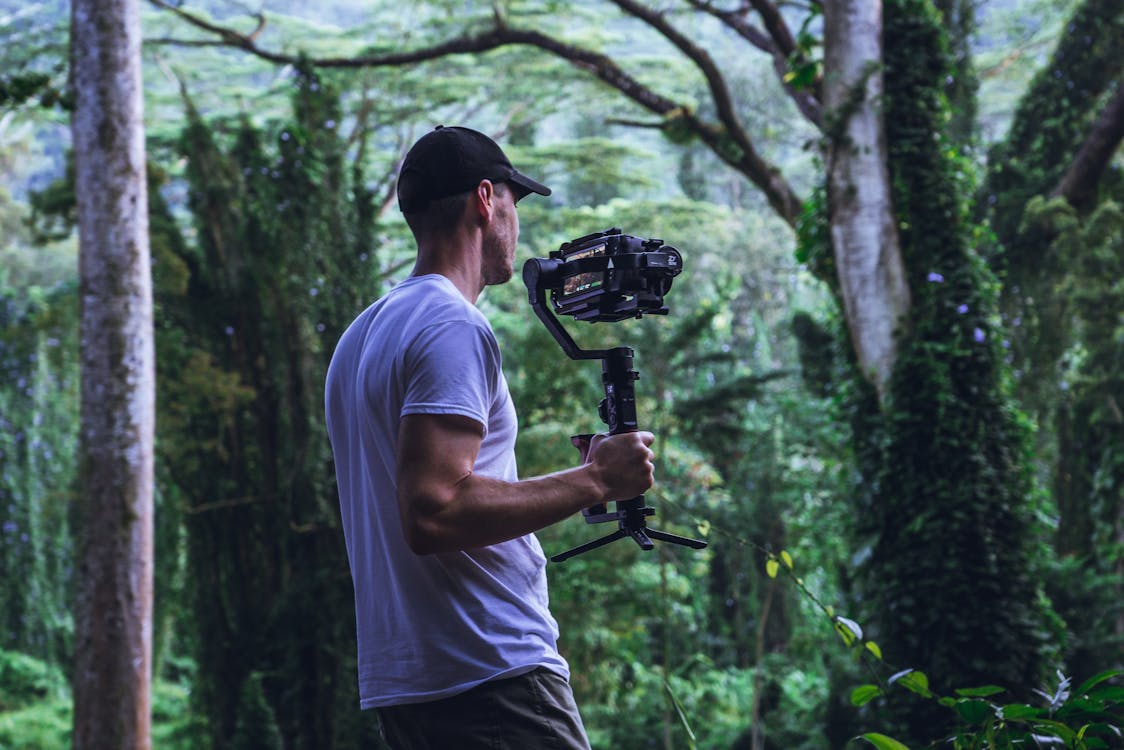
3. Stabilize Your Camera to Avoid Motion Blur
In macro photography, even the tiniest camera shake can cause unwanted blur—especially when working with high magnification. That’s why stability is key. Using a sturdy tripod ensures your camera stays perfectly still during the shot. For even sharper results:
-
Use a remote shutter release or your camera’s self-timer
-
Enable mirror lock-up on DSLRs to reduce vibration.
-
Shoot with a smaller aperture (like f/8 to f/16) for a deeper depth of field
These minor adjustments can make a big difference in image sharpness.
Read also: Product Photography at Home for Beginners
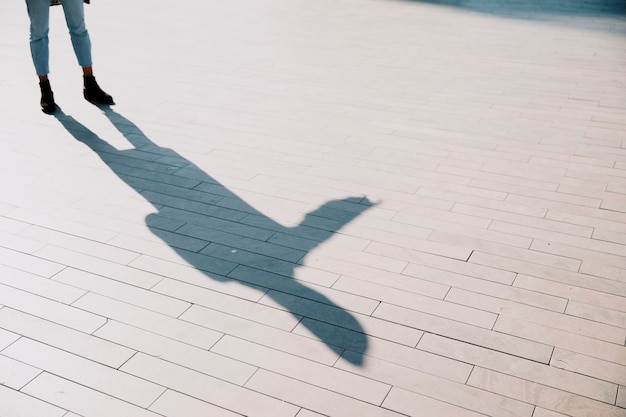
4. Pay Attention to Shadows
When photographing tiny subjects, shadows can become overwhelming. The position of your light source—whether natural or artificial—will dramatically impact the mood and clarity of your image. To control shadows:
-
Experiment with side lighting for dramatic textures
-
Use top lighting to reduce deep shadows.
-
You can try backlighting for a soft, glowing outline.
-
Add reflectors or diffusers to soften contrast.
Remember, shadow control is part of the creative process—sometimes you may want softer shadows for a dreamy look, while other times, bold shadows can create drama and depth.
5. Fix Distortion with Editing Tools
Even the best macro lenses can introduce slight distortions, especially when photographing flat subjects like stamps or documents. This can result in curved lines (barrel distortion) or pinched edges (pincushion distortion). Luckily, you can easily fix these issues in editing software such as:
-
Photoshop (using the Lens Correction or Spherize tool)
-
Lightroom (with the Lens Profile Corrections feature)
-
Other dedicated photo editing apps
Post-processing is also the perfect time to:
-
Adjust colors for accuracy.
-
Enhance contrast and sharpness.
-
Remove dust spots or distractions.
-
Crop for a stronger composition
If editing isn’t your strong suit, consider professional retouching services like Dropicts to ensure your macro shots look polished and ready for print or online display.
Final Thoughts
Now that you have a clear answer to “what is macro photography” and know how to apply these five tips, it’s time to grab your camera and start experimenting. Macro photography opens up an entirely new world of visual possibilities—revealing beauty in places most people never think to look.
With the right lens, proper lighting, camera stability, and post-production care, you can transform everyday subjects into stunning works of art. The key is to practice often, experiment with different techniques, and pay close attention to even the most minor details.
Suppose you want your macro shots to have that professional edge. In that case, Dropicts can help you with expert editing services—so your photos capture every microscopic detail in the most beautiful way possible.
Still struggling with macro edits? Dropicts offers professional image retouching services to help you enhance your macro photos, from background cleanup to color correction. Let us help you turn your close-up shots into stunning, high-converting images.

Image Source: