Some studios don’t permit the use of a smoke gun in their studio. If you need to add smoke to your photoshoot, the best option is to add a smoke effect Photoshop. This method is not only safe but also gives you complete creative control over the final look of your pictures.
Alternatively, try using smoke lights during the photoshoot. However, the result may vary depending on the picture you want to take. That’s why Adobe Photoshop becomes such a powerful tool. With the proper technique, you can create a realistic and artistic smoke effect Photoshop that looks just like the real thing.
Through this article, we will share with you the most practical information on how to add smoke effects in Adobe Photoshop. You can follow the steps below to get the perfect dramatic effect without using real smoke.
2 Ways to Add Smoke Effect Photoshop
There are two main ways to add a smoke effect Photoshop. The first is the basic smoke effect, which is ideal for beginners new to Adobe Photoshop. The second one is the master smoke effect, which is more advanced and suitable for those who want a realistic, professional result.
Read Also: How to Retouch an Image in Photoshop
1. Basic Smoke Effect
To create a basic smoke effect Photoshop, the first step is to design some random shapes. Try making two or three different shapes to give variety to the smoke effect.
After you create the shapes, apply a Gaussian Blur to each one. This step will completely blur the shape, giving it a soft and cloudy texture that smoke typically has. Do this one by one for each shape to create a more natural effect.
When the shapes are blurred, you can use the Liquify filter to refine the smoke effect. Adjust the curves and flow until the shapes begin to resemble wisps of smoke. Rotate and position them accordingly to achieve the desired smoke effect in your photo.
To deepen the effect, you can add colors. Use the color filter to tint your smoke, such as blue for a cold vibe or red for a dramatic impact. Finally, create a subtle cloud background by adding a gradient. That’s how you can easily achieve the basic smoke effect Photoshop.
Read Also: How to Blur Part of a Photo on Mobile Everyone Should Know
2. Master Smoke Effect
The master smoke effect Photoshop technique requires masks and layers, which is more advanced but creates realistic results. Here’s how:
-
Upload your picture to Photoshop and create a new layer named “Mask 1”. Use the Brush tool to add white smoke to the picture.
-
Create another layer called “Mask 2” and paint with black smoke using the Brush tool. Position it slightly overlapping the white smoke to create depth.
-
Adjust the opacity for a natural look. To enhance realism, go to Filter > Blur > Motion Blur and play with the settings.
-
Blend the colors between layers so the smoke appears soft and diffused, rather than just flat brushstrokes.
This method requires patience but yields a professional-level smoke effect Photoshop that resembles a photo captured in-camera.
Why Use Smoke Effect Photoshop?
The smoke effect Photoshop is not only for dramatic portraits or creative fashion photography. Many photographers and designers use it for advertising campaigns, digital art, music posters, and even social media content. It allows you to control the intensity, color, and shape of the smoke—something that’s nearly impossible with real smoke on set.
Read Also: Get to Know the Masking Photoshop Feature System
Final Thoughts
So, which technique do you prefer from the tutorial above? Whether you choose the simple basic method or the advanced master version, adding a smoke effect to Photoshop will instantly upgrade the mood of your photos.
If you still find it hard to create the smoke effect or don’t have time to edit, don’t worry. Just contact us at Dropicts. Our professional photo editing team is ready to help you add stunning smoke effects, along with many other Photoshop edits, to make your pictures look their absolute best.

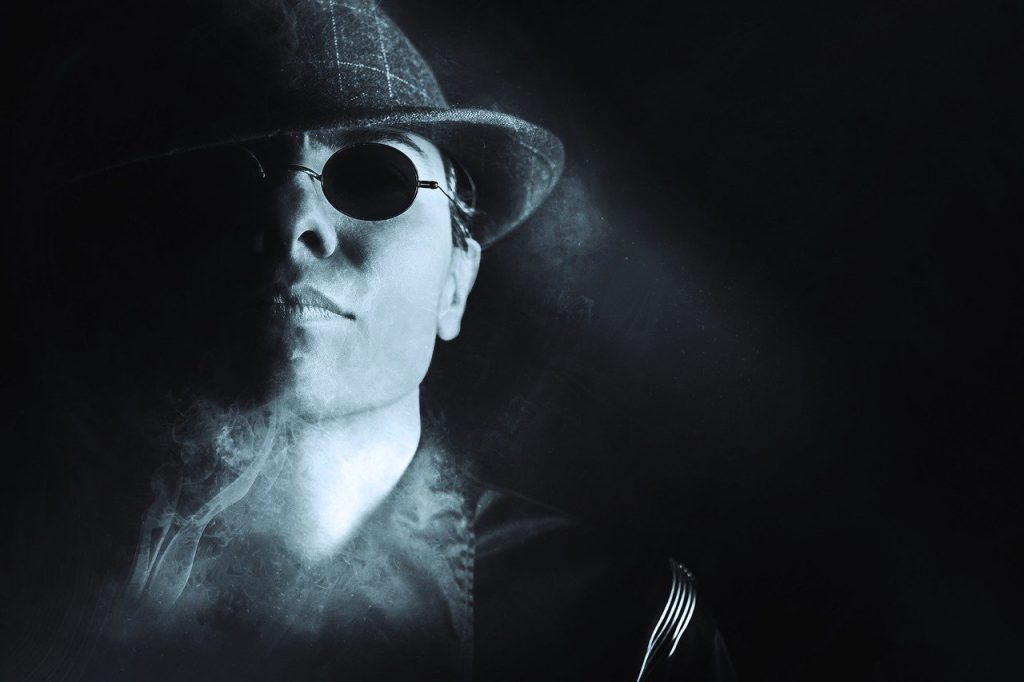
Image Source:
hippopx.com