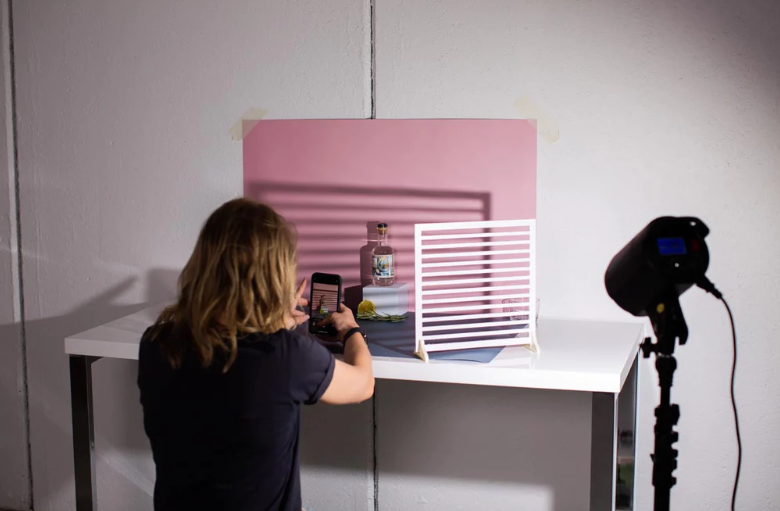
Lighting for product photography is not only about illuminating objects. The proper lighting sets the mood, gives products a professional appearance, and tells a story. That’s why professional photographers always pay attention to lighting before starting a project.
When it comes to product photography, lighting becomes even more critical. The goal is to highlight the product’s quality, deliver the right message, and attract customers. If you’re starting, mastering lighting for product photography can feel challenging, but with the proper techniques, you can achieve professional results.
Types of Lighting in Product Photography
Before we move to the lighting techniques for product photography, it is always better to first learn about the types of lighting you will use for your project. In general, product photography uses three types of lighting, which are:
- Key Light – the main lighting for product photography. You will point this lighting directly at the product to illuminate it and make it visible in your camera lens.
- Fill Light – as its name implies, this light has a job to fill in the part that you might think needs extra illumination. Compared to the Key Light, the Fill Light has lower intensity. You can also adjust its angle to create a proper shadow gradation, which brings out the product’s volume.
- Backlight – the purpose of this light is to create a difference between the product and the background. You place it on the back of the product or hang it on the top. This lighting is essential to help photographers easily capture the product image, especially when they use the Depth of Field technique. Moreover, you can also make the product the center of the photo theme with this light.
Lighting for Product Photography Techniques
Let’s move to the secret techniques that you can use on your product photography project. Some of these techniques are only known by professionals. Hence, if this is your first time trying lighting for product photography, this will be a valuable resource to help you improve your skills.
1. Use Off-Camera Flashes
To get better control over the lighting that touches the product surface, use off-camera flashes. The standard camera flashes are attached to the camera. Most of the time, this position doesn’t produce the proper lighting that can bring out the product’s volume. By using separate flashes or off-camera flashes, you can choose the location where the light comes and the shadow appears. Now you can capture a better product photo with these lighting for product photography.
2. Capture the Photo Detail with Ring Flashes
A ring flash is not only the standard lighting for YouTubers. However, you can also use it for product photography. The ring flashes create diffused lights that can bring out the product’s details better than other types of lighting. This lighting can eliminate harsh shadows and reduce glare. Use it as the Fill light to balance the main lighting intensity.
3. Use the Light Diffusers to Bring Out the Product’s Beauty
Many photographers use the umbrella’s curved softbox to create soft and smoother shading on the product. However, it only generates too much light pollution, which makes the post-product even more difficult. The best way to solve this problem is to use light diffusers. Light diffusers work by generating soft light that removes unwanted shadows. Best of all, you can control its shape and intensity. That helps a lot in producing an accurate color in product photography.
4. Create Special Light Effect with Gels
Gels can also be used to create a special effect and accent on your product. Place several of them in front of the backlight to create different color lights on your product, or you can also get the gel light modifier tool that has many gel filters in different colors and intensities. This lighting method gives you more freedom to create the ambiance of the product you want to capture in a photo.
5. Make the Product Stand Out with Triangle Lighting
You need three different lighting for photography to use this technique. Place one light as the leading light in front of the product, right above the camera. The other two are behind the product, forming a triangle shape with the first light. Please don’t forget to position those lights at a 45-degree angle from the camera to achieve a natural lighting shape.
The front light here works as the main lighting that brings the product volume and detail. The other two work as the filler that creates a light gradient and prevents the product from looking flat in the camera. You can also use this technique to separate the product from the background.
6. Use Backlighting for Creating Silhouette Effects
A stronger backlight compared to the front light can create artistic silhouettes. Combine with a gentle fill light for balanced results. Natural sunlight during golden hour can also serve as a perfect backlight.
Final Thoughts
Mastering lighting for product photography is one of the most effective ways to make your images stand out. From off-camera flashes to creative gels, these techniques help you create professional, eye-catching product shots.
If you find lighting setups challenging or time-consuming, Dropicts can help. Our professional photo editing services are designed to enhance product photos, highlight details, and ensure your images leave a lasting impression.
Image Source:
share.google