
If you’ve ever wondered how to warp an image in Photoshop, you’re not alone. Warping is one of those features that looks complicated at first, but once you understand it, it opens up a whole new level of creative control.
Whether you want to bend text, reshape objects, or create surreal edits, learning how to warp images is a must-have skill, especially if you’re into design, photography, or content creation.
In this guide, we’ll break everything down in a simple, beginner-friendly way. No confusing jargon, just practical steps you can actually follow.
What Does Warp Mean in Photoshop?
Before diving into how to warp an image in Photoshop, let’s quickly understand what “warp” actually means.
Warping allows you to distort or reshape an image by dragging control points. Instead of just resizing or rotating, you can bend, stretch, twist, or curve parts of your image.
Think of it like digitally “molding” your image, almost like clay.
Quick Steps to Warp an Image
Here’s the easiest way to get started:
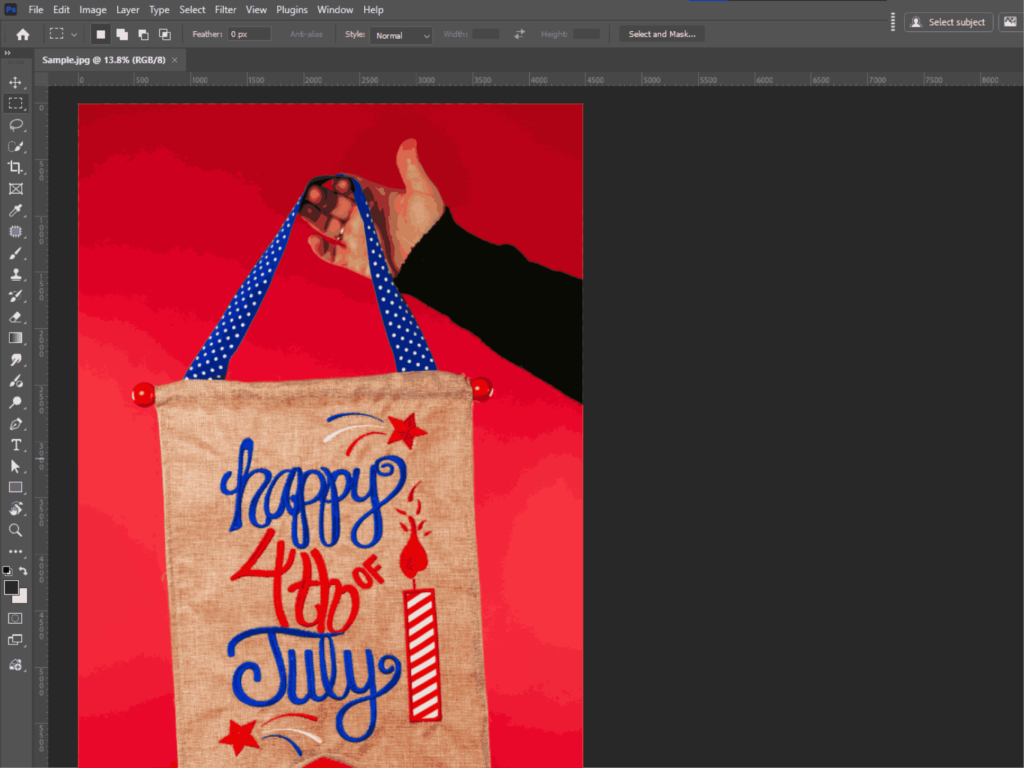
Step 1: Open Your Image
Launch Photoshop and open the image you want to edit.
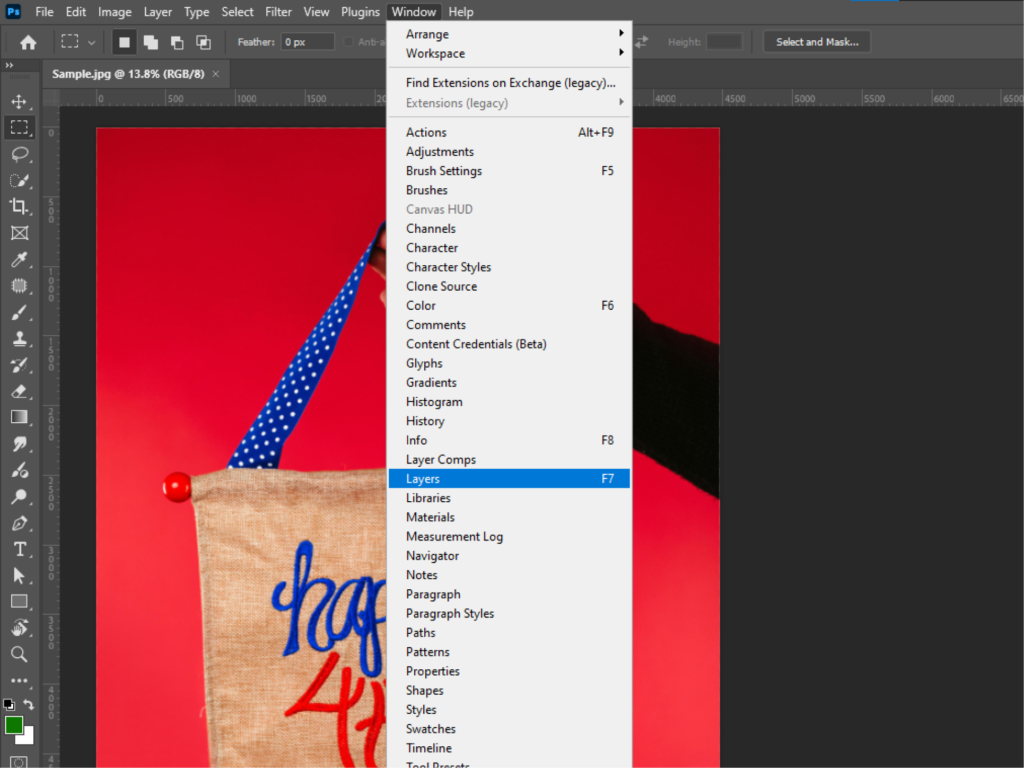
Step 2: Select Layers
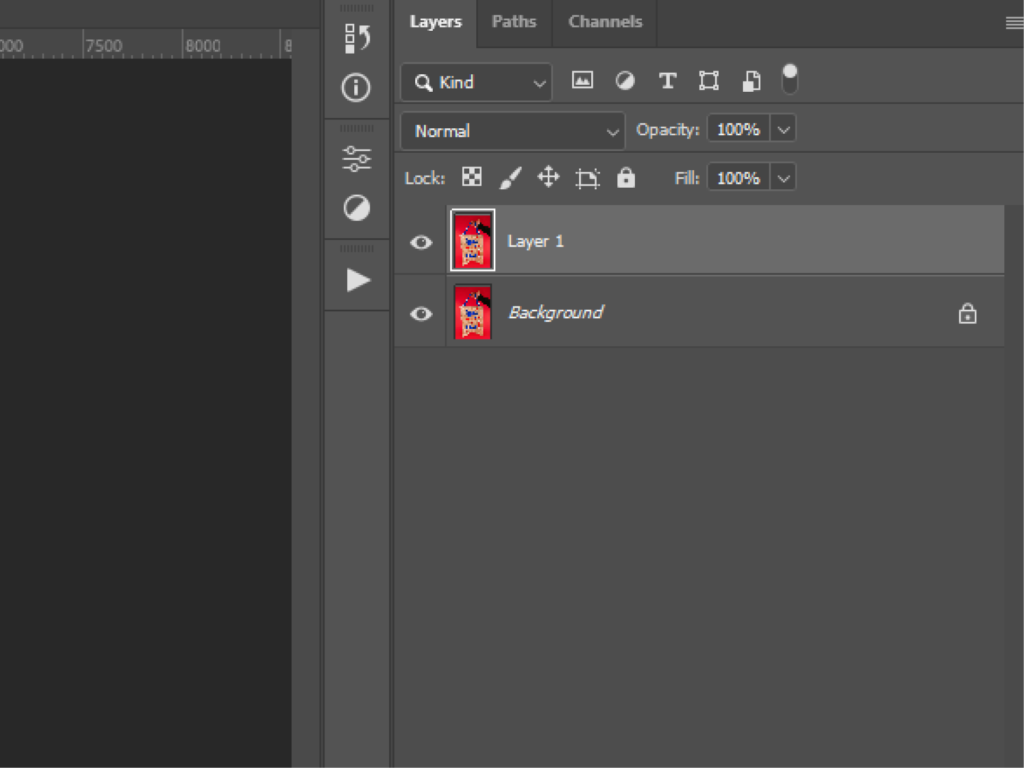
Select Window > Layers and then select the layer or area you want to warp in the Layers panel.
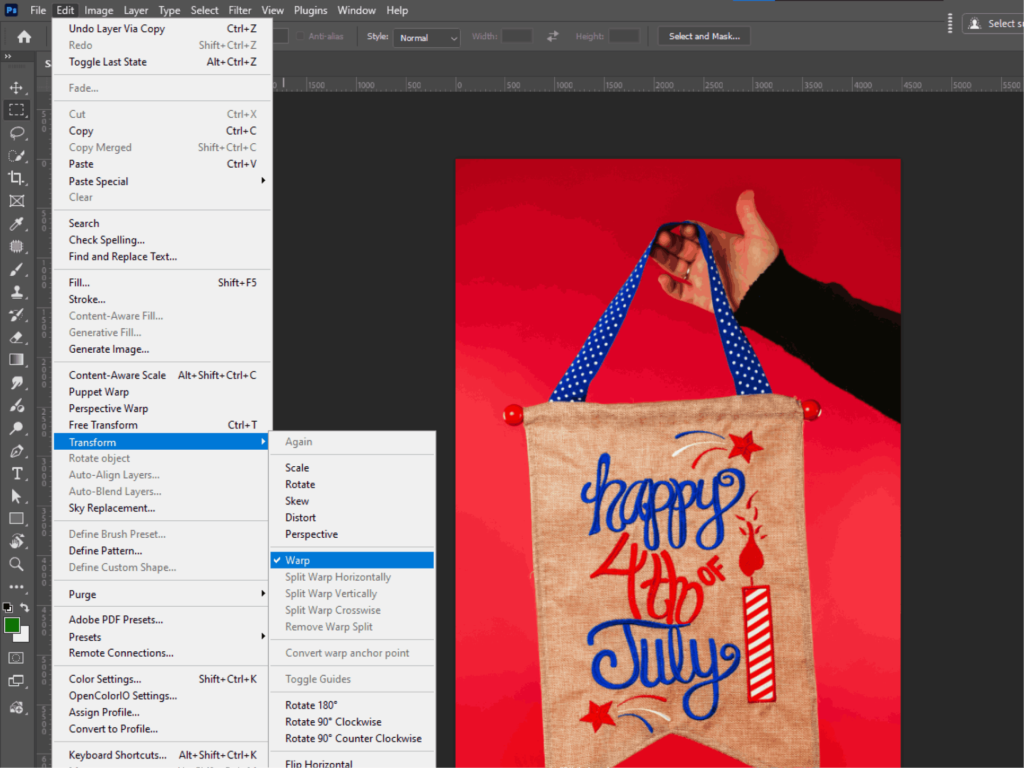
Step 3: Access Warp Tool
Go to:
Edit > Transform > Warp
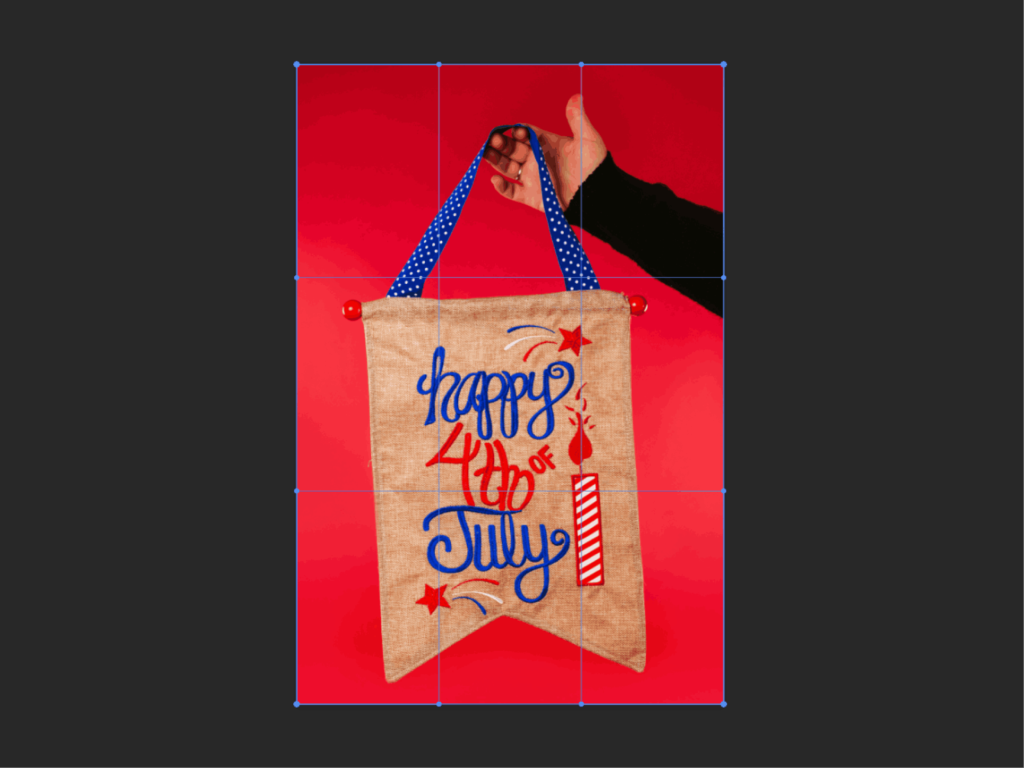
You’ll see a grid appear over your image.
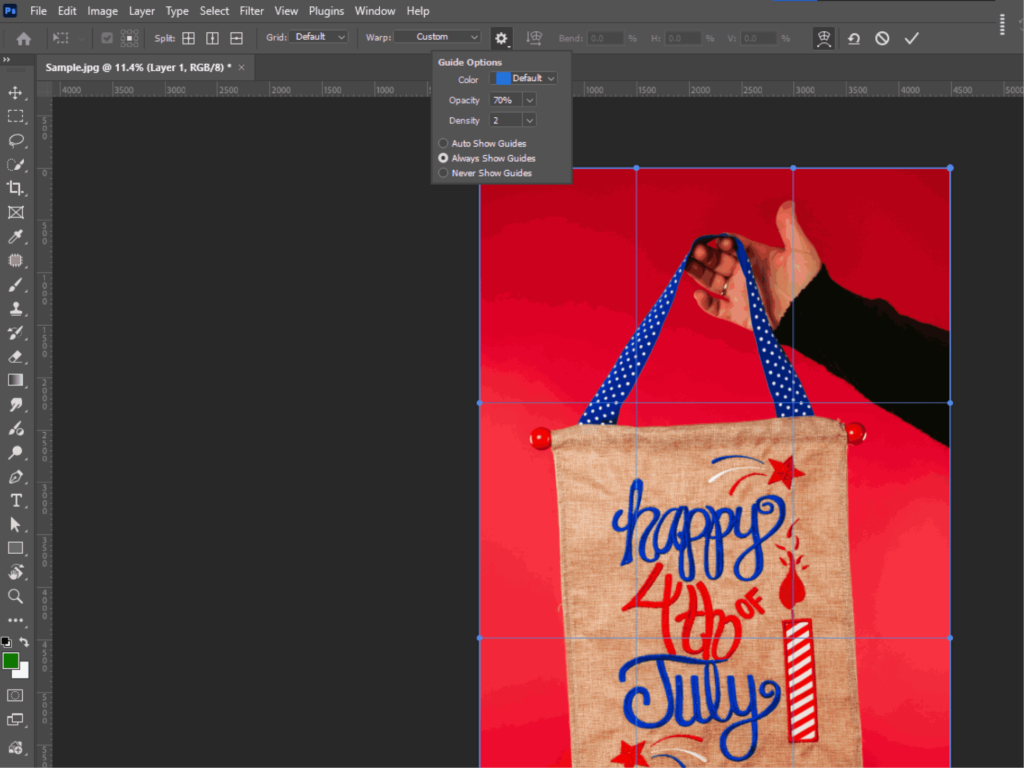
Step 4: Click the Gear Icon in the Options Bar to View More Visual Guide Options.
- Set the warp guide display to Auto Show Guides, Always Show Guides (default), or Never Show Guides.
- Change the Color and Opacity of the visual guides.
- Use the Density option to set how many lines appear between each Split Warp line. The default value is 2.
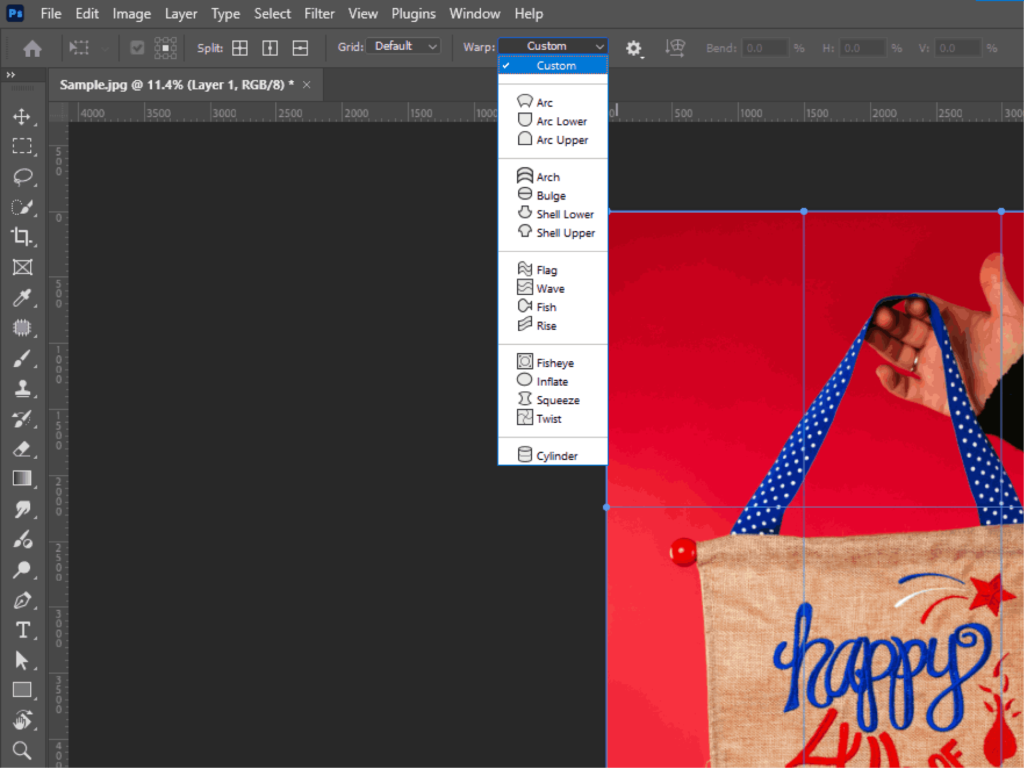
Step 5: Select a Style From the Warp Dropdown
Select a style from the Warp dropdown menu in the Options bar to apply a preset.
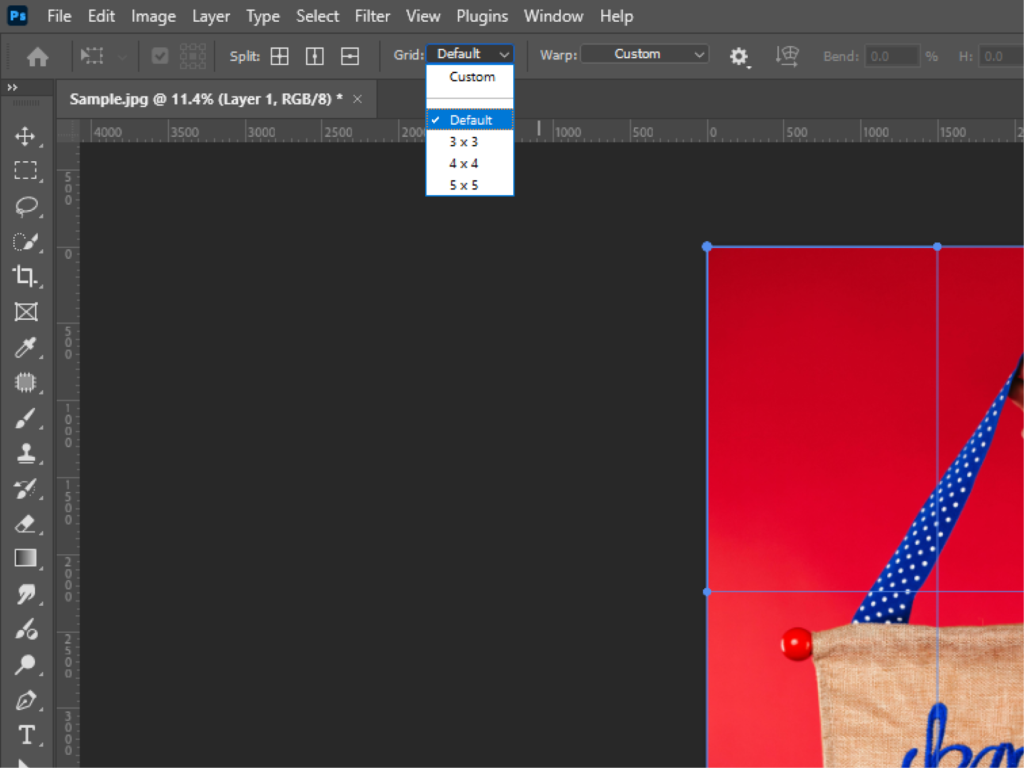
Step 6: Choose a Grid Size From the Dropdown Menu in the Options Bar to Create a Custom Warp Mesh.
- Select a grid size – Default, 3×3, 4×4, or 5×5.
- Select Custom and enter the number of columns and rows in the Custom Grid Size dialog box.

Step 7: Start Warping
- Click and drag grid points to reshape the image
- Drag corners for large distortions
- Adjust inner points for subtle changes
Step 8: Apply Changes
Press Enter (Windows) / Return (Mac) to confirm.
That’s the basic workflow for warping an image in Photoshop.
Different Ways to Warp Images in Photoshop
There’s more than one way to warp images in Photoshop. Here are the most useful methods:
1. Warp Tool (Default Method)
It is the most common method when learning how to warp an image in Photoshop.
- Uses a grid system
- Easy for beginners
- Great for basic distortions
2. Puppet Warp
Go to:
Edit > Puppet Warp
It lets you:
- Add pins to specific points
- Move parts of an image independently
Perfect for:
- Adjusting body posture
- Moving limbs in photos
- Fine-tuning shapes
3. Perspective Warp
Found under:
Edit > Perspective Warp
Best for:
- Fixing perspective issues
- Adjusting buildings or objects
- Creating realistic depth
4. Liquify Tool
Go to:
Filter > Liquify
It is more advanced but powerful:
- Push, pull, bloat, and reshape
- Often used in portrait retouching
Read also: Distort Images in Photoshop
How to Warp Images Naturally
Good question. And yes, “wrap” and “warp” are often confused.
If by wrap an image in Photoshop, you mean placing an image onto a surface (like wrapping a design onto a mug or t-shirt), here’s how:
Method: Warp + Transform Combo
- Place your image on top of the object
- Press Ctrl + T (Cmd + T on Mac)
- Right-click > choose Warp
- Adjust the image to match the surface
For more realism:
- Lower opacity temporarily
- Match lighting and shadows
- Use blending modes
So technically, wrapping an image = using warp creatively.
Read also: Feather Edges Smoothly
Tips for Better Warping Results
Learning how to warp an image in Photoshop is one thing; getting clean results is another. Here are some practical tips:
1. Use High-Resolution Images
Low-quality images will break or pixelate when warped.
2. Don’t Overdo It
Subtle warping looks more natural. Extreme distortion can ruin the image.
3. Zoom In for Precision
Work closely on edges and details to avoid awkward distortions.
4. Combine Warp with Masks
Use layer masks to hide unwanted areas after warping.
5. Work Non-Destructively
Always use Smart Objects so you can re-edit later.
6. Follow Natural Shapes
When wrapping onto objects, match the curves and perspective of the surface.
7. Use Guides or Reference Lines
Helps maintain alignment and realism.
Read also: Generative Fill Editing
Common Mistakes to Avoid
Even if you understand how to warp an image in Photoshop, these mistakes can mess things up:
- Over-stretching pixels > leads to blurry results
- Ignoring perspective > makes edits look fake
- Warping without planning > results look random
- Skipping Smart Objects > limits editing flexibility
Final Thoughts
Mastering how to warp an image in Photoshop isn’t about memorizing tools, but it’s about understanding how shapes and perspective work.
Start simple:
- Use the basic Warp tool
- Experiment with small adjustments
- Gradually try advanced tools like Puppet Warp or Liquify
Once you get comfortable, you’ll be able to:
- Create realistic mockups
- Design eye-catching visuals
- Manipulate images like a pro
If you’re starting, don’t rush. Play around with the tools and see what works. Warping is one of those skills that improves fast with practice.
And if you’re short on time to fix your photos, no worries! Contact us now to get free image editing services. Click here to contact our sales representative!
Image Source: