How to negative a photo in Photoshop is a question that many beginners and photography enthusiasts ask when they want to try something creative. Turning an image into a negative is more than just inverting colors; it’s a way to create artistic, dramatic, and even mysterious effects that transform ordinary photos into something unique.
With Photoshop, achieving this effect is incredibly simple. In fact, you can change the mood of your photo with just a few clicks. In this guide, we’ll walk you through how to negative a photo in Photoshop step by step, and we’ll also share tips and an alternative method so you have more flexibility.
Why Use the Negative Photo Effect?
Before we dive into the tutorial, let’s discuss why this effect is worth learning. Negative photos are often used in photography, graphic design, and even in marketing visuals. Some of the benefits include:
-
Creative expression: Experimenting with negative colors adds an abstract and surreal look to your images.
-
Artistic projects: Negative photos work perfectly for posters, album covers, or social media designs.
-
Highlighting details: In some cases, inverting an image makes hidden information more visible.
-
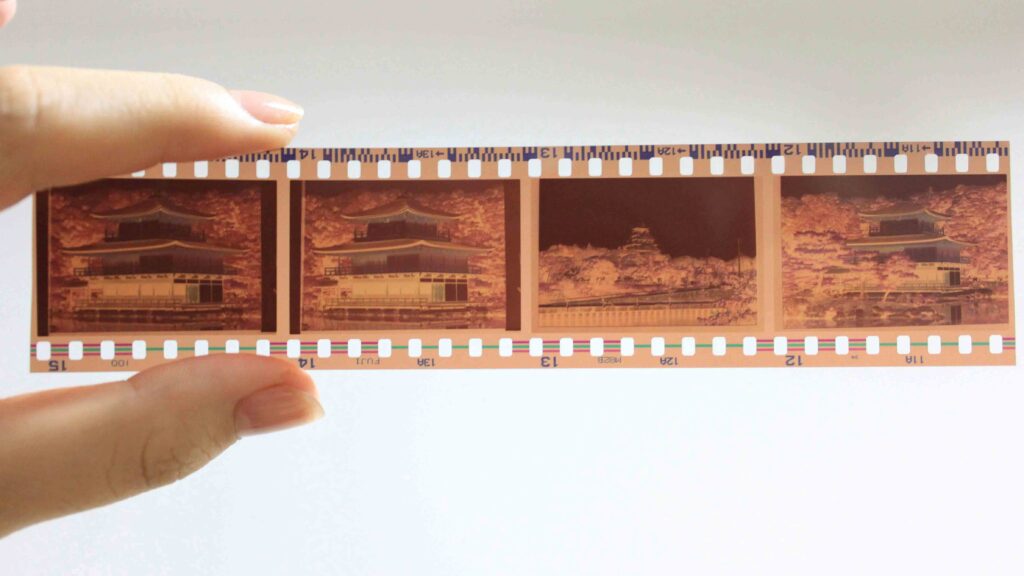
Vintage style: The effect can replicate the look of film negatives, giving your photos a nostalgic touch.
Mastering how to negative a photo in Photoshop gives you a powerful editing tool for both fun and professional projects.
How to Negative a Photo in Photoshop: Step-by-Step Guide
Follow these three easy steps to create the adverse photo effect:
1. Open Your Image in Photoshop
First, launch Photoshop and open the photo you want to edit. You can drag the file directly into the workspace or go to File > Open. Once loaded, your image is ready for editing.
2. Apply the Invert Adjustment
Go to the Image menu, then select Adjustments > Invert. You can also use the shortcut Ctrl + I (Windows) or Command + I (Mac). Instantly, all colors in your photo will be reversed, giving it a striking adverse effect.
3. Fine-Tune the Look
The default invert option may look too strong at first. To refine the result, adjust the photo further by going to Image > Adjustments and experimenting with Brightness/Contrast or Curves. This lets you control how dark, light, or dramatic your negative photo appears.
And just like that, you’ve successfully learned how to negative a photo in Photoshop in only three simple steps.
Read also: How to Make a Mirror Reflection in Photoshop in Easy Ways
Alternative Method: Using an Adjustment Layer
If you prefer a non-destructive method, Photoshop also allows you to invert a photo using an Adjustment Layer. Here’s how:
-
Go to the Layers Panel.
-
Click the New Adjustment Layer icon at the bottom.
-
Choose Invert from the list.
This approach is flexible because your original image stays intact. You can easily turn the adverse effect on or off, or adjust it later without having to start over.
Pro Tips for Better Results
When learning how to negative a photo in Photoshop, here are some extra tips to make your edit stand out:
-
Choose high-quality images: The adverse effect looks best on clear, sharp photos.
-
Experiment with black-and-white images: Negatives in monochrome often create striking, high-contrast results.
-
Combine effects: Try blending the adverse effect with other filters like blur, gradient maps, or overlays for artistic outcomes.
-
Use layer masks: Apply the adverse effect selectively to only certain parts of your photo for a creative twist.
Final Thoughts
Now you know precisely how to negative a photo in Photoshop using both quick steps and advanced adjustment layers. This effect is easy to apply yet offers endless creative opportunities. Whether you’re editing for fun, for social media, or for professional design, the adverse photo effect is a great way to make your visuals more eye-catching.
If you want professional-quality edits, Dropicts is here to help. Our expert photo editors can handle everything from color correction and retouching to background removal and creative edits. Don’t settle for average. Make your photos stand out today.
Image Source:
pexels.com