
An excellent furniture photography setup can instantly take your product images from average to premium, and the best part is, you don’t need a huge studio or super expensive gear to make it happen. A good furniture photography setup is all about bright lighting, clean styling, and angles that highlight the product’s shape and materials. If you’re selling online, building a portfolio, or want your brand to look more professional, improving your setup is one of the fastest ways to increase trust and boost sales.
In this guide, we’ll break down practical tips that are easy to apply for beginners, small business owners, and content creators who want commercial-level results without complications.
1. Why Furniture Photography Setup Matters
Furniture is something people want to feel before buying; texture, size, comfort, and style matter a lot. Because buyers can’t touch products online, photos must clearly convey everything. A strong furniture photography setup can dramatically improve customer confidence and reduce product returns.
2. Basic Gear You Actually Need
You don’t need to worry about having a full studio. Start with these essentials:
- Mirrorless or DSLR camera
- 24–70mm lens
- Tripod
- Softbox or LED panel
- Reflector
- Remote shutter or timer mode
These items help keep images sharp and lighting even, two things a furniture photography setup depends on.
3. Using Smartphones for Professional Results
A modern smartphone camera can absolutely work as long as you control lighting and stability.
Tips:
- Use a tripod for steady shots
- Avoid ultra-wide mode to prevent distortion
- Shoot in RAW if available
- With good light and composition, no one will know it’s from a phone.
4. Choosing the Right Lens
The lens affects how furniture appears, including its size and shape.
Here are the best options to choose the right lens:
- 35mm–50mm for a realistic perspective
- 24–70mm for flexibility
- 85mm for details and close-ups
Avoid lens choices that stretch objects or make legs appear too long or too short.
5. Tripod Placement & Camera Height
Tripod placement and camera height can make all the difference.
General rule:
- Shoot furniture at eye level, around seat height, or at table-top height.
- Keep the camera straight, not tilted, to avoid leaning lines.
Balanced framing makes the product look more natural and premium.
6. Natural Light vs Artificial Light
Both lighting options work well, depending on the style you want.
Natural Light
- Soft, flattering, realistic
- Best near large windows
- Ideal for lifestyle scenes
Artificial Light
- Perfect for product catalog images
- Easy to control shadows and consistency
- Works anytime, not weather-dependent
Most professional studios combine both for balance.
7. Lighting Positions That Always Work
If you’re not sure where to put lights, try these setups:
45° Side Light
Soft shadows + depth.
Two-Light Even Setup
Shadow-free for ecommerce shots.
Backlight + Front Fill
Creates a luxury showroom effect.
Use reflectors when needed; often, a simple white foam board works great.
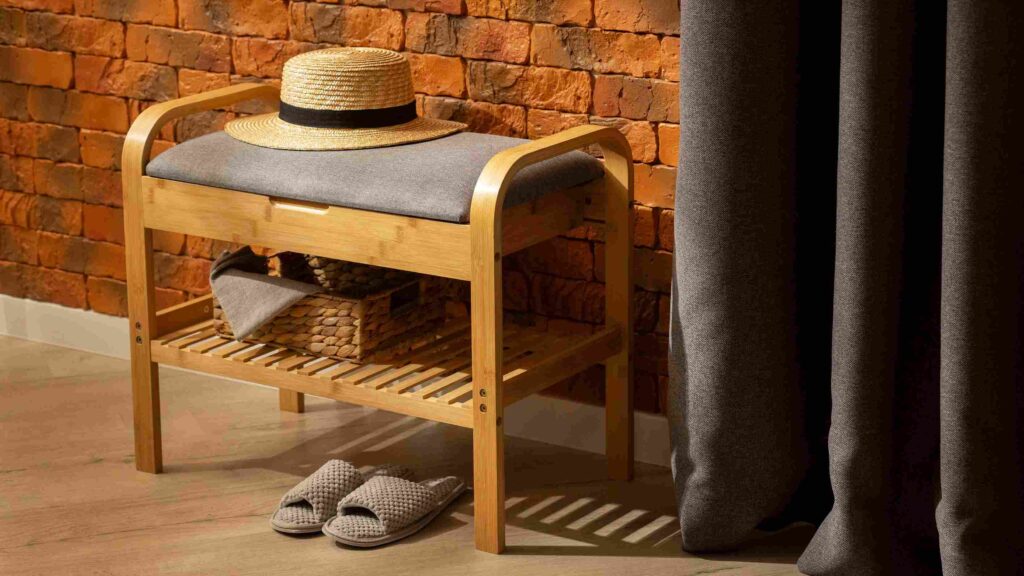
9. Styling for Visual Appeal
Good styling doesn’t overpower the product; it enhances it.
You can try:
- Plants, books, or lamps for scale
- Cushions or throws for softness
- Minimal accessories to keep focus on the piece
Before shooting, remove anything that doesn’t add value.
10. Best Angles for Furniture Photography Setup
A strong furniture photography setup includes multiple angles to show the whole story.
Use these essentials:
- Front straight-on
- 45-degree perspective
- Full side view
- Close-up details
- Lifestyle scene angle, if needed
Buyers want to feel confident they’ve seen every critical part.
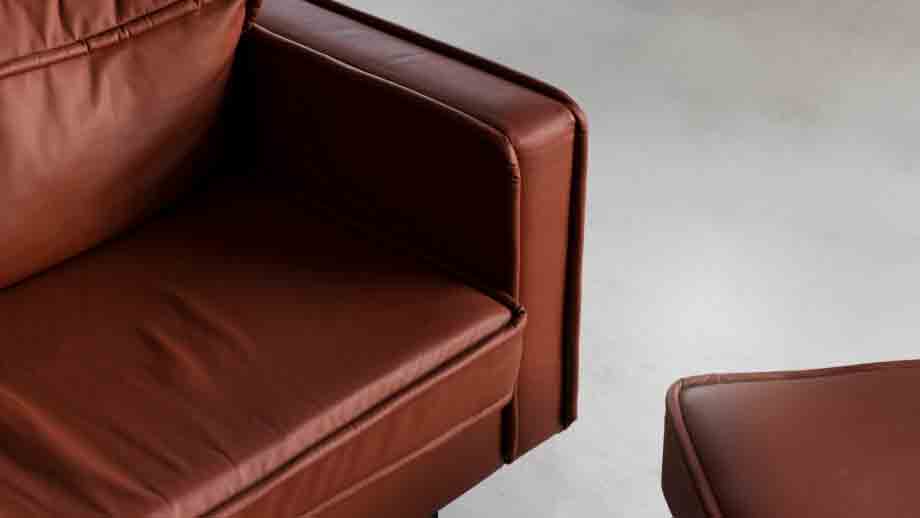
11. Capturing Real Texture & Material
Textures make furniture desirable. Use side lighting to highlight fabric weave, wood grain, or leather texture. Move lights until details become visible without harsh shadows.
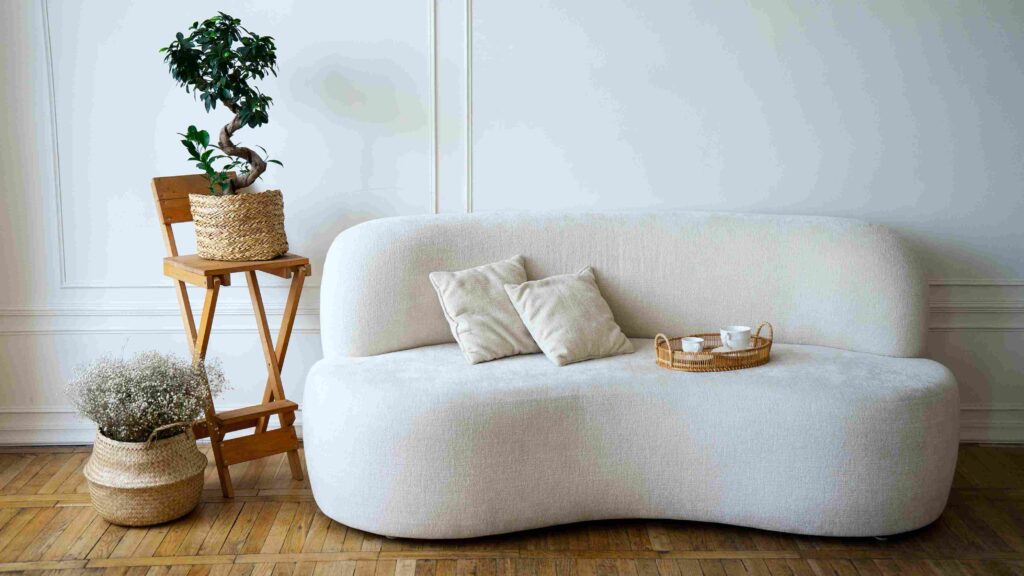
12. Scale & Proportion Tips
Show size accurately by including relatable objects such as books, plants, or a rug edge. It prevents confusion and helps customers imagine the piece in their space.
13. Editing & Color Consistency
Editing is about polishing, not changing reality.
Recommended adjustments:
- White balance correction
- Sharpening details
- Removing dust or scratches
- Straightening lines
- Matching the color to the real product
Tools like Lightroom, Capture One, and Photoshop work great.
14. Common Mistakes to Avoid
- Shooting too close with wide lenses
- Using overhead room lighting as the primary light
- Busy backgrounds are stealing attention
- Over-saturated colors that misrepresent the product
- Cropping furniture legs or edges unintentionally
Final Thoughts
A proper furniture photography setup can dramatically elevate how your products look online. You don’t need a massive studio; you need good light, careful styling, and attention to detail. When your photos are clean, consistent, and accurate to reality, customers will trust your listings more and buy more confidently.
FAQ — Frequently Asked Questions
Q: Do I always need a professional camera to do furniture photography?
A: Not necessarily. Many smartphones today have powerful cameras capable of capturing quality images. The key is stable shooting (on a tripod), good lighting, and careful composition.
Q: Can I rely on natural light?
A: Yes. Natural light can give beautiful, realistic results, especially for lifestyle shots. But artificial light (softbox/LED) is more consistent and ideal for catalog-style photos, or for shooting at night or in low-light conditions.
Q: How many photos do I need for one furniture item?
A: It depends on the purpose. For catalogue/ecommerce: usually 4–6 images (front, 45°, side, detail close-up, top view, scale shot). For lifestyle or portfolio: more to show context, usage, and environment.
Q: What if I don’t want to deal with editing?
A: That’s where a service like Dropicts can help. If you don’t have time or expertise to retouch, correct color, or remove background, you can try Dropicts’ photo editing service. It helps make your photos look polished and ready for listing. Click here for a free trial.
Q: How do I make sure colors in the photo match real product colors?
A: Use proper white balance settings when shooting, avoid mixing light sources with different color temperatures, and check colors against the product—final tweaks in post-processing help to get a stunning furniture photography setup.
Image Source: