
Real Estate Photo Editing Tips to Make Your Listings Stand Out
Real estate photo editing tips are essential if you want your listings to attract buyers fast. Whether you’re selling or renting a property, high-quality photos can dramatically increase interest—and your chances of closing a deal.
In today’s online-driven world, first impressions happen in seconds. Poor lighting, clutter, or awkward angles can deter people. That’s why using the right real estate photo editing tips can transform average photos into captivating visuals.
Should You Edit Real Estate Photos?
Yes, and here’s why. Most raw photos don’t capture a home’s full potential. The lighting can be off. Walls might look dull. Even a perfect room can appear dark or uneven in pictures.
Editing helps fix those things without changing the actual space. You’re not deceiving anyone; you’re showcasing the property in the best light. Think of it as brushing your hair before a selfie—same room, just cleaner and more polished.
Why is editing real estate photos a good idea? Here’s what it can do:
- Brighten dark corners
- Match the colors to create a natural look for the walls and floors.
- Remove minor distractions (like cords or shadows)
- Balance exposure from windows and indoor lights
In short, editing helps buyers see the real potential of the property.
Real Estate Photo Editing Tips for Beginners
You don’t need to be a Photoshop pro. These beginner-friendly tips can help you get started with real estate photography editing: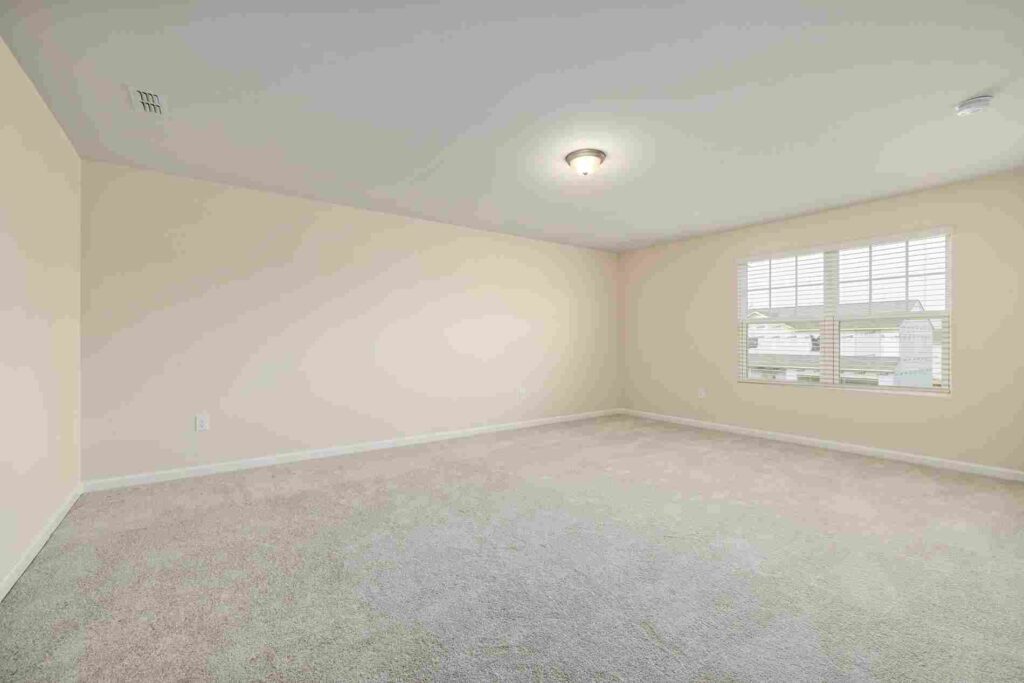
1. Start with Good Lighting
Before editing, make sure your photo has good lighting. Natural light is your best friend. Shoot during the day, open the curtains, and turn on all lights.

2. Adjust Brightness & Contrast
Use editing tools to enhance the image’s brightness. Don’t go overboard! Just enough to make the space look fresh. Then tweak the contrast to make details stand out.
3. Fix White Balance
This helps colors look natural. If your walls appear blue or yellow, adjusting the white balance will bring them back to a true white or neutral tone.
4. Straighten Lines
Crooked walls or tilted furniture? Use the straighten tool to fix any angles. Real estate photos should always look balanced.

5. Remove Small Distractions
Editing out a trash can, light switch, or messy cord can make a photo look cleaner. Just don’t remove anything significant that changes the layout.

6. Keep It Real
Don’t add fake furniture or unrealistic lighting. The goal is to enhance, not deceive. You want viewers to trust what they see.
Tools for Editing Real Estate Photos Like a Pro
Here are some popular tools to apply your real estate photo editing tips:
Adobe Lightroom
Perfect for adjusting lighting, color, and details. It’s beginner-friendly and features powerful capabilities for capturing real estate shots.
Canva (Pro)
If you want quick edits with a clean interface, Canva is the solution! While not as advanced, it is perfect for basic fixes and resizing.
Luminar Neo
Known for its AI features, Luminar is ideal for fast pro-level edits. It can enhance skies, correct tones, and clean up images with just a few clicks.
Snapseed (Mobile)
Editing on your phone? Snapseed is a free app that offers powerful tools, including brightness, contrast, and perspective adjustments.
Final Thoughts
Utilizing real estate photo editing tips is one of the easiest ways to differentiate yourself in a crowded market. Clean, clear, and professionally edited photos help your property shine online.
You don’t need expensive gear—just a camera, good light, and smart editing.
If you’re short on time to fix your photos, no worries! Contact us now to get free image editing services. Click here to contact our sales representative!
Image Source: