
Content aware fill in Photoshop is one of those features that feels almost unfair the first time you use it. You remove something from a photo, and Photoshop fills in the space as if it had never been there.
No complicated masking. No hours of cloning.
If you’re just getting into photo editing, or even if you’ve been using Photoshop for a while, this tool can save you a ton of time.
Let’s walk through how it works, how it compares to generative fill, and how to actually use it without overthinking everything.
What is Content Aware Fill in Photoshop?
At its core, content aware fill in Photoshop is a tool that removes unwanted parts of an image and replaces them with nearby pixels.
Instead of just deleting something and leaving a blank space, Photoshop analyzes the surrounding area and tries to “rebuild” the missing part.
Think of it like this:
- You remove a person > Photoshop fills in the background
- You delete a wire > Photoshop blends the sky back in
- You clean a product photo > Photoshop smooths everything out
And most of the time, it does a surprisingly good job.
How to Use Content Aware Fill in Photoshop
Let’s keep this simple and practical.
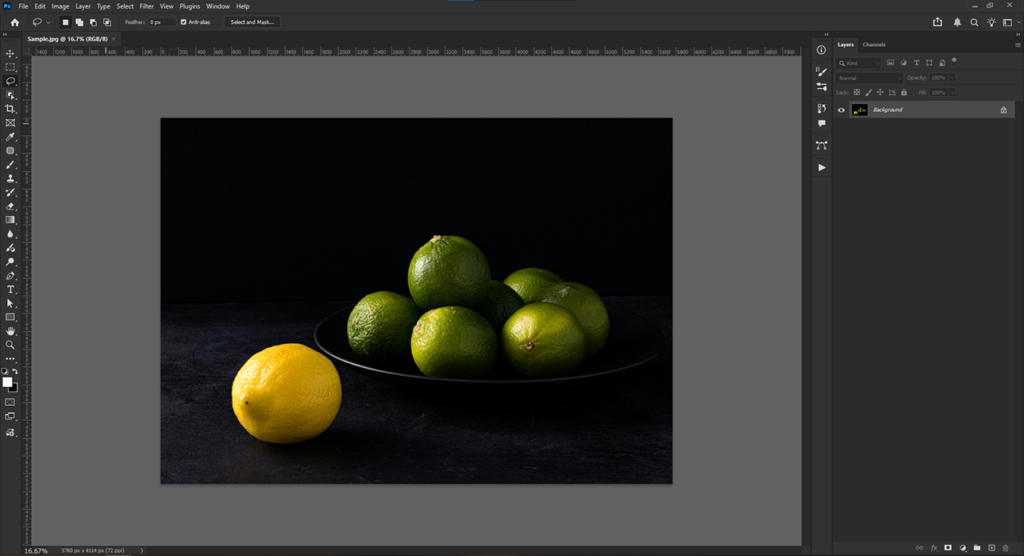
1. Open Your Image
Load the image you want to edit in Photoshop.
2. Select the Object
Use a selection tool like:
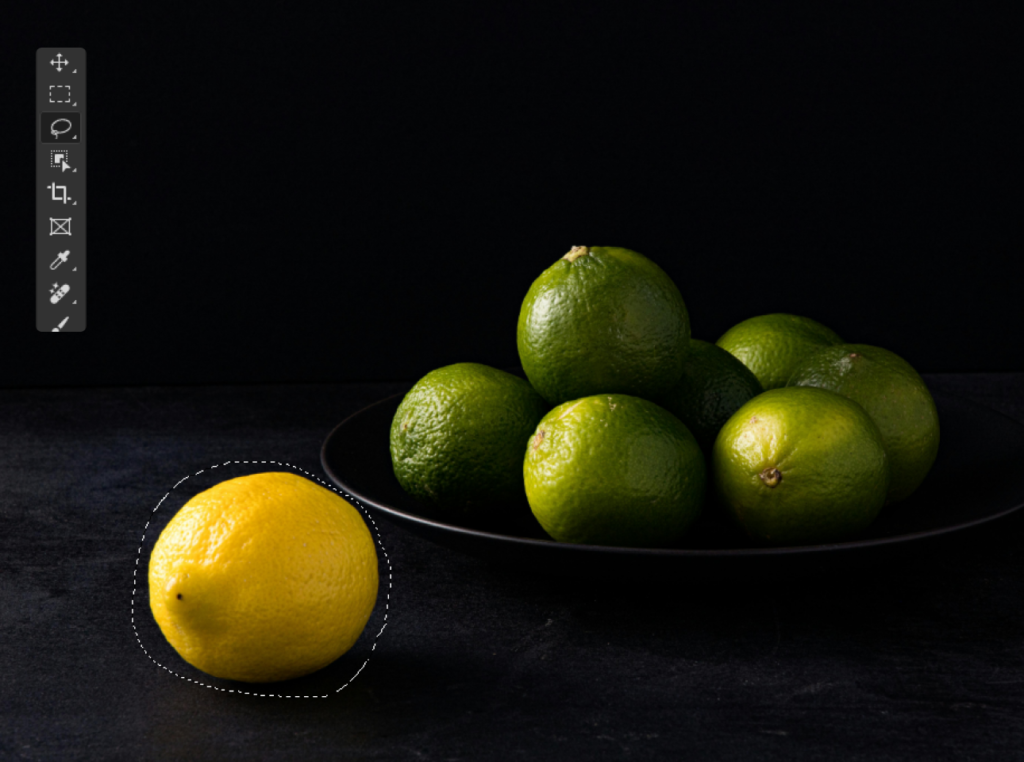
- Lasso Tool (quick and easy)
- Object Selection Tool (more automatic)
Don’t stress about being perfect. Get a clean selection around the object.
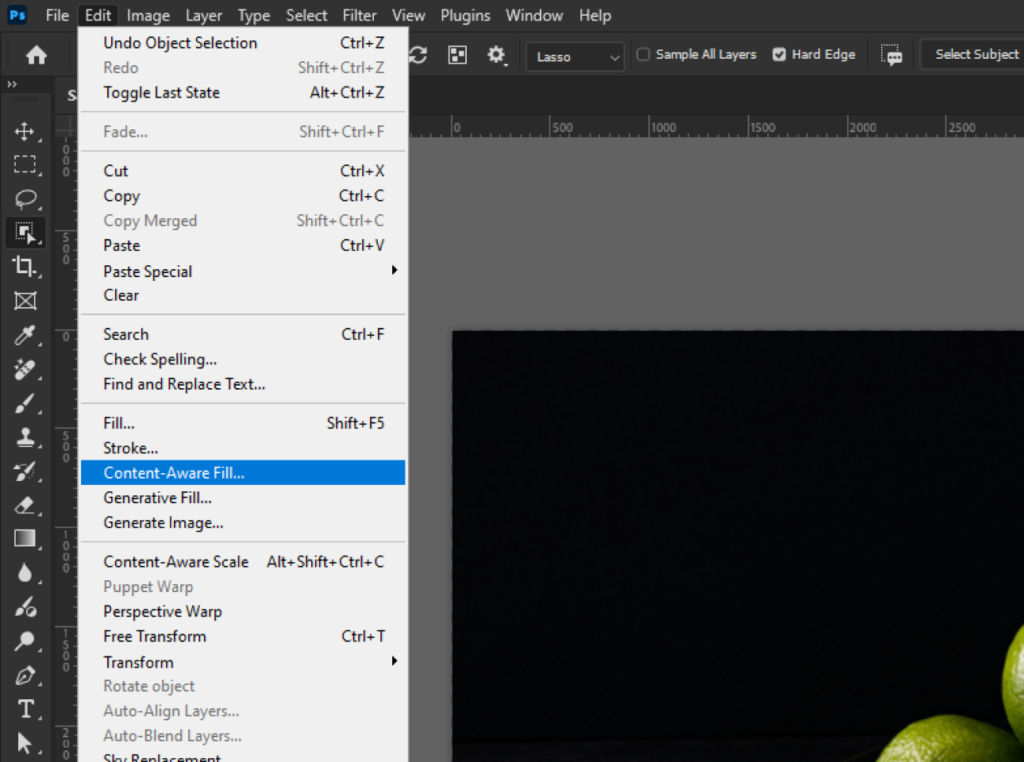
3. Go to Content-Aware Fill
Click Edit > Content-Aware Fill
It opens a separate workspace with a live preview.
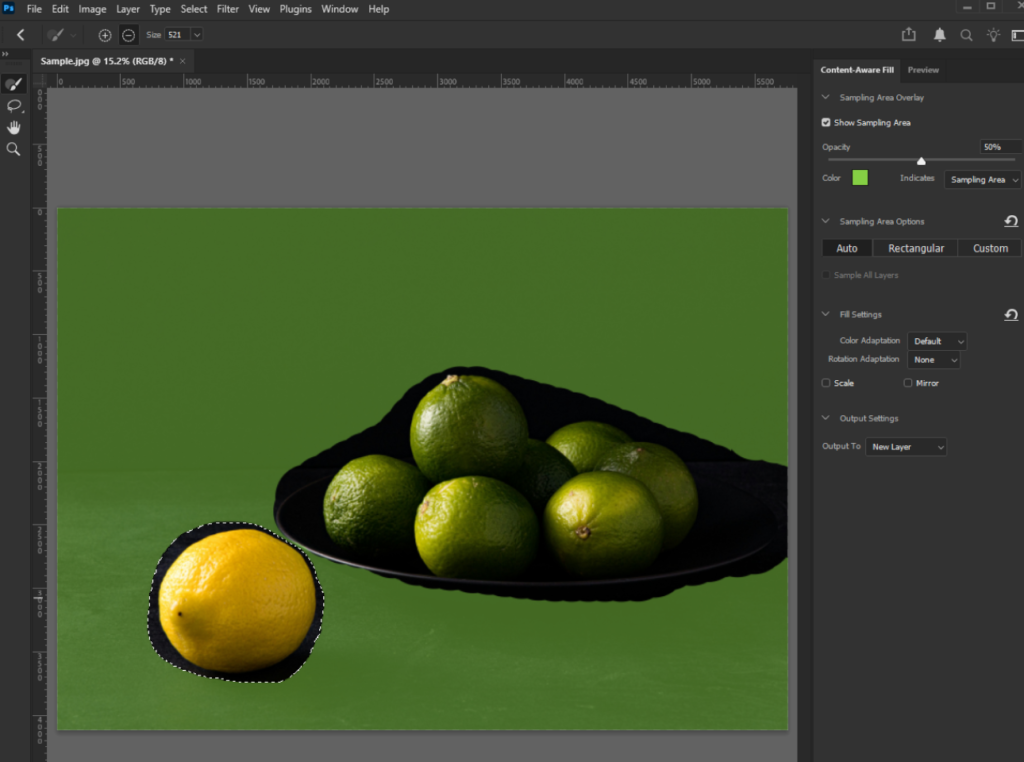
4. Adjust the Sampling Area
You’ll see a highlighted area (usually green). That’s where Photoshop pulls data from.
If something looks off:
- Add areas you want Photoshop to use
- Remove areas that might confuse it
This step can make a huge difference.
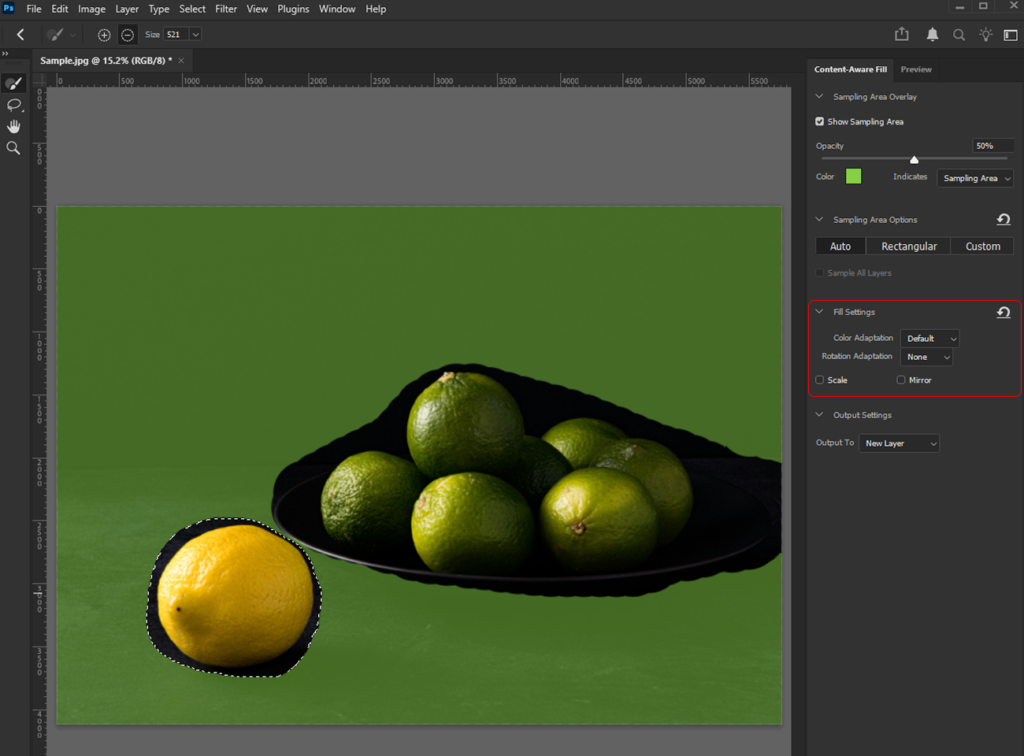
5. Tweak the Settings (Optional)
You’ll find options like:
- Color Adaptation
- Rotation Adaptation
- Scale
You don’t always need to touch these, but they’re useful for more complex images.
6. Output the Result
Set the output to:
New Layer
It keeps your original image safe and makes editing easier later.
7. Clean Up if Needed
Sometimes it’s not perfect, and that’s normal.
Just use:
- Clone Stamp Tool
- Healing Brush
for quick touch-ups.
Here’s the Result:

Before
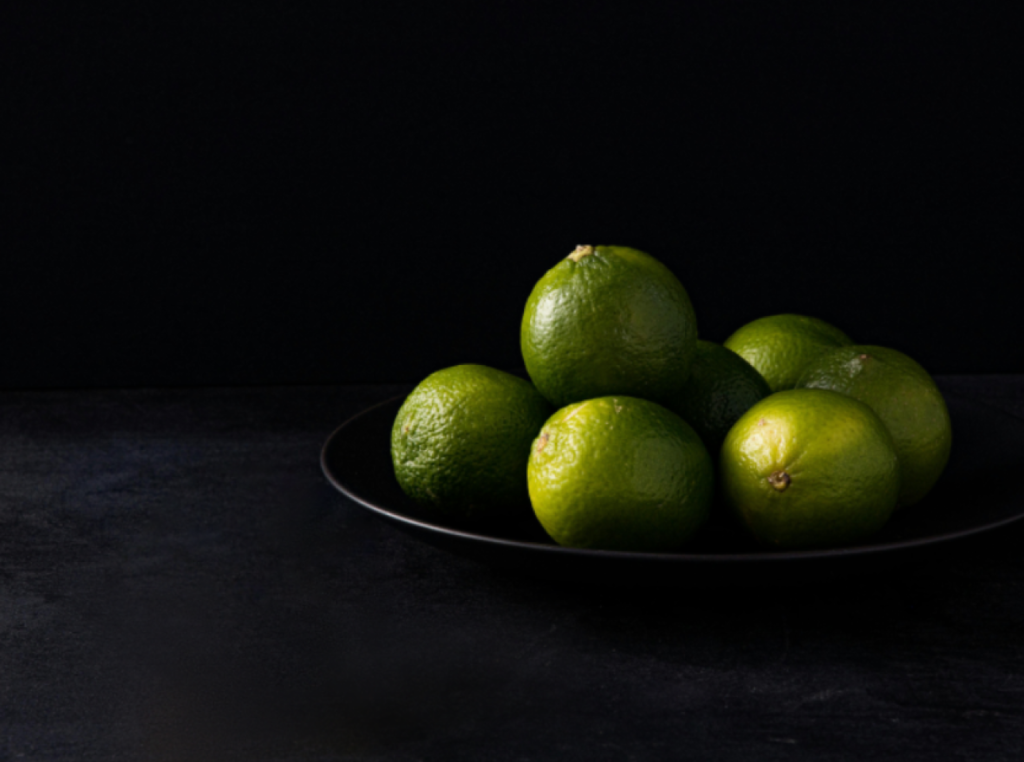 After
After
Content-Aware Fill vs Generative Fill
It is where many people have gotten confused lately.
Both tools can remove objects, but they work very differently.
Content-Aware Fill
- Uses actual pixels from your image
- Focuses on blending what’s already there
- Fast and straightforward
- Works best for simple cleanups
Generative Fill
- Uses AI to generate new content
- Can create things that weren’t originally there
- Supports text prompts
- More flexible, but sometimes less predictable
So which one should you use?
If you want a clean, natural-looking edit > stick with content aware fill in Photoshop
If you want to add or completely change elements > go with generative fill
A good rule:
Fix = content-aware fill
Create = generative fill
Read also: Feather Edges Smoothly
Which Version of Photoshop Has Content Aware Fill?
The good news is you don’t need the latest version to use content-aware fill in Photoshop.
- First introduced in Photoshop CS5
- Got a major upgrade in Photoshop CC 2019
- Available in all modern Photoshop versions today
If you’re using Photoshop CC or a newer version, you’re good to go.
Newer versions also include a dedicated workspace where you can fine-tune how the fill behaves, which is super helpful for tricky edits.
Tips for Better Results
Even though content aware fill in Photoshop is powerful, it’s not magic. A few small tweaks can really improve your results.
Give It Some Breathing Room
Don’t make your selection too tight. A bit of extra space helps Photoshop blend better.
Watch Out for Busy Backgrounds
Crowds, patterns, or detailed textures can confuse the tool.
Work in Smaller Sections
If you’re removing a large object, try doing it in stages rather than all at once.
Combine Tools
The best edits usually come from mixing:
- Content-aware fill
- Clone stamp
- Healing brush
Best Uses for Content-Aware Fill
Content aware fill in Photoshop is perfect for fast, natural edits without spending too much time.
Great for:
- Removing people from backgrounds
- Cleaning up product photos
- Fixing small distractions
Not ideal for:
- Highly detailed or complex scenes
- Precision-heavy edits
- Creative manipulation (that’s where generative fill shines)
Read also: Clone Stamp Retouching
Final Thoughts
Once you get used to it, content aware fill in Photoshop becomes one of those tools you rely on all the time. It’s quick, surprisingly accurate, and perfect for everyday edits.
You won’t always get a perfect result in one click, but with a little adjustment, it gets very close.
And honestly, that’s what makes it so useful.
Want Cleaner Results Without the Hassle?
If you’re working with lots of images, especially for business, it can get time-consuming fast.
That’s where a professional service like Dropicts can help. So you can focus on your business while your images stay consistent and high-quality.
Image Source: pexels.com