
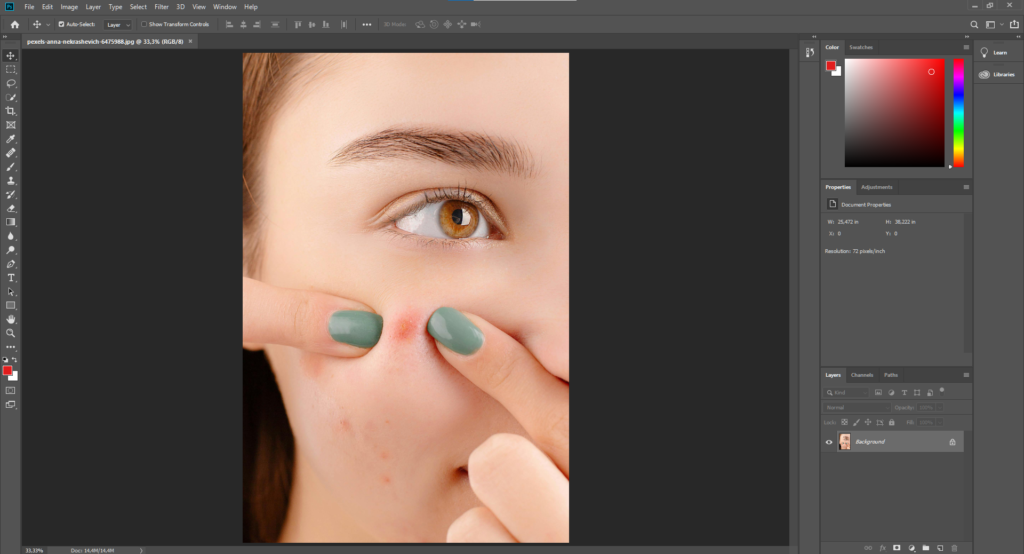
The Spot Healing Brush Tool is one of the easiest and most practical features in Photoshop, especially when you need to remove minor imperfections without diving into complicated editing techniques. In real photo editing workflows, this tool is often used for quick touch-ups such as acne, dust spots, or minor skin flaws because it delivers clean results in just a few clicks. If you’re new to photo editing or want faster, more natural-looking retouching, the Spot Healing Brush can save time while keeping the image realistic.
In this guide, we’ll walk through what the Spot Healing Brush Tool actually does, where to find it in Photoshop, and how to use it properly to remove blemishes without damaging skin texture. The explanation is grounded in practical use and presented in a relaxed, beginner-friendly way, making it ideal for anyone who’s just getting started or looking to improve their everyday retouching workflow.
What Is the Spot Healing Brush Tool?
The spot healing brush tool is a Photoshop tool designed to remove minor imperfections, such as pimples, dust spots, scratches, or tiny objects, from an image. It works by sampling surrounding pixels and blending them automatically into the selected area.
Unlike manual retouching tools, spot healing doesn’t require you to choose a source area. Photoshop analyzes the texture, lighting, and color around the blemish and fills it in seamlessly.
It makes the spot healing brush tool ideal for:
- Skin retouching
- Cleaning product photos
- Removing sensor dust
- Fixing minor background distractions
If you want fast edits without overthinking technique, this tool is a must-have.
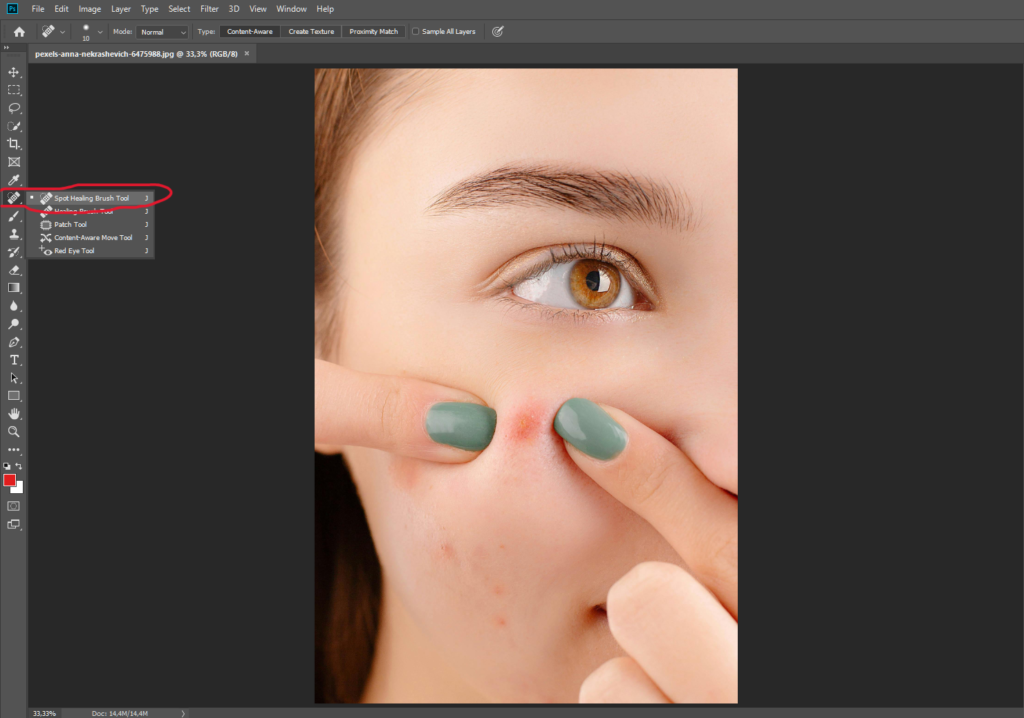
Where Is the Spot Healing Brush Tool in Photoshop?
You can find the Spot Healing Brush tool in the left-hand toolbar in Photoshop.
Here’s how to locate it:
- Open Photoshop
- Look at the vertical toolbar on the left
- Find the band-aid icon
- Click and hold if you see multiple healing tools
- Select the Spot Healing Brush Tool
Shortcut tip:
Press J on your keyboard to cycle through healing tools until the Spot Healing Brush appears.
How the Spot Healing Brush Tool Works
The spot healing brush tool uses content-aware technology. When you click or paint over an area, Photoshop:
- Analyzes nearby pixels
- Matches texture and lighting
- Blends the area automatically
This process happens instantly, which is why it’s perfect for quick fixes. However, understanding how it works helps you avoid messy or unnatural results.
The tool performs best on:
- Small areas
- Simple textures
- Even lighting conditions
How Do I Remove Blemishes with Spot Healing?
Removing blemishes with the spot healing brush tool is simple, but technique matters.
Step-by-Step Guide
- Zoom into the area you want to fix
- Select the spot healing brush tool
- Adjust the brush size slightly larger than the blemish
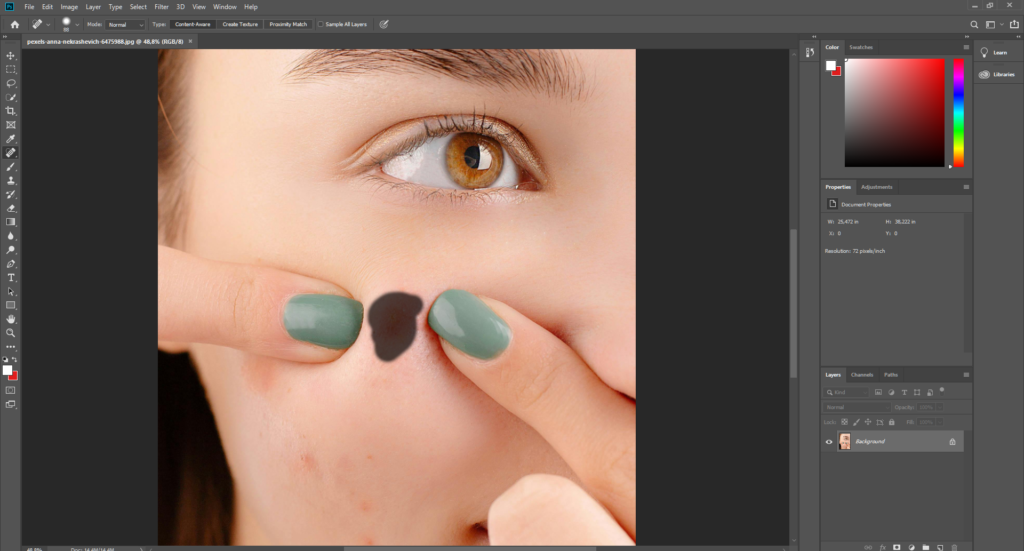
- Click once on small spots or gently paint over larger ones
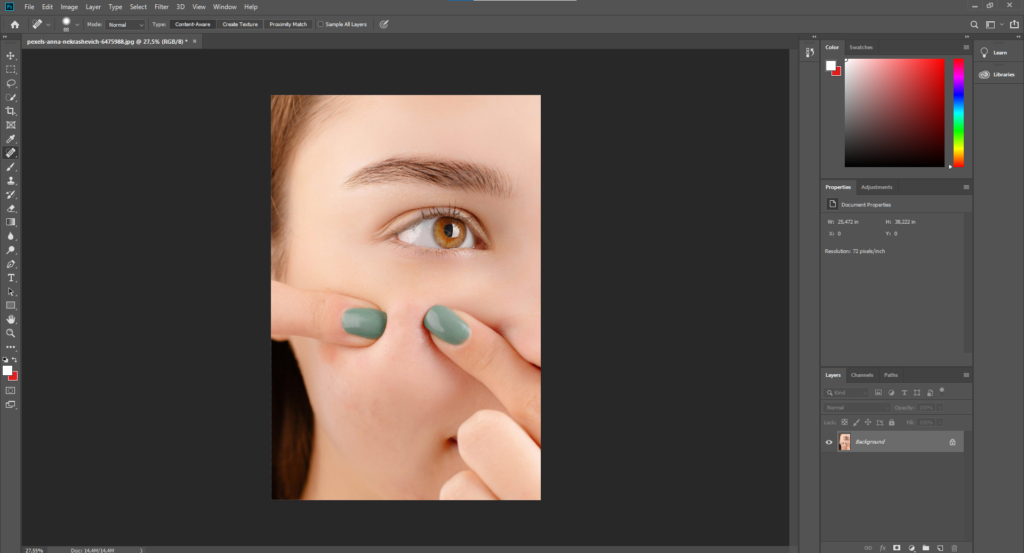
- Release and let Photoshop do the work
That’s it: no cloning, no sampling, no advanced setup.
Pro Tip:
For skin retouching, use single clicks instead of dragging. It preserves a more natural texture and prevents smudging.
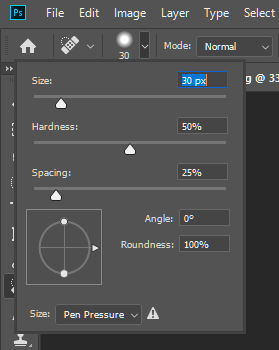
Best Settings for Natural Results
To achieve clean, realistic edits, your settings matter more than you think.
Recommended Settings
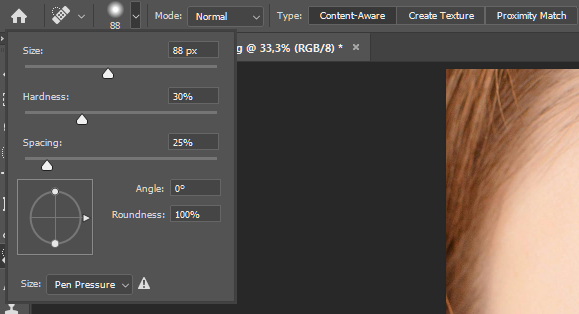 Type: Content-Aware
- Hardness: 0–30%
- Brush Size: Just slightly larger than the blemish
- Spacing: Default
Using a brush that’s too large can confuse Photoshop and create blurry patches, especially on skin.
Common Mistakes to Avoid
Even though the spot healing brush tool is beginner-friendly, there are a few mistakes that can ruin your edit.
Mistakes to Watch Out For
- Overusing the tool on large areas
- Using a brush that’s too big
- Dragging instead of clicking on the skin
- Editing directly on the background layer
Best Practice
You can always duplicate your layer before retouching. It keeps your workflow non-destructive and easy to fix.
Spot Healing Brush vs Healing Brush Tool
Many beginners confuse these two tools.
Spot Healing Brush Tool
- Fully automatic
- No source selection
- Best for minor imperfections
- Faster workflow
Healing Brush Tool
- Manual source sampling
- More control
- Better for complex textures
- Ideal for detailed retouching
If you’re removing acne, dust, or minor distractions, the spot-healing brush tool is usually enough.
When Should You Not Use Spot Healing?
The spot healing brush tool isn’t perfect for everything.
Avoid using it when:
- The area has complex patterns
- There are sharp edges (like text or logos)
- You need precise texture control
In these cases, tools such as Clone Stamp or Healing Brush offer greater accuracy.
Final Thoughts
The spot healing brush tool is one of the most potent yet underrated tools in Photoshop. It’s fast, simple, and incredibly effective for cleaning up images without heavy editing skills.
For photo editing beginners who want professional-looking results without spending hours learning advanced techniques, mastering this tool is a significant first step. Whether you’re editing portraits, product photos, or social media visuals, spot healing can instantly elevate your work.
Once you’re comfortable with it, you’ll find yourself using the spot healing brush tool in almost every editing session, and wondering how you ever worked without it.
If you’re short on time to fix your photos, no worries! Contact us now to get free image editing services. Click here to contact our sales representative!
Image Source: