
Food photography means combining delicacy and creativity in one frame. It can be very fun! However, it can sometimes be one of the most challenging types of photography, even for a professional photographer. You have to construct the photo until you get a perfect balance. Food photography can serve as a differentiator in the industry. It can be the reason for people to decide to order from your place. So, what are the food photography tips to create a strong photo?
Food Photography Tips For You
You want to tell a story through any food photos you take, whether it’s a cocktail, homemade pasta, or roasted chicken. It all sounds simple, but when it comes to technicality, it’s a more complicated story than others. A chef can create great food, but it’s your job to make it look mouth-watering and visually appealing in your food photography. Additionally, consider being a food photography resource for a platform that can provide you with some side hustle income. Here are some simple tips from us to create strong food photography for your brand or restaurant, like professional food photographers. You can share some on social media or your food blog.
1. Choose the Right Angle and Background
The angle of food photography will affect the type of story you want to tell. There are only a few angles in food photography. So, think wisely about it. You can decide based on the food’s size, shape, height, and what makes it unique. Choosing the right camera angles can make your “hero item” or the main subject stand out more.
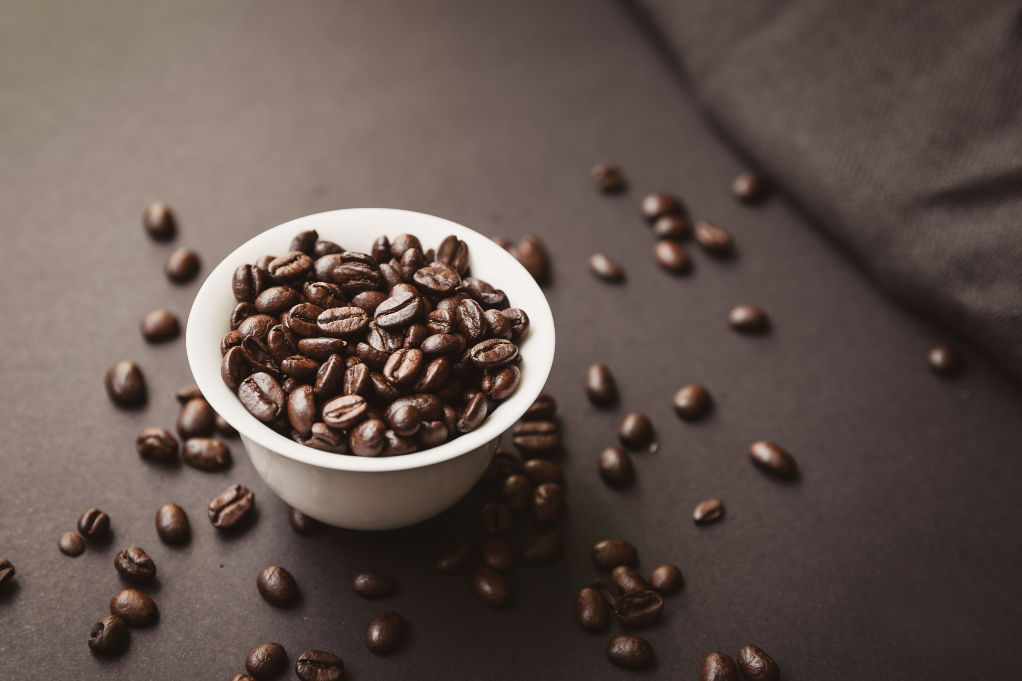
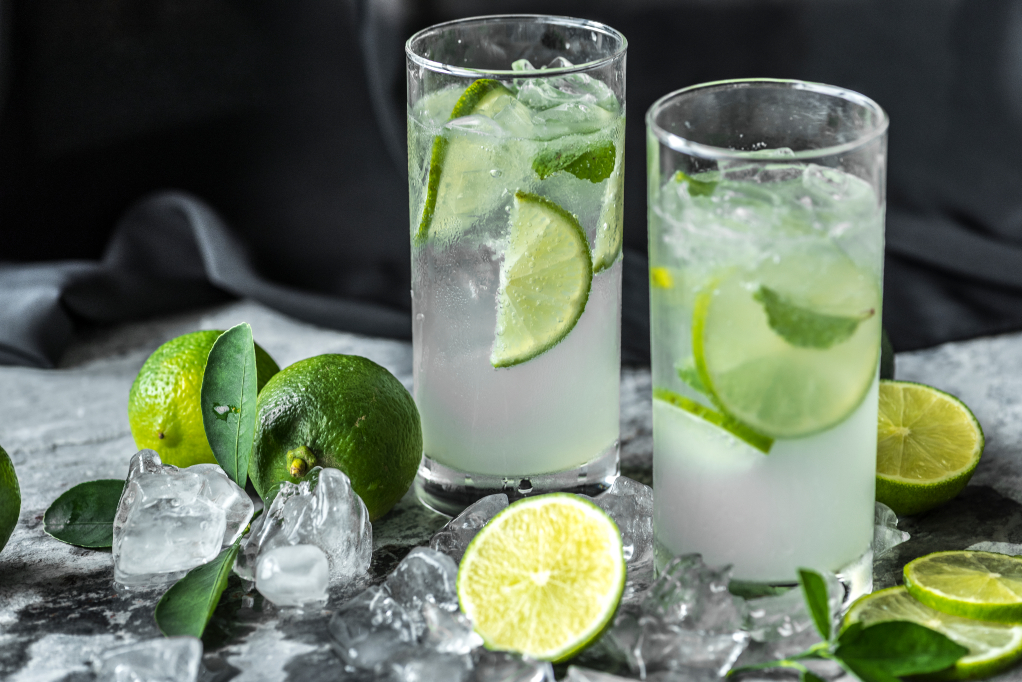
Choosing a background is also essential. A neutral background, such as a dark or light shade, typically looks suitable for food photography. Alternatively, a wooden table can make a great background, especially if it’s positioned near a window. After you’ve found the perfect angle and background, adding a little property detail might help you make your food photography look stronger and more eye-catching.
2. Shoot in Natural Light (and take control of the shadows)
Shoot your food photograph with artificial lighting, such as a studio light, which is likely to create an unflattering shadow in your photo. It will ruin your story and immediately turn off your audience. Although light is essential for creating beautiful still images, you can use natural daylight for your food photography. Ensure your lighting source doesn’t detract from the delicacy of the food. These food photography tips can make a huge difference in your food photo.
When you feel that natural light can help you to create a strong story from your food photos, here is a little secret that can make your life much easier. You can do it near the window, and let the window light your object. Or just directly in your garden. The diffuser will significantly enhance the quality of light. Softening those hard, dark shadows and bright highlights caused by direct sunlight. Soft shadows are much more flattering to the subject, without dominating the scene.
3. Combining Several Menus or Ingredients

Another food photography tip is composition. Your delicious food and background are both vital elements. Make your photos more interesting. The way you arrange your food will have a significant impact on the final result. As we mentioned earlier, composition is the key! Don’t be afraid to experiment with some ingredients or another menu item that will help strengthen your image. A plate of food can be improved by adding another side dish or another garnish. Your food images will look great, and the frame will feel more lively.
Alternatively, a set of white plates with a generous spread of food can be paired with a wooden table or a nice tablecloth to create more creative food photographs. Just pour your creativity here and apply some food styling techniques too.
4. Set the Best Exposure Level
When you have the best composition, angle, and perfect lighting source for your scene, you have to adjust the camera’s exposure level. It simply refers to the brightness of your final image.
Over-exposure will cover up the details in every piece of your food, and of course, there is no delicacy on the frame. To avoid it, you have to expose the highlights. Set the best exposure levels to reveal the details in the areas of the scene. When you follow these food photography tips, you can also adjust the shutter speed and aperture, or choose a good lens. Adding a little depth of field can also make a good food photo.
5. Use Human Element
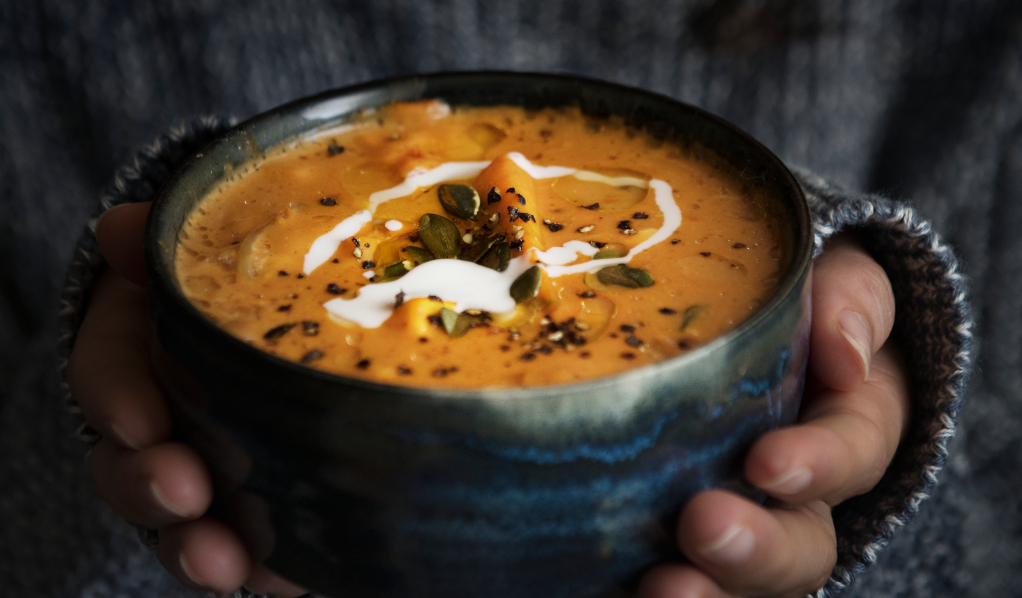
Using your hand on the frames can help you to create a sense of movement in the frame; otherwise, the frame will look just like a static scene, but if you do a photoshoot all by yourself, then this thing will need extra care to keep your camera steady when you press the shutter button. And if you’re shooting a close-up food photograph, you don’t tend to use any additional decorations in the scene. However, don’t forget that you need to use a great combination of colors on a frame. It can create good food pictures.
Photo Editor Can Improve Your Food Photography Result
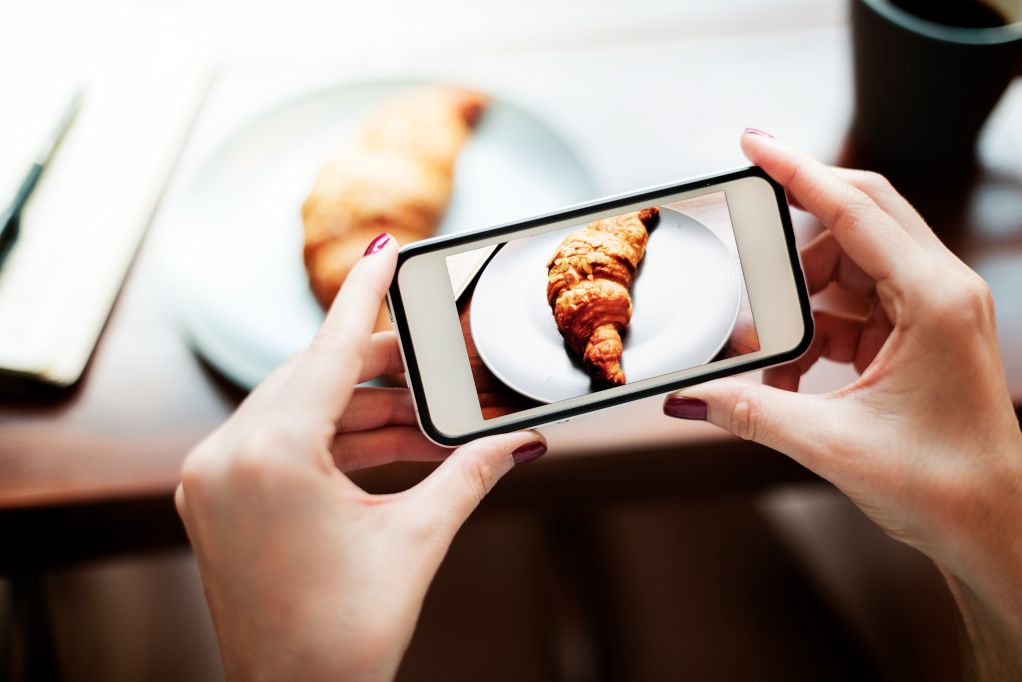
You can use any DSLR professional camera, like those used by professional photographers, or use your smartphone to create mouth-watering food photography. Take a look at your food photo. Is there anything that can be improved? You can use editing software like Photoshop or Lightroom to perform retouching tasks, such as adjusting the white balance or applying color correction, if you prefer not to stay in the raw format. Once you understand the fundamentals of food photography, all you need is practice and applying these food photography tips and rules. Keep in mind that practice makes perfect, and you’ll see the result in your great food photos. You can be a food photographer in no time!
Those are the simple food photography tips for you. However, the process of photo editing is not your forte. In that case, you can utilize a photo editing service or professional image and photo retouching services, such as Dropicts. We can help make your photo look like a professional food photo.

Image source: