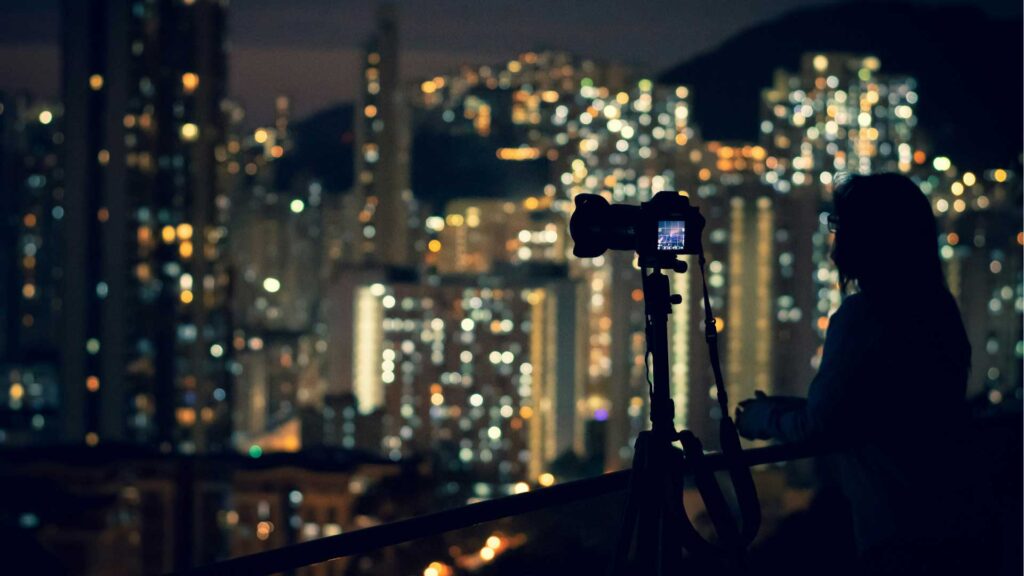
Long exposure photography is one of those techniques that instantly makes your photos look more artistic and professional. Even if you’re starting. You’ve probably seen silky waterfalls, dreamy ocean waves, or light trails from cars at night. That’s all created using long exposure.
The good news? You don’t need to be a pro to pull it off. With a bit of understanding and the right setup, you can start capturing stunning long exposure shots today.
What is Long Exposure Photography?
Long exposure photography is a technique where you keep your camera shutter open longer than usual to capture motion over time. Instead of freezing action, it blends movement into a smooth, flowing effect.
Here’s what makes it unique:
- Moving elements (like water, clouds, or traffic) appear blurred
- Static objects (like buildings or rocks) stay sharp
- It creates a sense of motion and time in a single image
Typically, exposures range from a few seconds to several minutes, depending on the scene and lighting.
Read also: Landscape Photography Settings
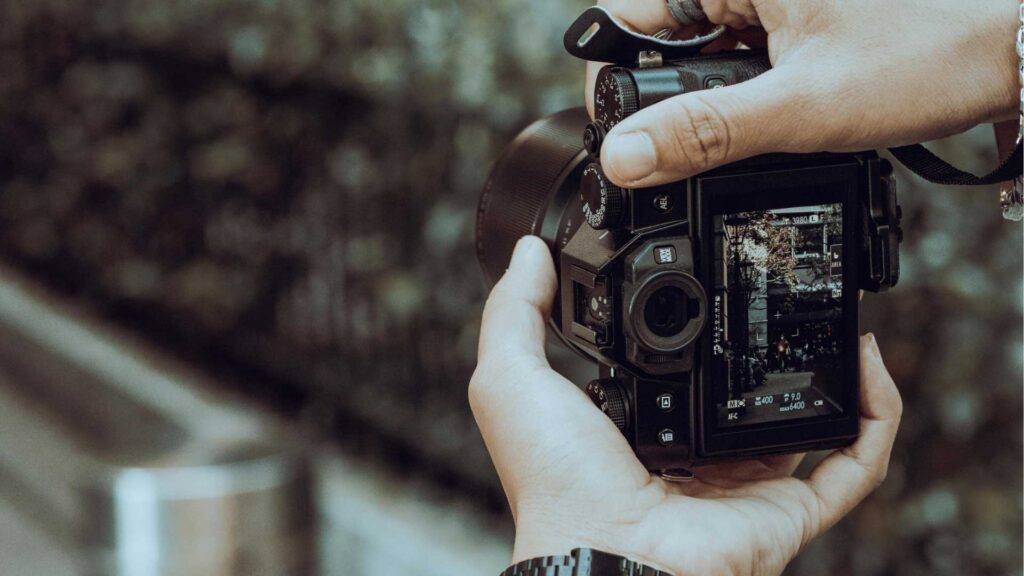
How to Do Long Exposure Photography
Getting started with long exposure photography is easier than it looks. You need the right setup and a bit of patience.
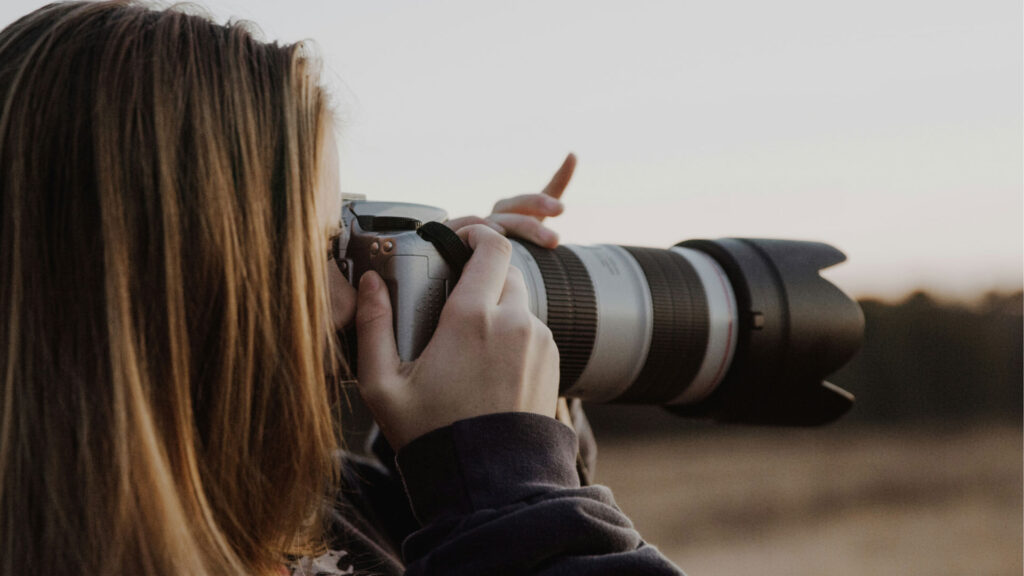
Essential Gear for Long Exposure Photography
You don’t need expensive equipment, but these basics help a lot:
- A camera with manual mode (DSLR or mirrorless)
- A sturdy tripod (this is non-negotiable)
- ND filter (optional but useful in daylight)
- Remote shutter or timer (to avoid camera shake)
How to Shoot Long Exposure Photos Step-by-Step
Follow this simple workflow:
Set up your tripod
Stability is everything in long exposure photography.
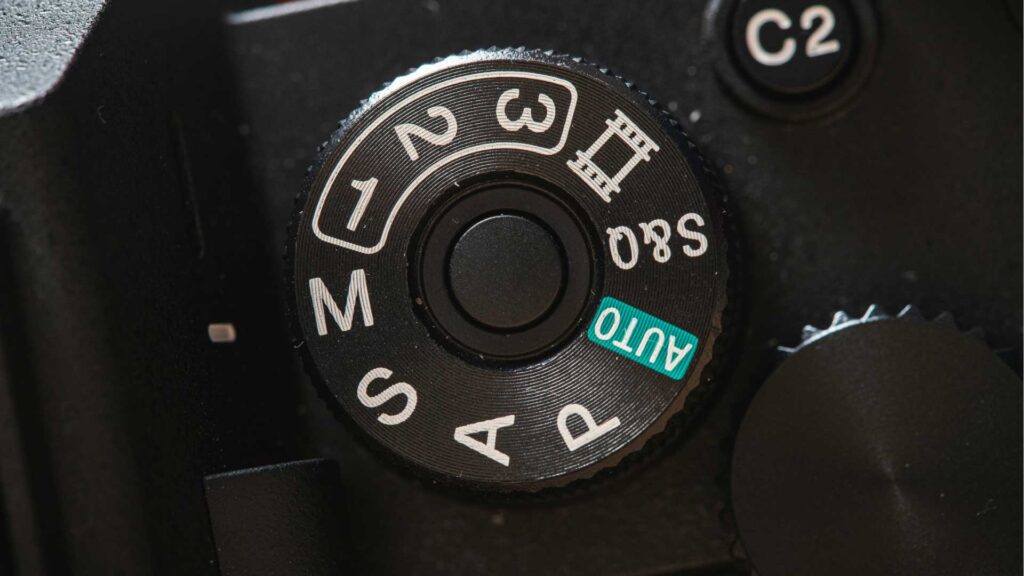
Switch to manual mode
It gives you full control over shutter speed, aperture, and ISO.
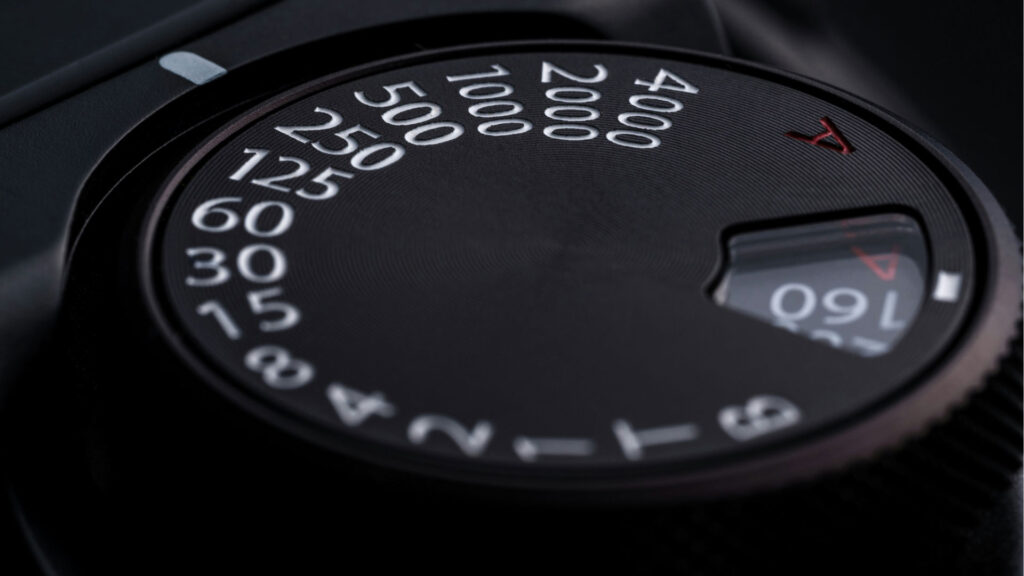
Choose a slow shutter speed
Start with 5–10 seconds and adjust from there.
- Adjust aperture and ISO. Use a small aperture (like f/8–f/16)
- Keep ISO low (100–200) for cleaner images
Focus before shooting
Autofocus first, then switch to manual focus to lock it.
Take the shot
Use a timer or remote to avoid shaking the camera.
Read also: Cinematic Photography Tips
Key Techniques and Tips for Long Exposure Photography
If you want your long exposure photography to stand out, these techniques will make a big difference.
1. Use ND Filters for Daytime Shots
Neutral Density (ND) filters reduce the amount of light entering your lens, allowing longer exposures even in bright conditions.
2. Shoot in RAW
RAW files give you more flexibility when editing, especially for highlights and shadows.
3. Experiment with Timing
Different shutter speeds create different effects:
- 1–2 seconds > subtle motion
- 10–30 seconds > smooth water or light trails
- Minutes > surreal, dreamy landscapes
4. Keep Your Composition Strong
Long exposure effects are cool, but composition still matters:
- Use leading lines
- Frame your subject
- Balance moving and static elements
5. Check Your Histogram
Avoid overexposure by monitoring your histogram rather than relying solely on the screen.
Read also: Focus Stacking Techniques
Best Subjects for Long Exposure Photography
Timing can make or break your long exposure photography results.
Golden Hour & Blue Hour
- Soft lighting
- Balanced exposure
- Beautiful colors
Perfect for landscapes and cityscapes.
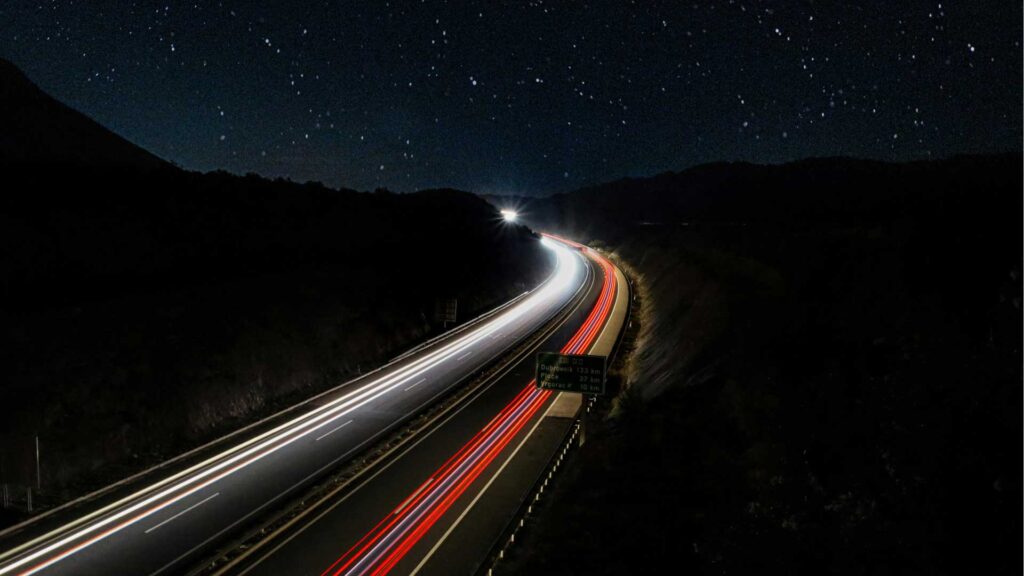
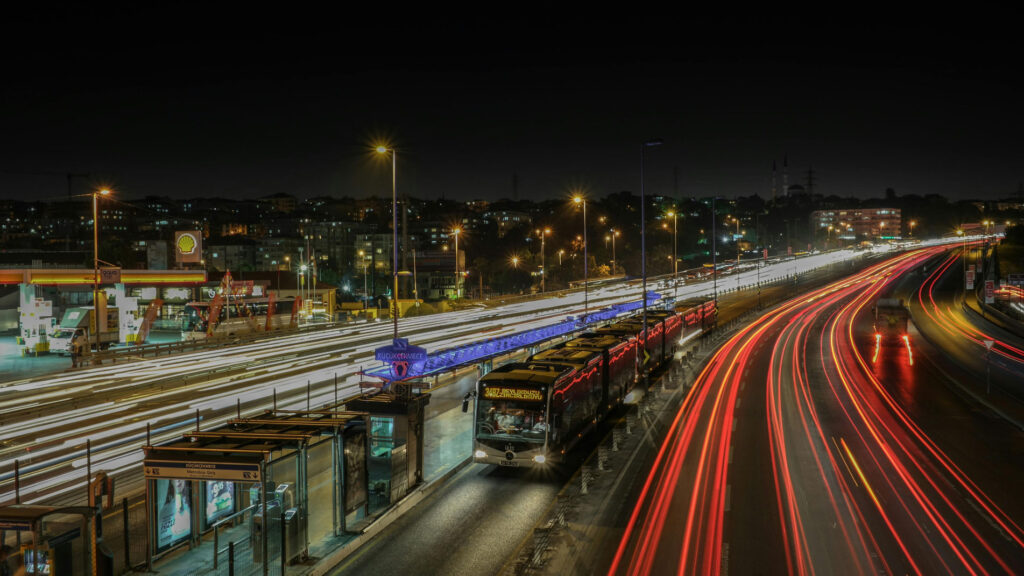
Night Photography
It is where long exposure really shines:
- Capture light trails from cars
- Shoot star trails or city lights
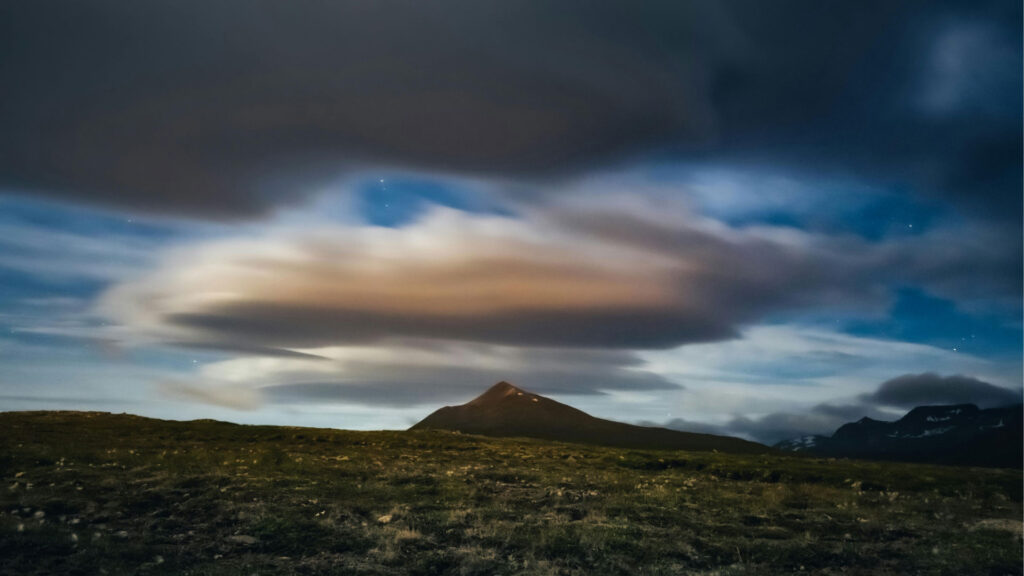
Cloudy or Windy Days
Moving clouds add drama and texture to your shots.
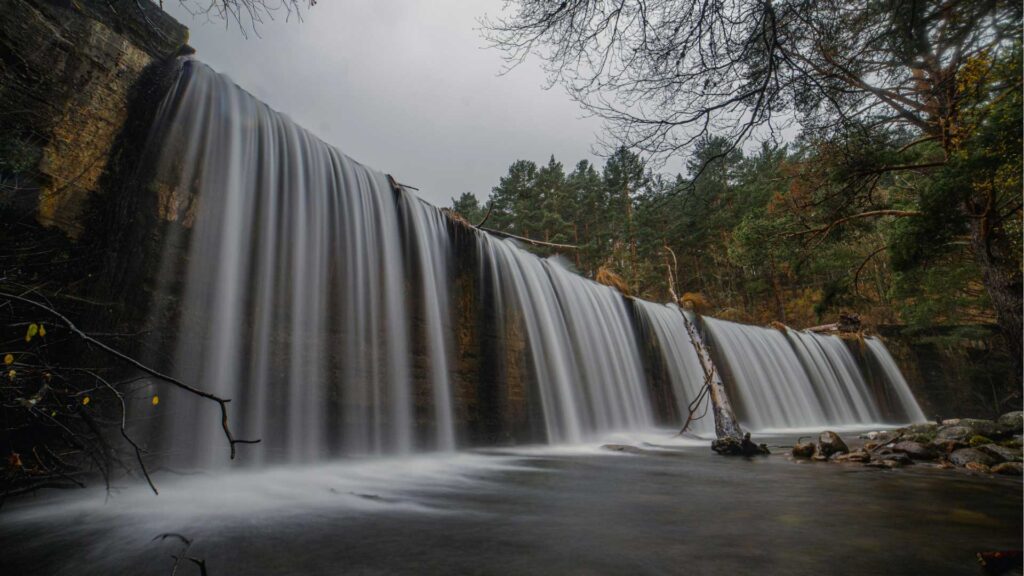
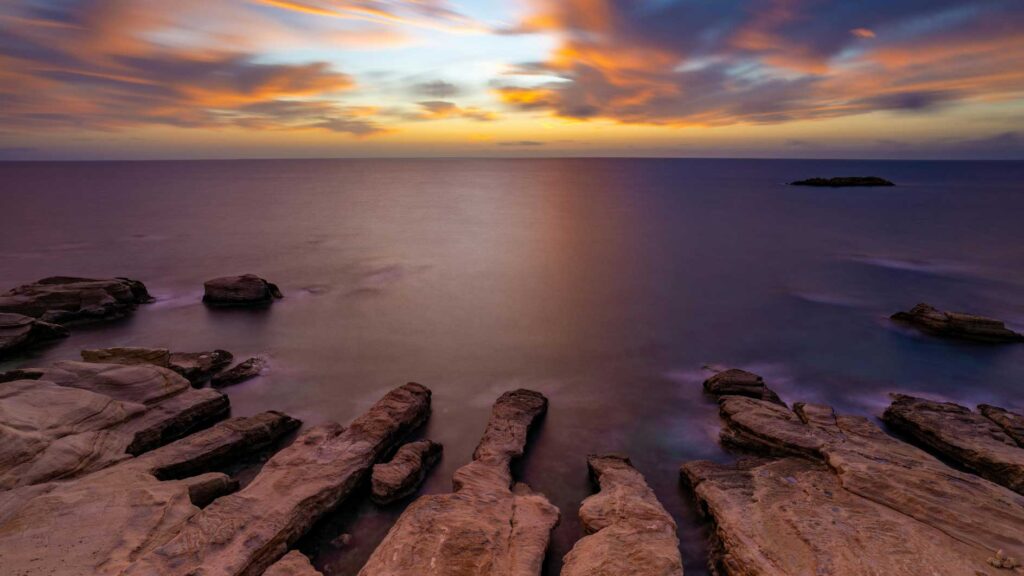
Near Water
Water is one of the best subjects:
- Oceans
- Waterfalls
- Rivers
Long exposure turns rough water into smooth, silky surfaces.
Read also: Master Slow Shutter Speed Photography.
Common Long Exposure Photography Mistakes
Even though long exposure photography is beginner-friendly, there are a few traps you’ll want to avoid:
- Not using a tripod > results in blurry photos
- Overexposing your image > especially during the day
- Forgetting to turn off stabilization > can cause micro-blur on a tripod
- Rushing the process > patience is key
- Ignoring composition > effects alone won’t save a weak photo
Final Thoughts
Long exposure photography is one of the most rewarding techniques you can learn as a beginner. It transforms ordinary scenes into cinematic, eye-catching images.
Start simple, maybe with a quiet street at night or a small river, and experiment with different shutter speeds. Over time, you’ll develop your own style and instincts.
The key is to keep practicing. The more you shoot, the more you’ll understand how light, motion, and timing work together.
So grab your camera, find a moving subject, and start experimenting. Your first great long exposure shot might be just one click away.
FAQ About Long Exposure Photography
What is the best shutter speed for long exposure photography?
There’s no single “best” shutter speed because it depends on the effect you want. For smooth water or cloud movement, photographers usually use exposures between 5 and 30 seconds. For light trails at night, 10–20 seconds often works well.
Can you do long exposure photography without a tripod?
Based on technical terms, yes, but it’s very difficult. A tripod keeps your camera stable during long exposures and helps avoid blurry images. Even small movements can ruin the shot.
Do I need an ND filter for long exposure photography?
Not always. At night or during low light, you can usually shoot without one. But in daylight, an ND filter helps reduce light, allowing you to use slower shutter speeds without overexposing the image.
Is long exposure photography good for beginners?
Yes. Long exposure photography is beginner-friendly because you can start with basic gear and simple settings. It’s also a great way to learn how shutter speed and lighting affect your photos.
Image Source: