One of the drawbacks of promoting a product online is that people can’t feel the sensation of it. They often only see the product photos and its specifications.
It seems not enough to build the imagination of the potential customers to buy or book your product or services, and 360 product photography is one of the practical solutions. You can even create a 360-degree view on your own.
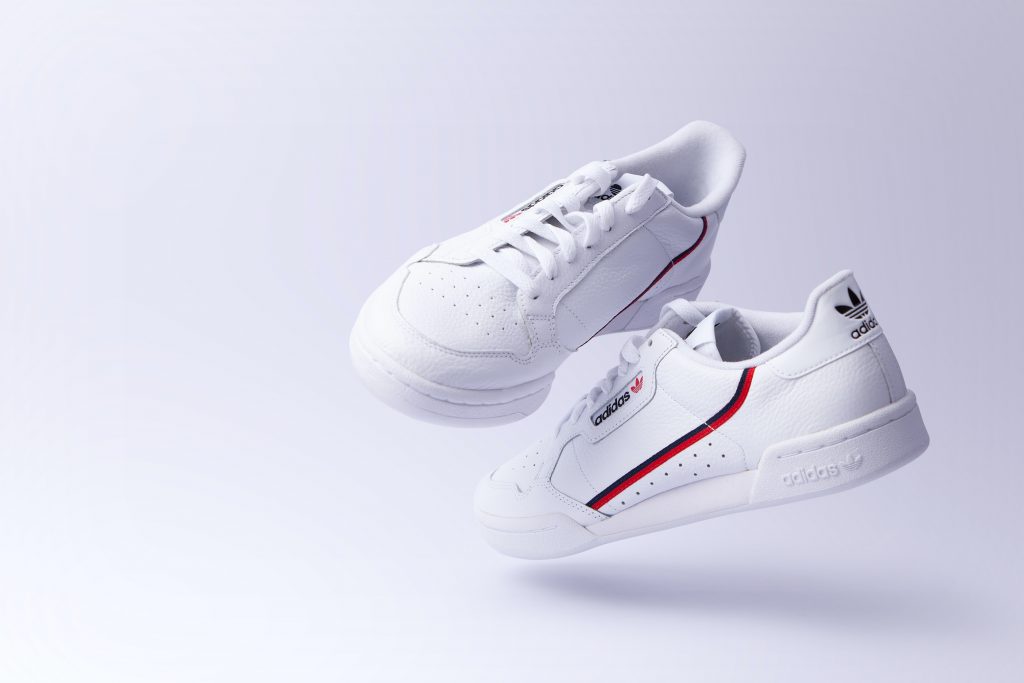
Please take a look at the steps to create a DIY 360 product photography with a 360-degree view. See the steps below.
Steps to Create DIY 360 Product Photography
Pick the Best Camera
Making a 360 product photography is not as complicated as you might imagine. You can use any camera. One thing to ensure is that the camera has a manual mode.
The manual mode feature is crucial because the camera settings must remain consistent for a 360-degree view shoot. A specific camera, such as the Canon Rebel T2i, is perfect for creating this project. The result will be outstanding and close to the real thing with an f/1.8 lens.
Use a Tripod
You must ensure that the camera remains stable during the process. It prevents blurry photo results that reduce the quality of the 360-degree view photo. Instead of using your hand to hold the camera, you should put it on a tripod. Tripod also keeps the camera still when you shoot a 360-degree view of your product.
Prepare the Lighting
Just like taking a picture of regular photos, you still have to prepare the lighting when applying 360 product photography. In this case, you should focus on two different types of lighting, which are strobe and continuous lights.
The strobe light has a bright flash. The function is to create a fraction in a second. Imagine seeing a lightning bolt. It is similar to a strobe light. The continuous light is the light that will stay on during the process. For a beginner photographer, two 200-watt lamps and one 150-watt lamp are enough to get a good 360-degree view photo.
360 Degrees Turntable
How to take a 360-degree photo with your equipment and device? The secret is a 360-degree turntable. Put a rotating turntable with circular plexiglass. This table helps you capture all the angles you need for a 360-degree photo.
Use A Piece of Paper
You also need to prepare a piece of paper. The function of the paper is for the background of the photo. Ensure that the size of the paper is bigger and broader than the product and the property. You will use it to cover the back part of the set to get a perfect photo.
Prepare A Wired Remote Shutter Release
One of the key success factors in creating a 360-degree photo is the position of the camera. Your camera should stay still in its position during the process.
If your camera moves a bit from the actual position, the process fails. It means you have to start the process over again. Supporting the camera with a wired remote shutter release is a solution to keep your camera steady and stable.
Set Up Your Studio
You don’t need to have a big studio only to create 360-degree product photography. A small room is enough to start this DIY photography project.
The most important thing is ensuring that all the lights in the room are off. You even have to close the windows with natural light coming in.
Set Up the Background
When the studio is ready, set up the background. Take a piece of paper you have prepared before, spring clips, and a cardboard box. Half of the paper will be the surface, and the other half will be the background. You can use clips to hold the paper on the cardboard box.
Put the Turntable
Next step, put the turntable on the top of the paper and the object you want to shoot on it. Ensure that the position of the turntable and object is at the center of the paper.
Take A Picture
So that you know, you are ready to take pictures of the object now. The first thing to do is to turn off the image stabilization if the camera has it. This feature can cause the photos to appear blurry. You also have to switch off the Auto White Balance or the AWB.
Turning off this feature keeps the color of your product stable. Afterwards, set the camera ISO. The ideal ISO for a 360-degree view photo is 100. The higher the ISO value, the faster the camera can absorb light.
Setting the ISO to 100 will make the photos look crisp and enjoyable to see. Even if you don’t know about ISO, you still have to put it at the last 100. Never use the Auto ISO feature because you should keep the setting the same for every shot.
Remember to set your camera to manual mode. Indeed, a manual mode camera will keep the settings the same until you replace it. Turn on only the lighting for this project.
Start to shoot the object and observe the result. If it is too bright, move the light further away. Take another shot if you think that the result is perfect. Take pictures from all angles by moving the turntable clockwise.
Edit the Images
The editing you should do in this project is known as batch editing. Photoshop is one of the recommended editing programs you can use to finish this project. And that’s it! Your first 360 product photography is ready.
Preparing the equipment for a 360 product photography with 360-degree view photo-making can be so complicated if it is your first time. Instead of wasting time without a good result, you can hire a professional 360 product photography editing service, such as Dropicts.
You only need to send all the requirements to the 360 product photography and photo editing services, and let the Dropicts team handle the rest to complete the project. Soon, you can promote your 360 product photography and attract more potential customers.
This trick is the simplest and fastest option if you want to use the photo right away. Then, you can start to learn how to create good 360 product photography by yourself.
Image Source: