
Low-light photo editing is an essential skill for every photographer who wants to transform dimly lit shots into professional-quality images. Capturing the perfect shot in low-light conditions can be challenging. Still, with the proper editing techniques, you can turn your photos into visually striking masterpieces. In this comprehensive guide, we’ll walk you through step-by-step methods for low-light photo editing, including enhancing details, reducing noise, and boosting overall visual appeal. Whether you’re a beginner or a seasoned professional, these tips will help you unlock the full potential of your low-light captures.
Understanding the Challenges of Low-Light Photo Editing
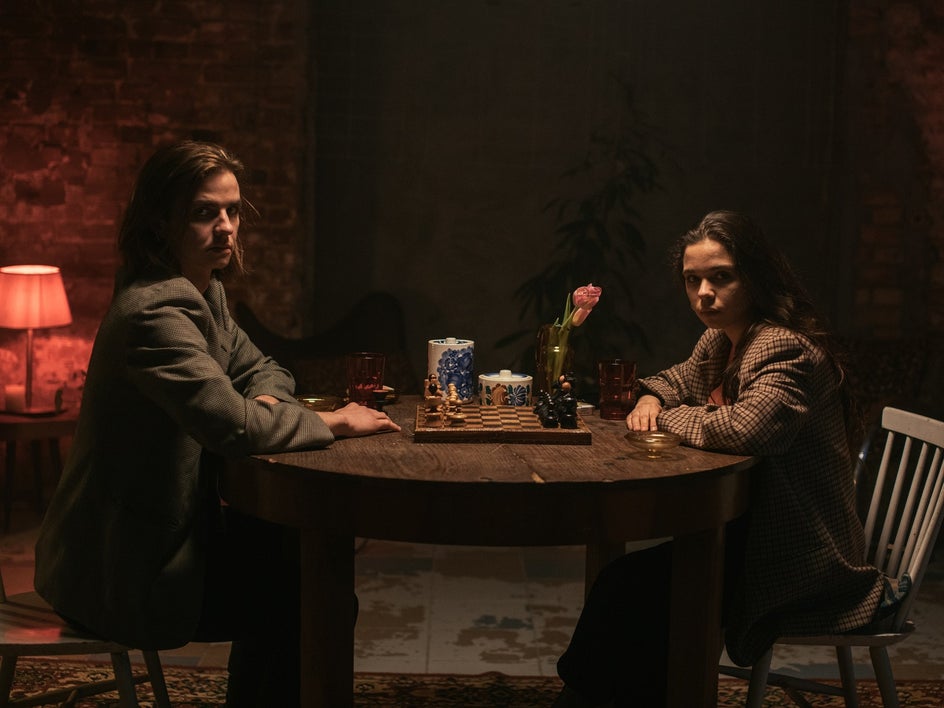
Low-light photo editing requires a careful approach because dim environments often produce underexposed images and increased noise; a successful edit balances technical adjustments with creative enhancements to bring out the best in your low-light shots.
1. Choose the Right Editing Software
The first step is choosing the right software. Programs like Adobe Lightroom and Photoshop provide advanced tools for exposure, noise reduction, and detail enhancement. Selecting the right platform ensures more flexibility and professional results.
2. Adjust Exposure and Shadows
Address exposure issues by adjusting the overall exposure and shadows to reveal hidden details without overexposing the highlights for visually appealing results.
3. Manage Noise with Denoising Tools
Utilize denoising tools to reduce graininess while preserving sharpness, ensuring high-quality results in low-light conditions.
4. Fine-Tune White Balance
Correct color temperature variations by fine-tuning white balance settings to achieve a natural and balanced color palette.
5. Enhance Details with Sharpening
Use sharpening tools to bring out fine details in your low-light photos, enhancing edges and textures without introducing artifacts.
6. Introduce Graduated Filters and Radial Masks
Control exposure in specific areas of your photo using graduated filters and radial masks, creating dynamic lighting effects and drawing attention to key subjects.
7. Experiment with Color Grading
Add a creative touch to your low-light photos by experimenting with color grading to create unique and visually appealing color schemes.
8. Utilize Presets and Custom Profiles
Streamline your editing process by using presets and custom profiles as starting points, and customizing settings to match your creative vision and the characteristics of your low-light photos.
Why Low-Light Photo Editing Matters?
Low-light photo editing not only improves technical quality but also enhances the emotional impact of an image. By mastering these techniques, photographers can create photos that are both professional and memorable.
Unlocking Aesthetic Potential With This Photo Editing!
Enhancing low-light photos requires a strategic approach that balances technical adjustments with creative expression. With practice and experimentation, you’ll develop the skills needed to elevate your low-light photography to new heights.
FAQs
1. Why is low-light photo editing necessary?
It can helps improve details, reduce noise, and enhance colors, resulting in visually striking and professional images.
2. Which software is best for low-light photo editing?
Adobe Lightroom and Photoshop are popular choices because they offer powerful editing tools designed explicitly for handling low-light challenges.
3. How can I effectively reduce noise in low-light photos?
Use denoising tools to find a balance between reducing grain and preserving sharpness for the best results.
4. Is color valuable for grading in low-light photo editing?
Yes, color grading can dramatically enhance mood and atmosphere by adjusting hues, saturation, and tones.
5. What tools help with local adjustments?
Graduated filters and radial masks are highly effective for controlling exposure and creating focus on essential elements in your photo.
Don’t let inaccurate colors ruin your photos. Choose between in-camera presets or post-processing white balance to ensure true-to-life color representation. If you need assistance with photo editing, click here to contact our sales representative for help.
Image Source: