Clothing photography at home has become a popular and cost-effective solution for brand owners, fashion startups, and online sellers. You no longer need to rent an expensive studio or hire a professional photographer to get stunning apparel shots. With the proper techniques, tools, and preparation, you can capture high-quality images that make your products look irresistible to buyers, all from the comfort of your home.
In this guide, we’ll walk you through 7 powerful tips to help you master clothing photography at home, even if you’re a complete beginner.
Why Clothing Photography at Home Works
The rise of e-commerce and social media marketing has changed the way we present products. Today’s shoppers expect clear, detailed, and visually appealing images before making a purchasing decision. By learning how to do clothing photography at home, you can create professional-grade photos without spending a fortune. Plus, you have the freedom to experiment with different styles, lighting setups, and backgrounds at your own pace.
Source: pexels.com
How to Do Clothing Photography at Home
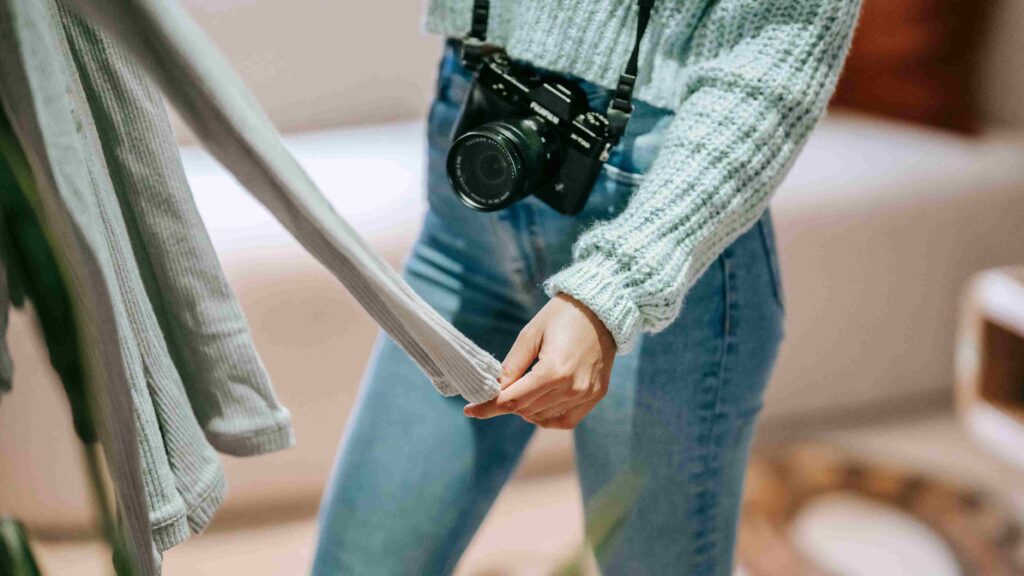
You can follow these steps to set the best lighting to capture a bunch of great apparel photos for your eCommerce store. It is easy and can be practiced by yourself. Before that, ensure your apparel product is in good condition for the photo session. Iron or steam all the clothing samples and use a lint roller to remove any debris that could compromise the appearance of your products. After that, let’s take some good clothing photography at home.
1. Prepare Clothing Products Properly
Before you even think about picking up your camera, preparation is key. Wrinkled or dirty garments can ruin even the most well-lit photo. For flawless clothing photography at home:
- Iron or steam every garment to remove wrinkles.
- Use a lint roller to remove dust, hair, or fuzz.
- Check for stains or defects before shooting.
Presentation matters. Clean, well-prepared clothing not only photographs better but also makes your brand look more professional.
2. Use Natural Light to Your Advantage
When doing clothing photography at home, natural light is your best friend. It’s complimentary, flattering, and makes colors look more accurate.
- Position your setup near a large window.
- Shoot during the golden hours: two hours after sunrise or two hours before sunset for softer shadows.
- Use a white curtain or sheer cloth to diffuse the sunlight and prevent harsh lighting.
Natural light creates a more authentic look that customers find appealing, especially for fashion products.
3. Maximize Artificial Light with Work Lights
If you’re shooting at night or in a room with limited sunlight, artificial lighting will come to the rescue. Affordable work lights can be just as effective as expensive photography lights when used correctly.
- Cover the lights with white fabric or parchment paper to soften shadows.
- Place lights at a 45-degree angle to the product for balanced illumination.
- Avoid pointing lights directly from the front to prevent flat, lifeless images.
4. Invest in a Small Softbox
A small softbox is a wise investment if you’re serious about clothing photography at home. It mimics natural daylight and provides consistent, controlled lighting, no matter the time of day.
Softboxes help:
- Minimize shadows.
- Highlight fabric textures.
- Ensure even lighting across the garment.
It is particularly beneficial for online clothing stores, where consistent product presentation is crucial.
Read also: Product Image Editing Best Practices
5. Choose a Neutral Background
Your clothing should be the star of the photo, not your background.
- Stick to white, gray, or beige backdrops.
- Avoid distracting patterns or colors.
- For a budget-friendly solution, consider using a plain bed sheet or a roll of craft paper.
A clean background ensures that your customers focus on the clothing itself, making it easier for them to visualize owning and wearing it.
6. Use a Tripod and Consistent Camera Settings
Consistency is essential in clothing photography at home. Using a tripod not only keeps your shots stable but also allows you to maintain the same angles and framing across multiple products.
Recommended settings:
- ISO: 100 for minimal grain.
- Aperture: f/8 for sharpness.
- White Balance: Set to Auto or Custom, depending on the lighting conditions.
- Please avoid using your camera’s flash directly; it can create harsh highlights and distort colors.
7. Retouch and Optimize for E-Commerce
Even the best raw photos benefit from a bit of editing. Photo retouching enables you to refine your images, eliminate distractions, and showcase your products in the best possible light.
- Adjust brightness, contrast, and saturation for a balanced look.
- Use background removal for a cleaner presentation.
- Apply ghost mannequin effects to create a professional, catalog-style image.
If editing isn’t your strong suit, consider outsourcing to professionals. Dropicts, for example, offers top-tier editing services, perfect for brands that want flawless images without spending hours learning editing software.
Read also: 5 Tricks Using Photoshop as A Pro.
Need Professional Help?
Mastering clothing photography at home is about preparation, consistency, and attention to detail. By following these seven tips — preparing your garments, using proper lighting, choosing clean backgrounds, and editing with care — you can create stunning clothing images that attract buyers and boost your sales.
Whether you’re a small business owner, fashion blogger, or online seller, great photography can set you apart from the competition. And the best part? You can do it all from the comfort of your living room.
Need help perfecting your product images? Dropicts offers professional editing services, including background removal, ghost mannequin effects, and color correction, explicitly tailored for fashion e-commerce.
Contact us today and elevate your clothing brand’s image.