WHY DO YOU NEED DROPICTS?
Our existence is an answer to deliver professional pictures towards your business target in increasing sales. We can help you to reduce time in editing andenhance your image professionally. Do not hesitate to corporate with us, take a chance and make a good decision to build your e-commerce experience more flattering!
Save Million Time to Edit Your Product
As a professional image editing service, we will help you to reduce time consumption on editing hundreds photos in a day. By providing our excellent services, we are able to help you achieve desired high quality image.

Show Your Best High Quality Image in E-commerce
Attract your potential customers by showing edited high quality image that will highlight the best features of your products. Dropicts exists to be the best image editing service partner for your brand to optimized your e-commerce purposes.

Need Color Correction on Your Photos? Let Us Do It
Discolorations in product images can taint the overall look of the product. Dropicts is the best to flaunt your product and most realistic colors with our color correction professional skills and high-end equipment.
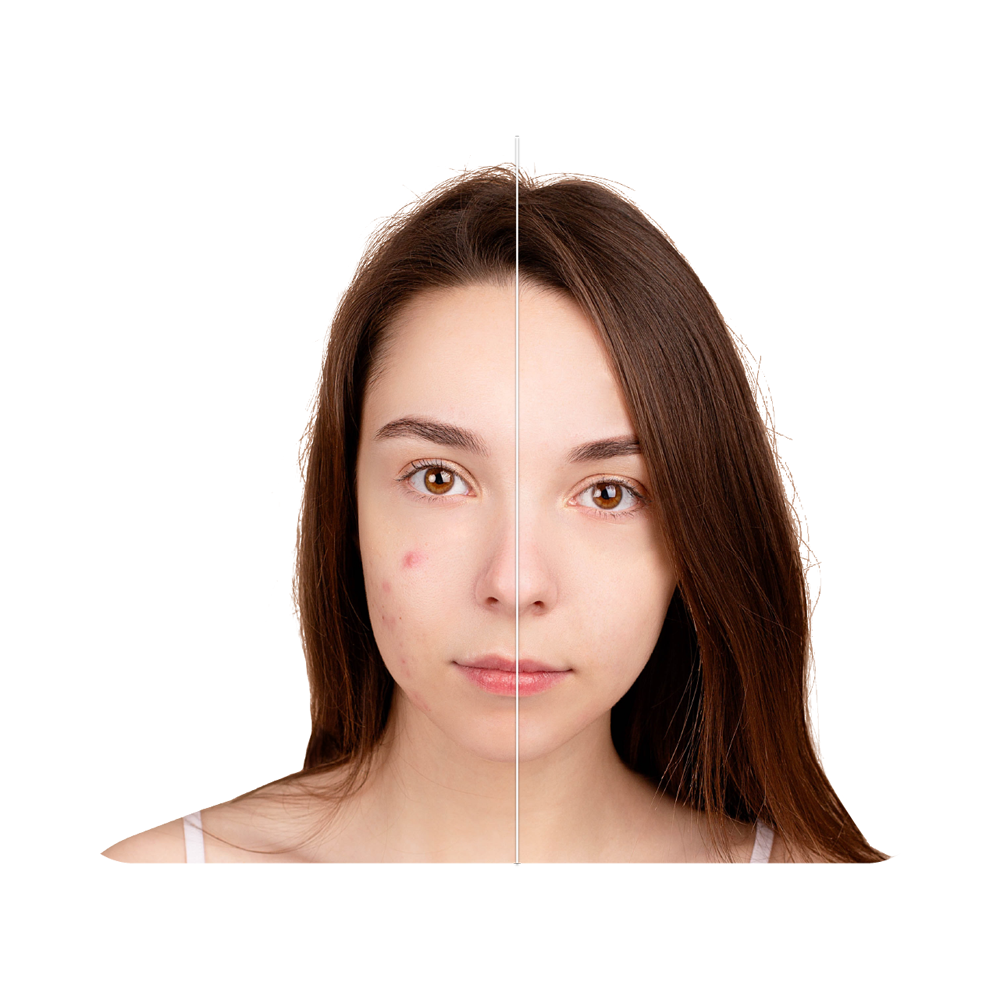
Professionally Fix and Retouch
For Your Need
Do you spot any defects or imperfectionsin your photo? Trust us as your image editing service. With our best retouching technique we can help you to make it perfect.
Need to Remove The Background?
We will help you remove the background for your beautiful images. Dropicts delivers only the most impeccable quality with our background removal service. You can expect professional work from us.
how dropicts works

WE NEED YOUR GUIDELINES
Before we start the project, we need your image specifications, editing guidelines or preferences, and other aspects required in your specific project in our daily work activities. It will help to maintain the quality of the photo editing services a retouching process for all of your images.

PROCESS & DEVELOPMENT
We start to edit your image based on your guidelines and specifications. We also apply the most seamless work method and high-end techniques for the most efficient and best working process in our photo editing services.
QUALITY ASSURANCE
All edited images by Dropicts come with quality assurance. In case of errors in the editing process from our side, Dropicts will repair the images for free. We also assign dedicated project managers to become responsible for specific projects to ensure the best results for your project, drawings, and satisfaction.
our services
We have all your image editing service needs
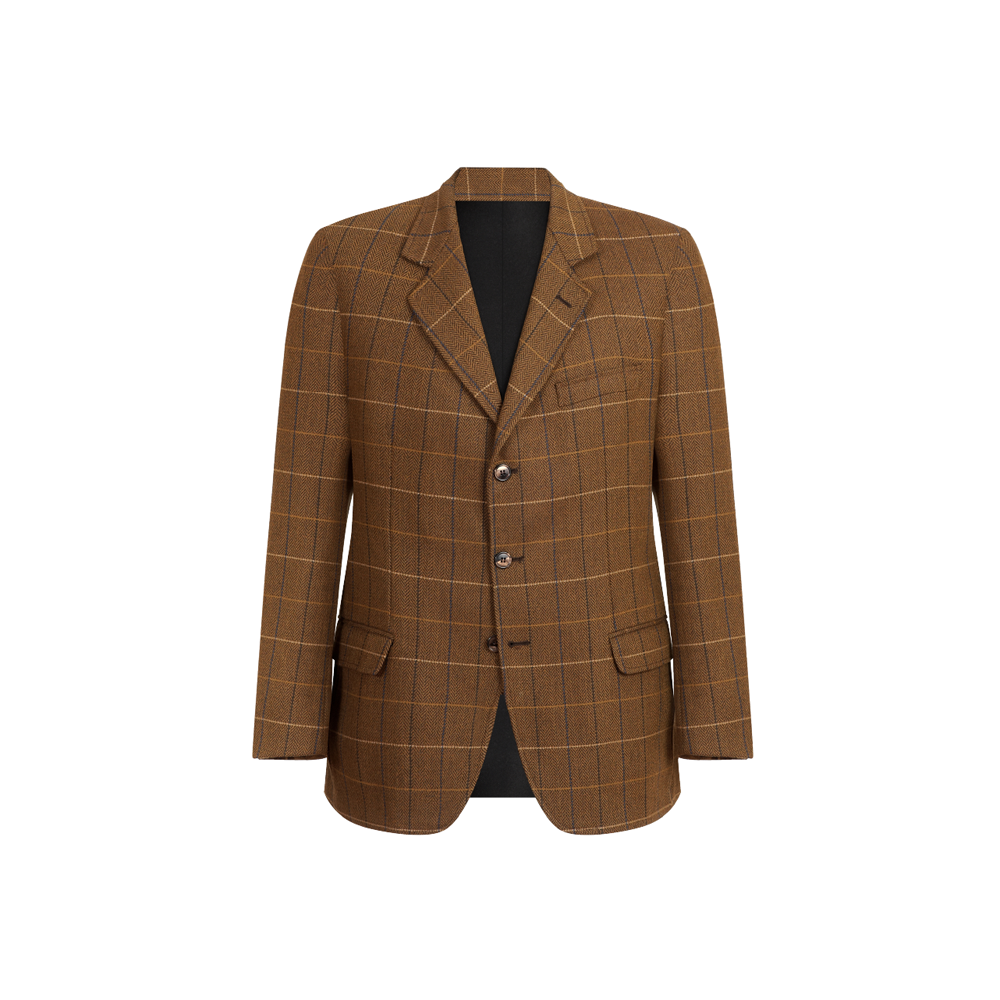
GHOST
MANNEQUIN
learn more

background
removal
learn more
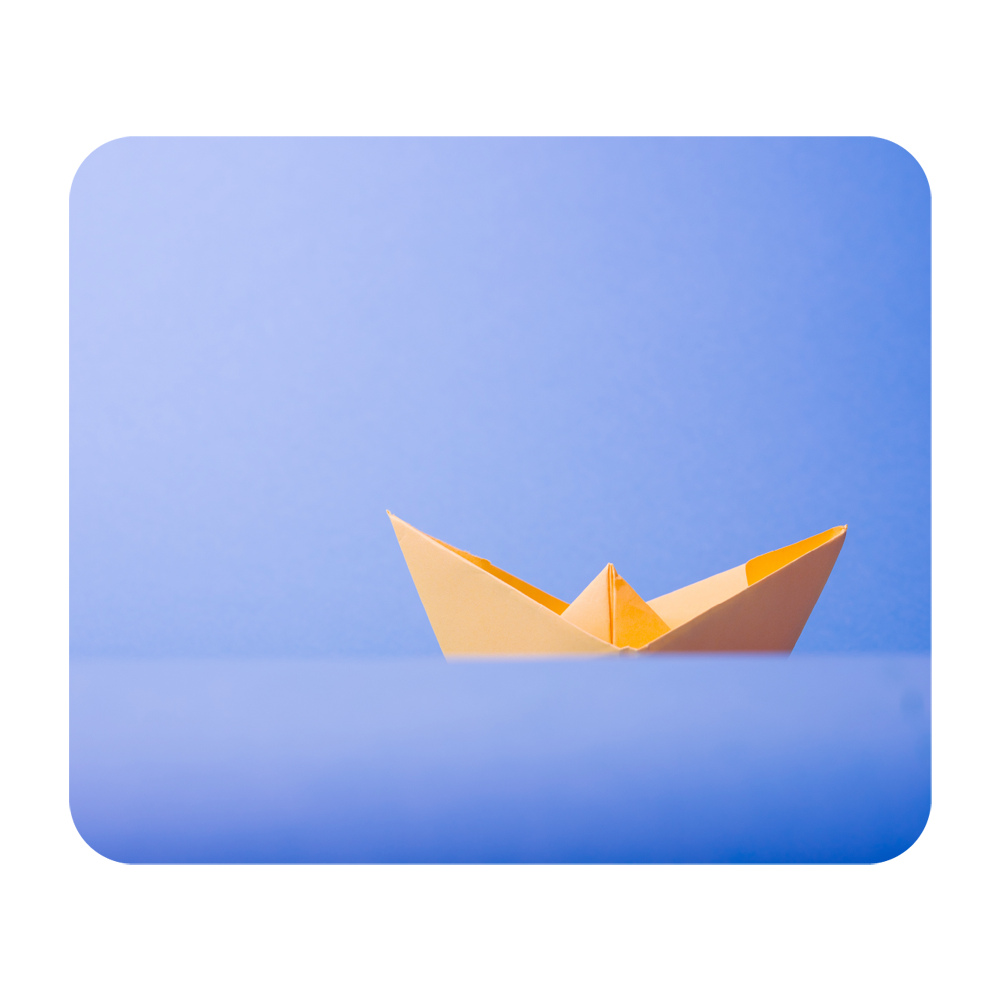
color
correction
learn more

What do You Need to Do?

TELL US YOUR PREFERENCES
Pick the best image products, tell us your detailed guideline and send it to us.

PROCESS & DEVELOPMENT
Our professional team process to work on the images base on your guidelines or desired specifications.

READY TO DELIVER
You will receive the edited images from Dropicts. Within 24 hours, they’re ready for your site or listing
Start Your Free Trial!
Fill in the form below to get our free trial