Iris photography is one of the most stunning and unique ways to capture the essence of who you are—through your eyes. Unlike regular portraits, this style focuses on the intricate patterns, textures, and colors of your iris, transforming it into a work of art. Each eye is different, making every iris photo completely personal and visually captivating. Whether you’re doing it for fun, a creative gift, or even for art prints, iris photography turns something ordinary into something extraordinary. Ready to see your eyes like never before? Let’s dive into how this magical photo trend works!
Ever wondered what makes your eyes so unique? Iris photography is all about capturing the intricate details of your iris—the colored part of your eye. No two irises are identical, making these images as personal as fingerprints. The results? Stunning, artistic close-ups that can be turned into prints, gifts, or even wall art. It’s a creative way to celebrate individuality and beauty in a whole new way.
Getting a close-up photo of your iris might seem tricky, but it’s surprisingly doable! Here’s how you can make it happen:
The easiest way is to head to a professional studio specializing in iris photography. They have the right equipment to capture every tiny detail, resulting in high-quality images.
Want to try it yourself? You’ll need a few tools and a bit of patience:
Set up your camera, position your eye close to the lens, and adjust the focus manually to achieve optimal clarity. Take several shots—you may need a few tries to get it right.
After capturing your shot, use editing software to enhance the colors and patterns. Tools like Lightroom or Photoshop can help you make the details pop.
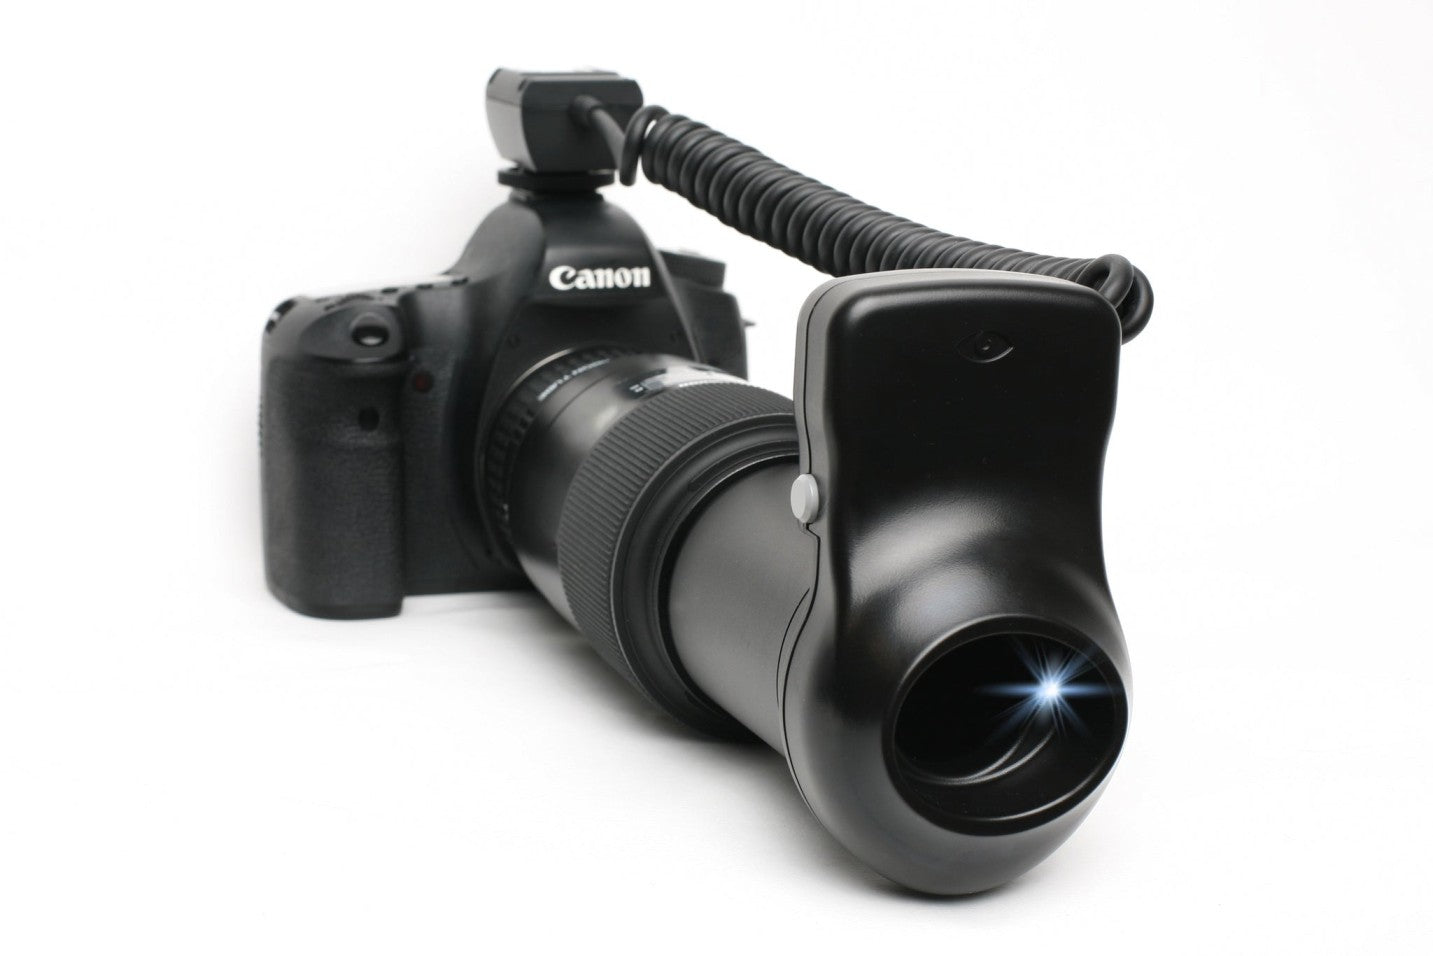
For crystal-clear iris photos, using the right camera is key. Here are some top options:
If you’re serious about photography, consider a DSLR or mirrorless camera, such as the Canon EOS Rebel T8i or Sony Alpha a6000. Pair it with a macro lens to get sharp, detailed shots.
No professional camera? No worries! Modern smartphones, such as the iPhone 15 or Samsung Galaxy S23, have impressive macro capabilities. You can also purchase clip-on macro lenses to enhance your close-up photography.
Professional studios often use cameras designed explicitly for iris photography. These setups feature specialized lenses and lighting systems to make capturing the perfect shot effortless.
Iris photography is more than just a cool photo! It’s a way to capture your uniqueness. These detailed eye shots can be a beautiful personal keepsake, a creative gift, or even a striking piece of art for your home. Plus, it’s a fun way to experiment with photography, whether you’re a beginner or a pro.
Consider exploring the art of iris photography, an intriguing opportunity to view your eyes and yourself from a unique and captivating perspective.
If you’re short on time to fix your photos, no worries! Contact us now to get free image editing services. Click here to contact our sales representative!
Image Sources
You spend an hour getting a product photo just right. The white balance is perfect,…
When ecommerce teams weigh outsourcing vs in-house image editing, the conversation often starts with cost.…
Photoshop performance settings can make a huge difference in how fast and smoothly your editing…
Introduction For ecommerce businesses managing thousands of SKUs, image production is rarely a one-time task.…
Managing high-volume image editing across an ecommerce catalog is far more operationally complex than it…
Introduction Managing product images during peak season is one of the most underestimated operational challenges…