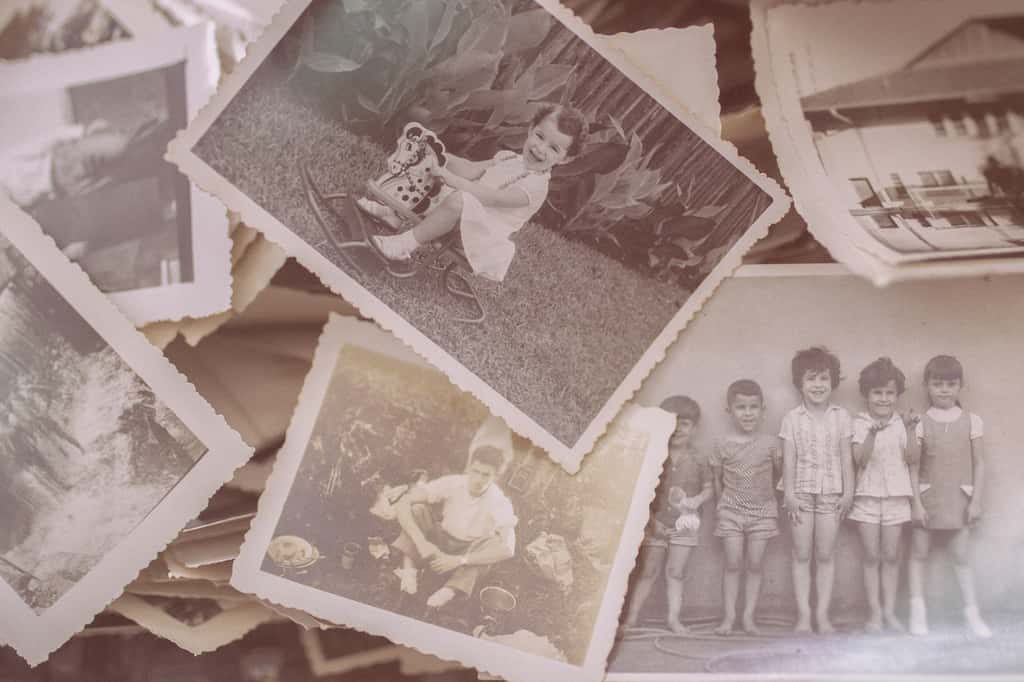
If you find an old photo that is torn, you should know how to repair a torn photo using Photoshop. You can still cherish your memories even if the photo degrades, damages, fades, or tears.
In this article, we’re going to teach you how to repair a torn photo using Photoshop in just three simple steps. Let’s find out how below!
How to Repair a Torn Photo Using Photoshop?
It is frustrating when you see your old photos, cherished memories, that are almost damaged, and you think they are beyond repair. However, as the technology advances, it is now super easy to repair a torn photo.
Also Read: How to Fix Old Damaged Photos With 8 Simple Steps
The results of this reparation will absolutely astound you. Here are the steps you can follow to repair a torn photo using Photoshop:
1. Reassembling the Torn Photo
If you want to collect old, torn photos, you’ll need to start by scanning them into a computer. Don’t worry if there are some parts; you can still repair a torn photo! You can begin by reassembling the image and then selecting the pieces.
Duplicate the background layers while they are selected, so you don’t have to work on them. Then, cut and paste the pieces into separate layers. You can now use the Move Tool to return it to its original position. Ensure that all elements in the photo are correctly aligned.
2. Remove Dust and Scratches
To remove or edit out tears, scratches, and any other damage that can be found on your old photo, you can use some of these tools from Photoshop:
Spot Healing Brush
Here are some things you need to know if you decide to use this tool:
- Samples from the source automatically
- If it is only small, isolated damage, then this is the best tool to use
- Make sure that you select “Content Aware” at the top of the Photoshop
Clone Stamp Tool
Here are some things you need to know if you decide to use this tool:
- This tool allows you to have more control since you’re the one who chooses the source sample
- However, you have to be cautious of duplication of obvious spots
Also Read: Unlock The Magic Of Masking In Photoshop
Brush Tool
Here are some things you need to know if you decide to use this tool:
- This is an emergency tool. Use this option only if there are no other alternatives for sampling.
- This tool is essentially hand painting, so you must have a good eye and a steady hand.
- You might need to add Noise to make the result more realistic.
- Much easier to use with a tablet than with a mouse.
Ensure you select the tool with which you are most comfortable, allowing you to achieve the best results.
3. Fixing Discoloration
If you are working with an old photo, there will often be significant discoloration in the image. To balance the colors, you need to use a Selective Color Adjustment Layer, as it makes it very easy to target a specific color (as well as white, black, and neutral) and then adjust it.
Also Read: 4 Steps to Pop Vibrant and Powerful Color Image
4. Save and Print
After all the corrections are made, you can save the result to make it digital and then print it to see how well the photo reparation works. If you are still not satisfied with the outcome, you can review and make corrections again. Just be sure to look closely at the details so you don’t have to redo everything.
Do you have any issues with your photos? Or maybe you don’t have much time to retouch a lot of your photos to make them the best ones? Get your photos retouched by a professional editor like us! Dropicts provides image editing services to solve your problem. Our skilled photo editors offer image editing services tailored to meet your specific needs. So, what are you waiting for? Please send a message to our Sales Team to get a free consultation, now!
Image Source:
share.google


