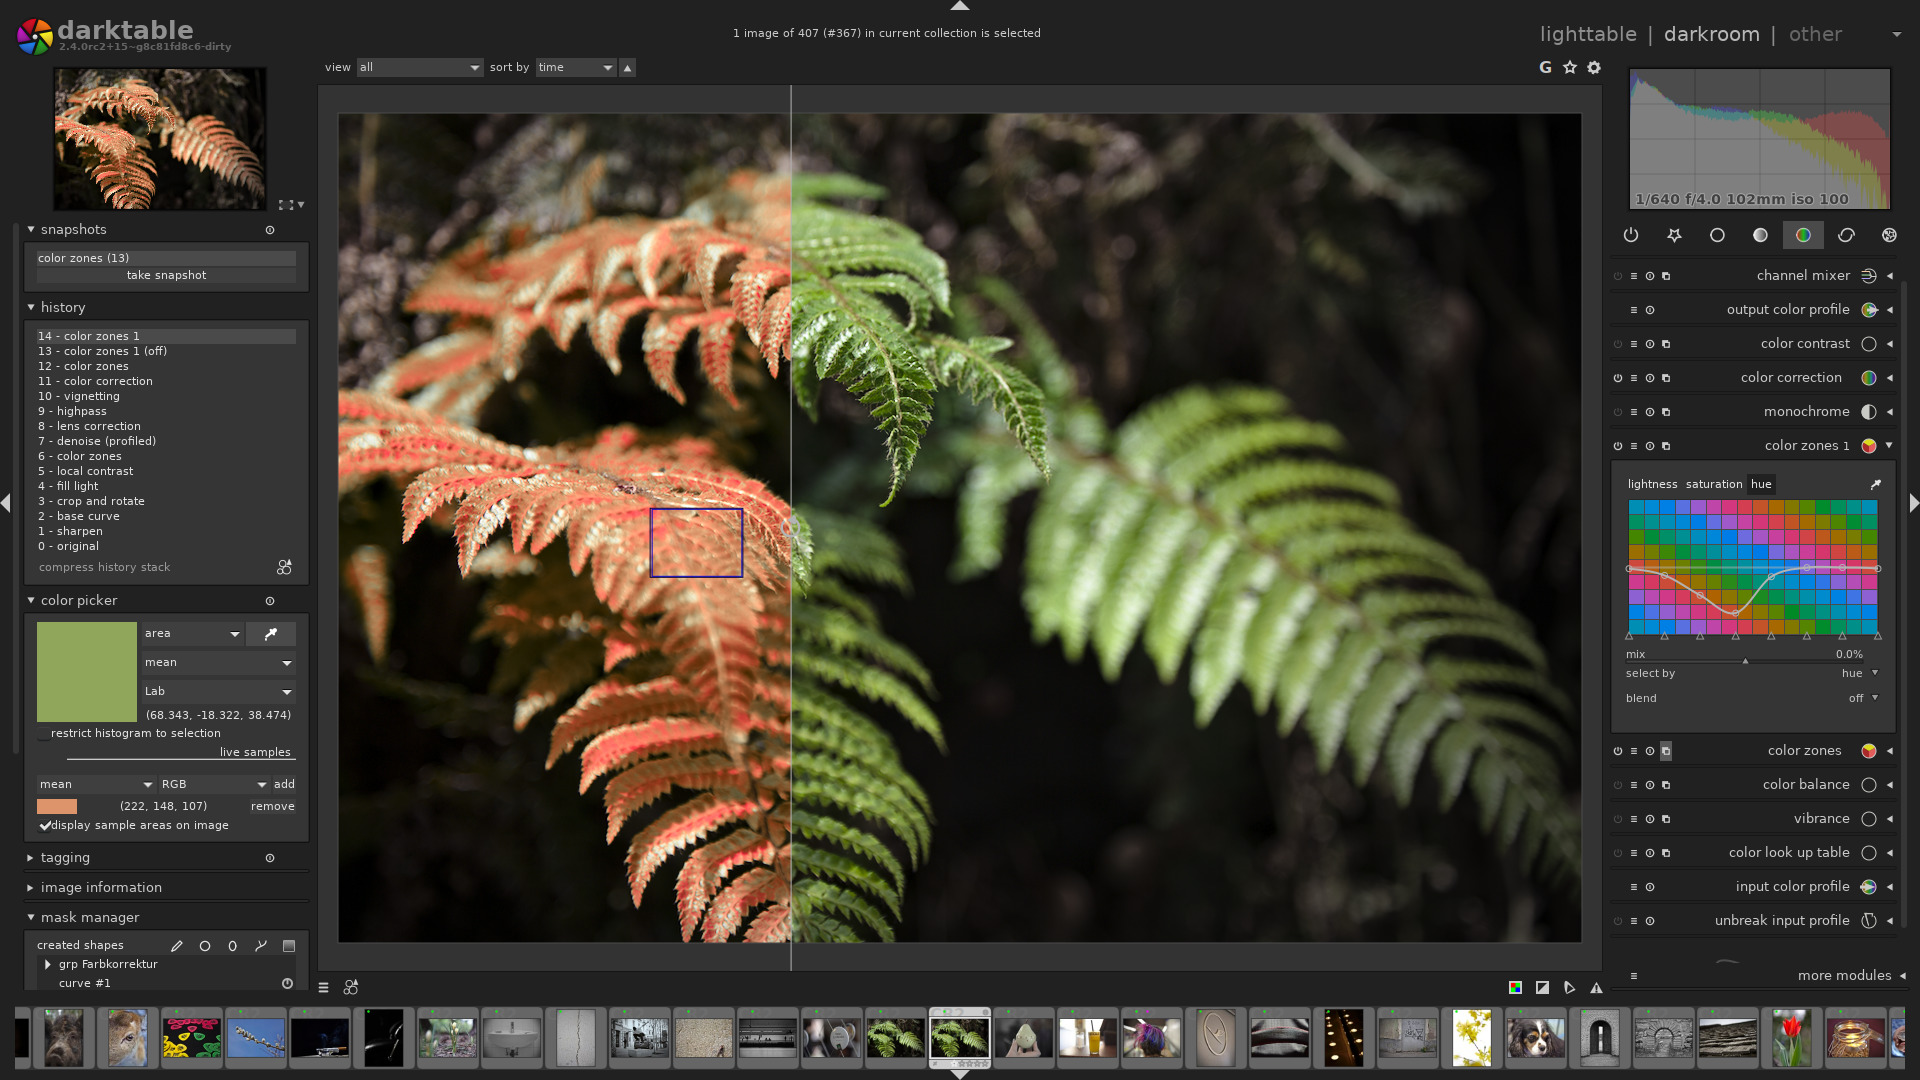
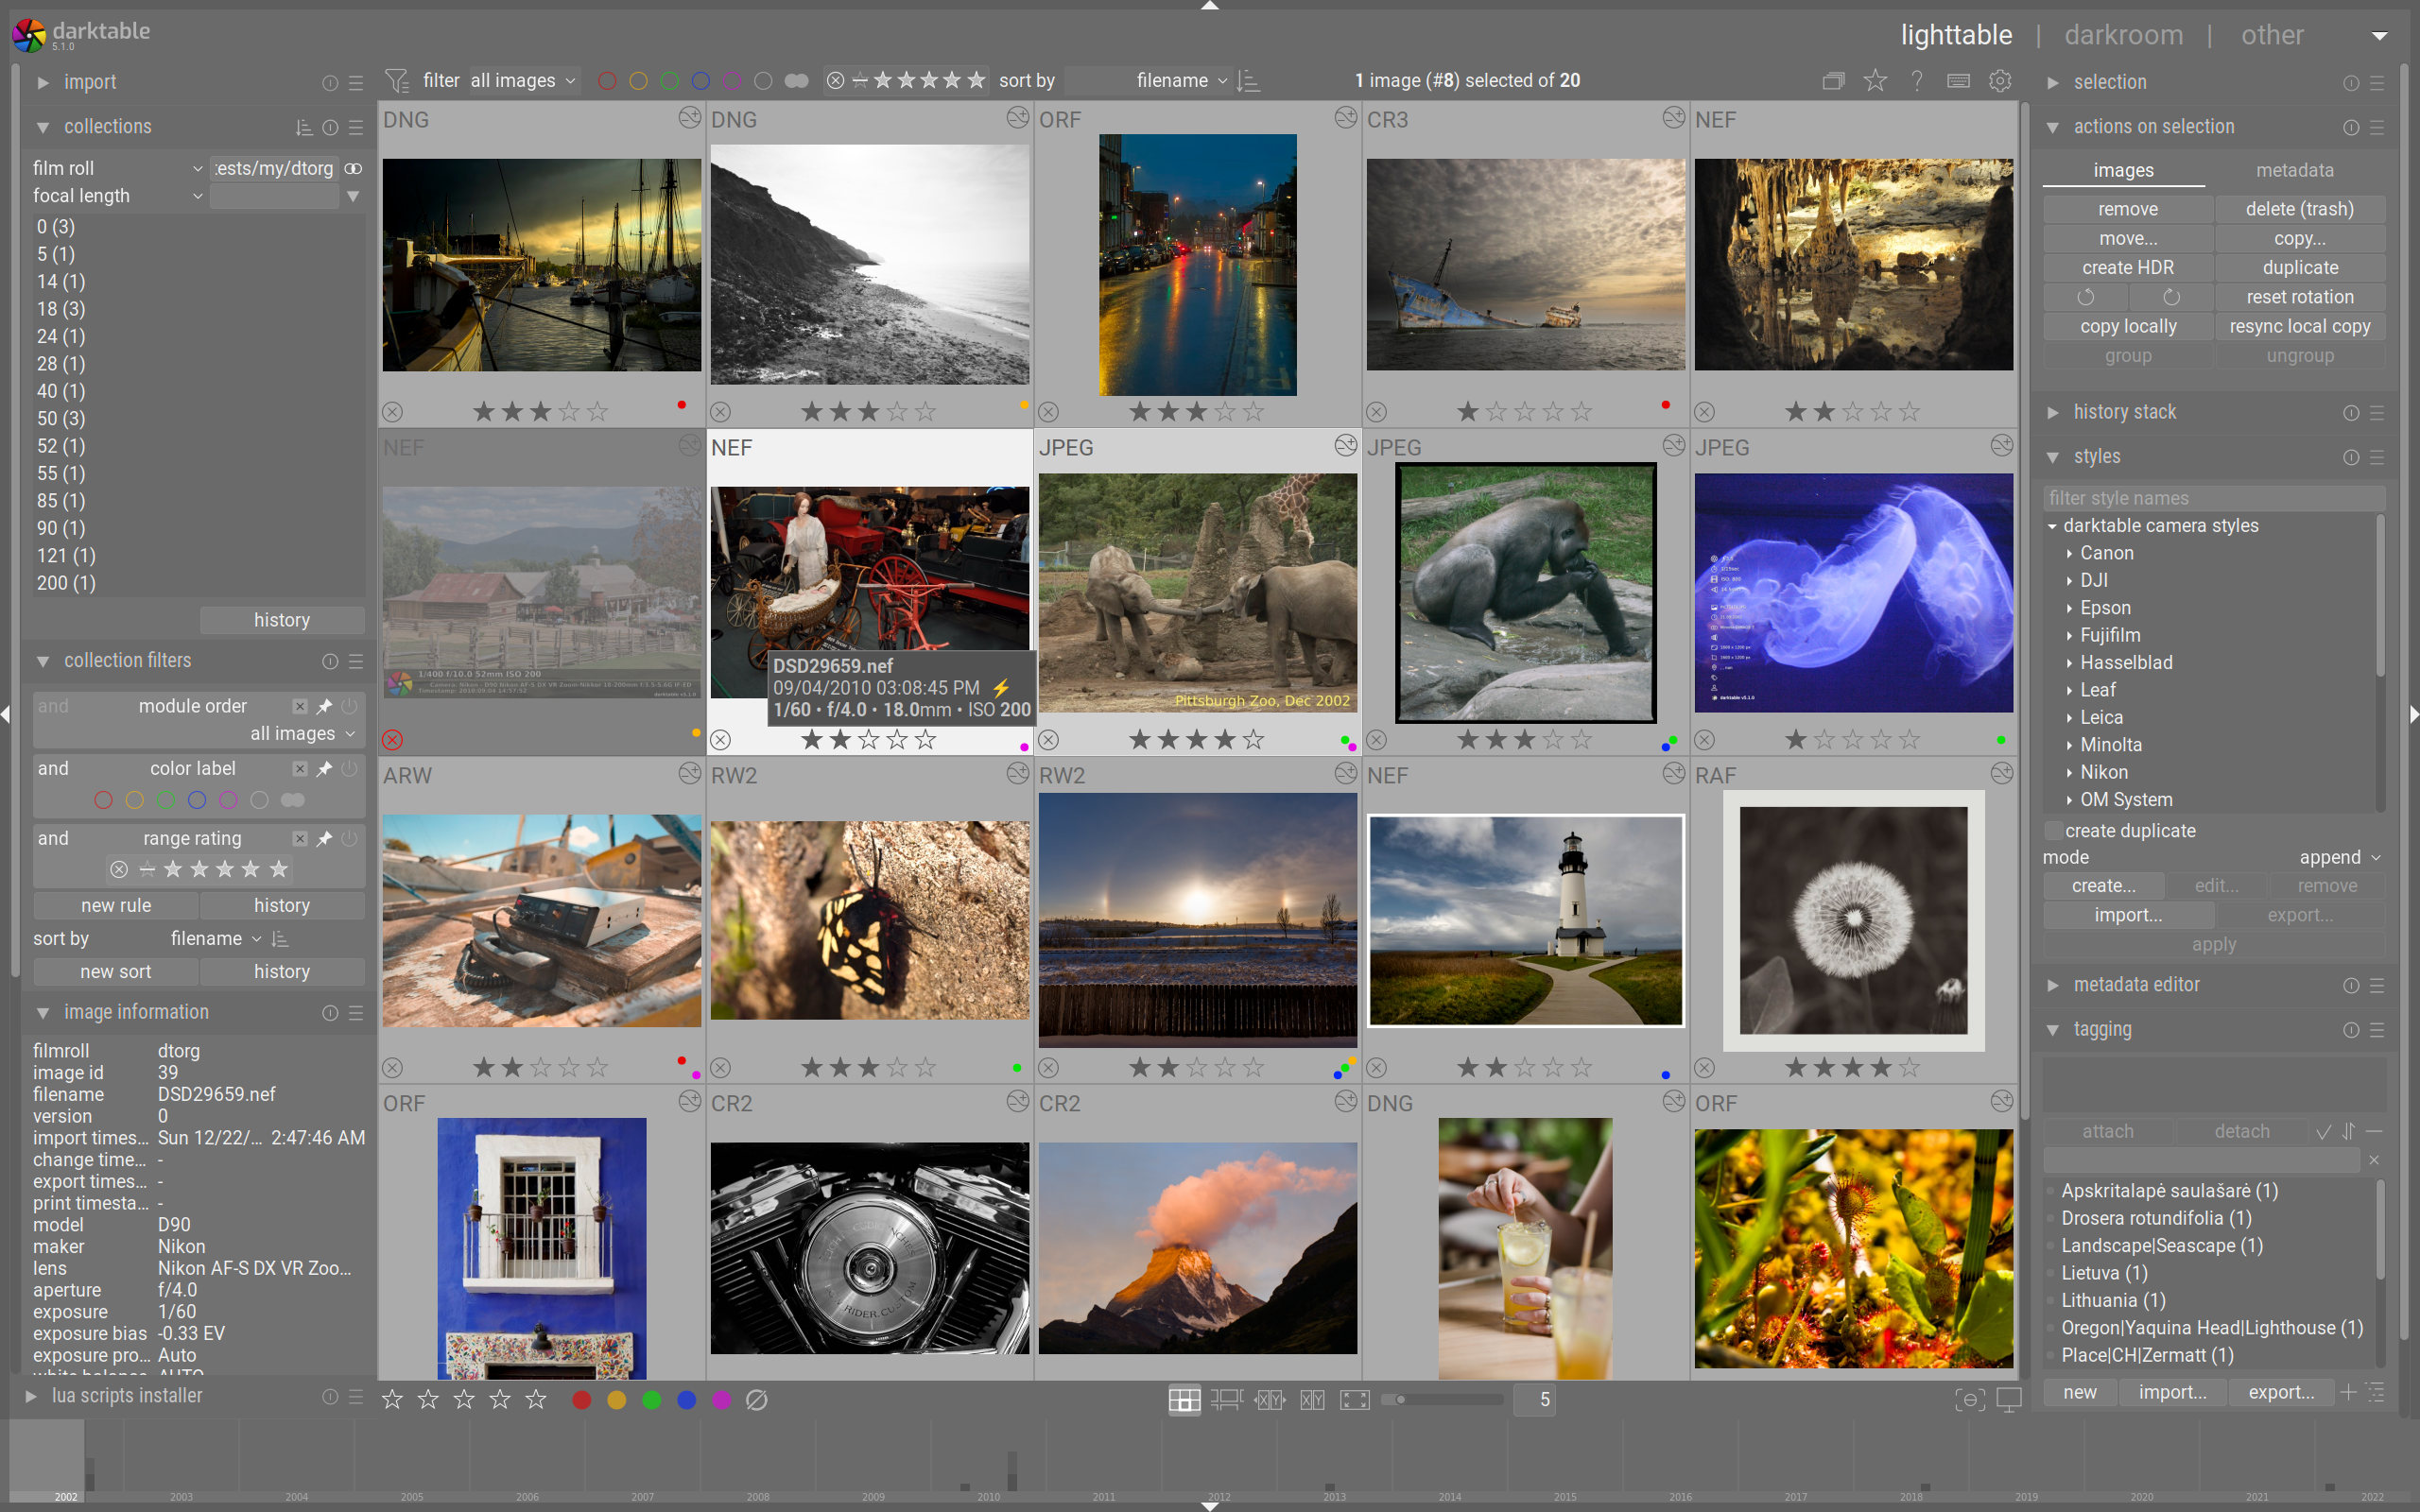
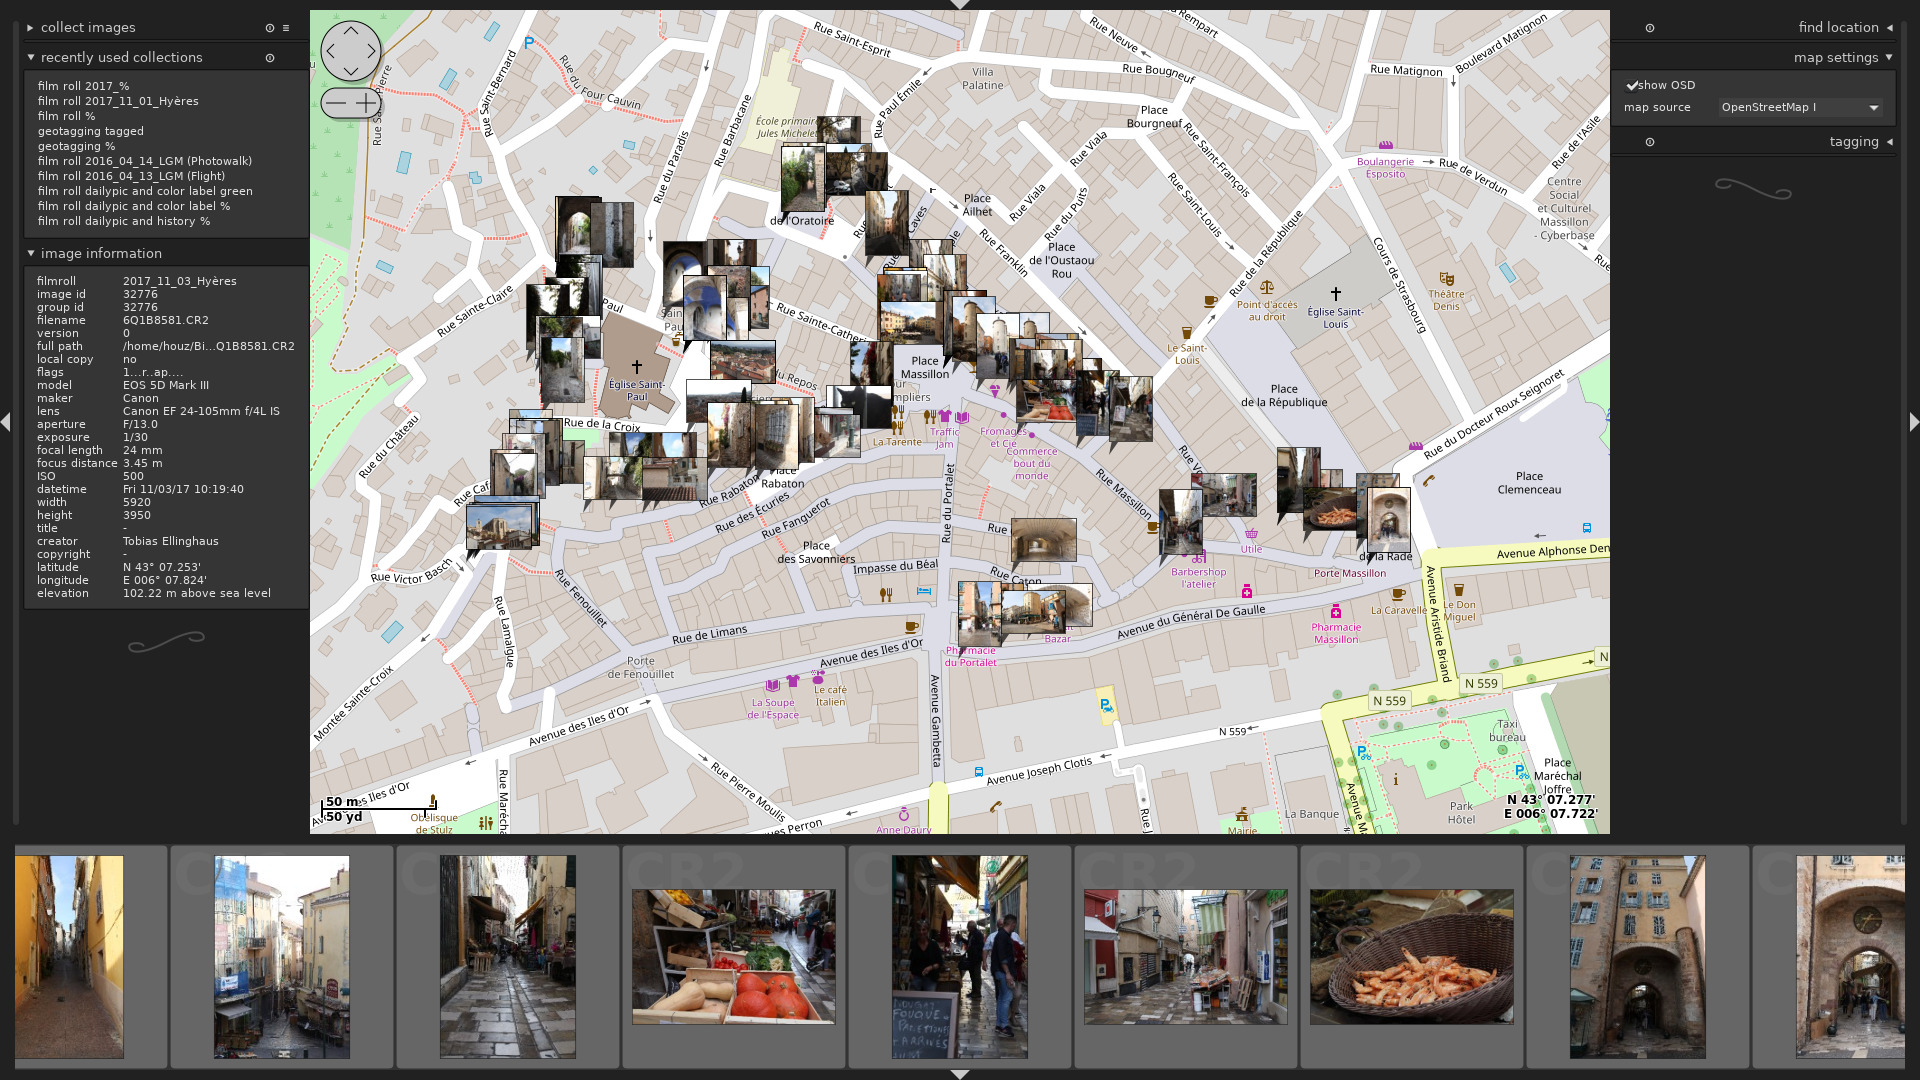
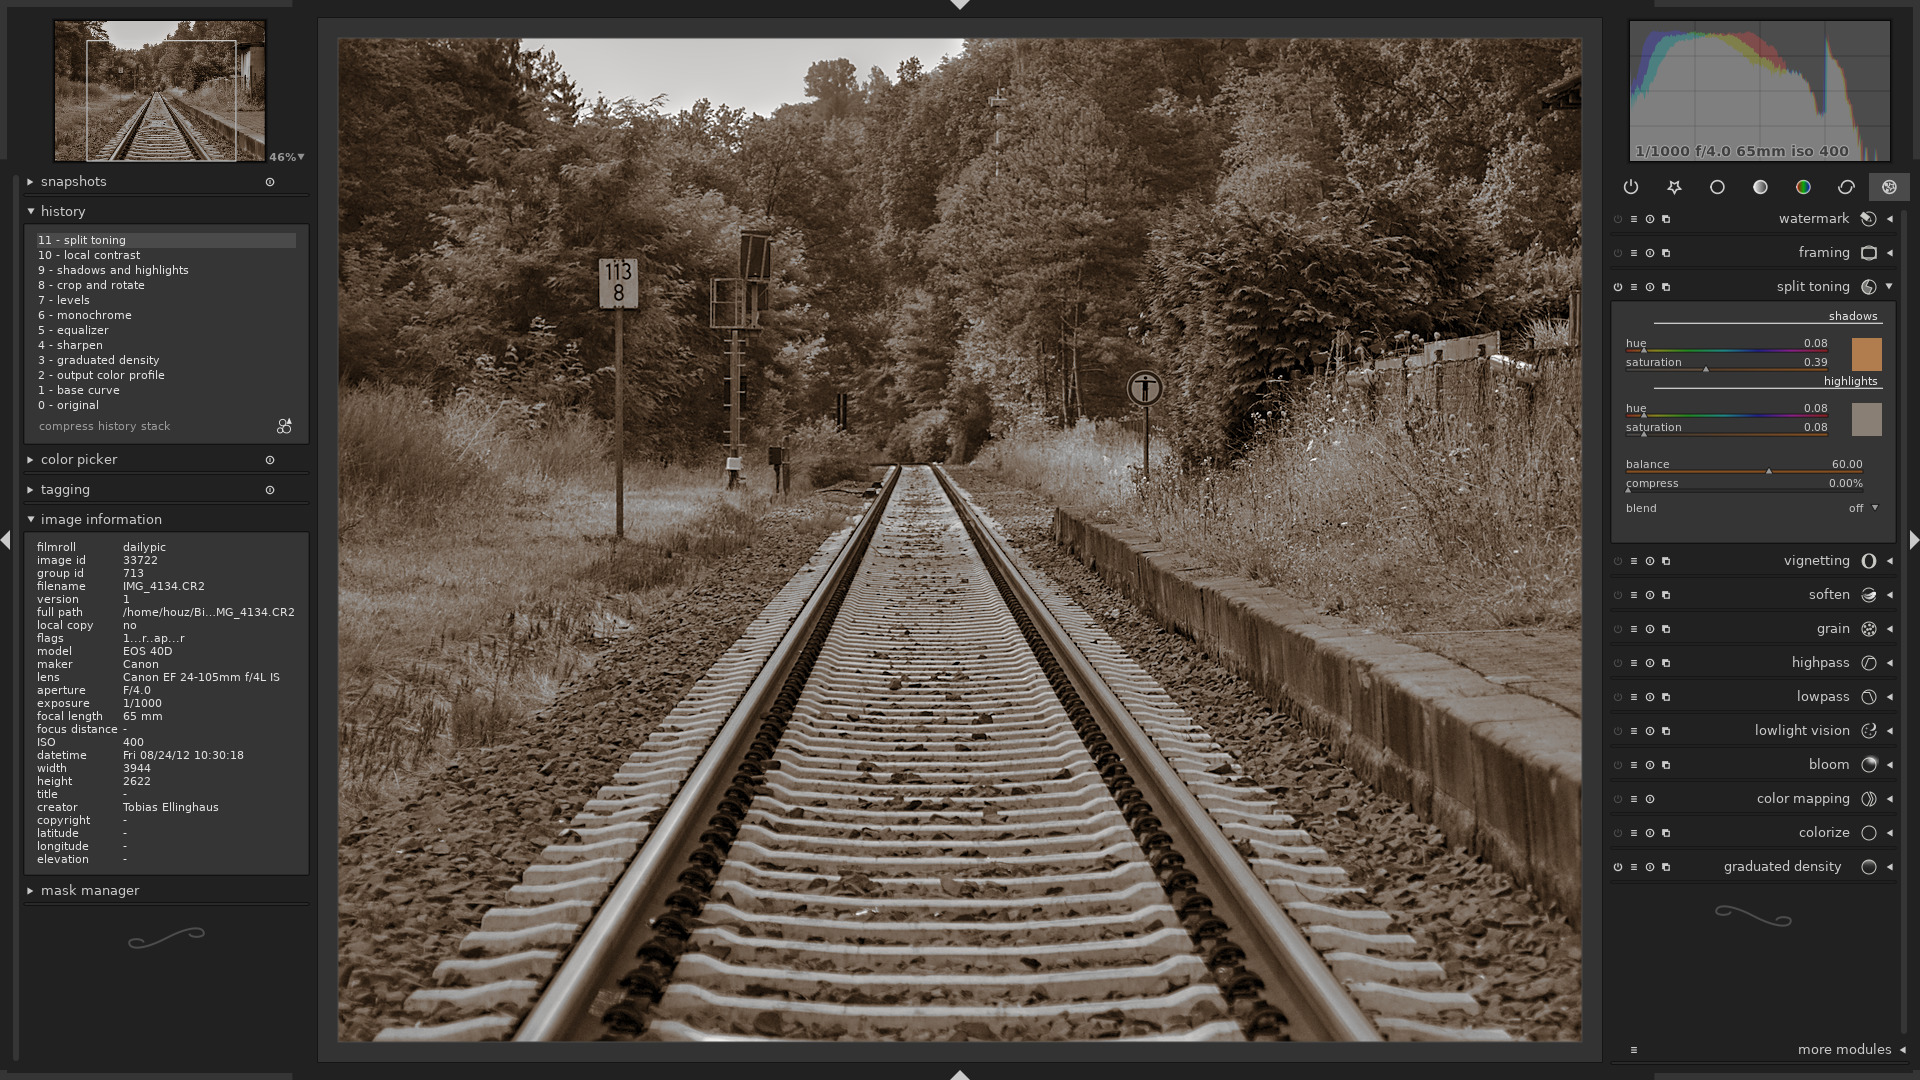
Darktable photo editing might sound a bit technical at first, but once you get into it, it’s actually one of the most powerful (and underrated) tools for photographers today. Whether you’re just starting out or already playing around with advanced edits, Darktable offers a clean, professional workflow without costing you anything.
If you’ve been relying on expensive software or looking for a solid free alternative, this guide will walk you through everything you need to know in a simple, no-confusing-terms way.
At its core, darktable photo editing is a non-destructive editing process using the Darktable software. That means your original photo stays untouched while you experiment with edits freely.
Think of it as a digital darkroom (that’s literally where the name comes from). It’s designed mainly for photographers who want full control over their images, from basic adjustments to advanced color grading.
Unlike simple apps, Darktable is more like professional tools used in the industry, though with a slightly steeper learning curve.
Read also: Learn Photoshop for Beginners
Yes. Darktable is 100% free.
There’s no trial version, no hidden paywalls, and no premium upgrades. It’s an open-source software, which means:
For beginners or creators on a budget, this alone makes darktable photo editing extremely appealing.
Absolutely. And this is where Darktable really shines.
Darktable photo editing fully supports RAW files, which are high-quality image formats captured directly from your camera sensor.
Why does that matter?
RAW files give you:
Darktable processes RAW images using advanced algorithms, allowing you to recover details that would be impossible with JPEG files.
So if you’re serious about photography, using Darktable with RAW files is a big upgrade.
Read also: Cinematic Color Grading
Darktable is a great photo editor if:
However, it might feel overwhelming if you’re used to super simple apps.
Here’s a quick breakdown:
Pros:
Cons:
Overall, darktable photo editing is a solid choice, especially if you’re willing to spend a little time learning it.
To really understand why people love Darktable, let’s look at some of its standout features:
You can experiment without worrying about ruining your original photo.
Tools like color balance, tone equalizer, and filmic RGB give you deep control over your image.
Handles RAW files smoothly with high precision.
Apply edits only to specific areas of your photo.
This workflow makes darktable photo editing feel more professional than that of basic apps.
Getting comfortable with darktable photo editing takes a bit of time, but these tips can speed things up:
Don’t try to master everything in one day.
Presets can save time and give you a starting point.
Use tags and ratings to manage your library.
Visual learning helps a lot with complex tools.
The more you use Darktable, the more intuitive it becomes.
Darktable photo editing is one of the best free solutions for photographers who want professional-quality results without spending money.
Is it perfect? Not really. It takes some time to get used to. But once you understand the workflow, it becomes an incredibly powerful tool.
To recap:
If you’re ready to level up your editing skills without paying for expensive software, Darktable is absolutely worth trying.
And if you’re short on time to fix your photos, no worries! Contact us now to get free image editing services. Click here to contact our sales representative!
Image Source: darktable.org
Sell on Amazon, Walmart, Etsy, Google Shopping, Facebook, Instagram, Pinterest, and TikTok Shop simultaneously, and…
Two competitors sell a nearly identical product, with comparably good photography. One shows up in…
Every other major shopping surface covered in this content cluster, Amazon, Walmart, Google Shopping, Meta…
A single product catalog feeds both Facebook Shops and Instagram Shopping through Meta's shared commerce…
Compared to Amazon's strict white background mandate or Walmart's RGB precision checks, eBay product image…
Cross listing from Amazon to Walmart Marketplace feels like it should be simple. Amazon's white…